

Collect data
Save details from a conversation that aren't sales leads, like issue reports, feedback, or survey answers.
Collect data saves structured details from a conversation, such as a damaged-item report, feedback, survey answers, or what a customer needs from a product. Your team then finds every answer in one tidy table instead of reading through chats.
Where to find it: open your agent, go to Build → Actions, and select Collect data.
How it works
- 1Customer explains"My jacket arrived with a torn sleeve."
- 2Agent collectsIt asks for anything missing, or shows a form.
- 3Details savedThe answers appear on Activity → Collected Data.
- 4Team reviewsYour team picks it up from there.
Collect data, Collect leads, or Custom form?
All three save answers. Pick the one that matches the purpose:
- Collect leads is for contact details of people your team will get in touch with. Results go to Activity → Leads.
- Collect data is for everything else. It can show a form or gather the details from the chat. Results go to Activity → Collected Data.
- Custom form always shows a form. Use it when you want one specific form, like a free class sign-up. Results also go to Activity → Collected Data. See Custom form.
Choose Form or Auto
Under Collection method, pick how the details are gathered:
- Form shows an interactive form in the chat. The customer fills it in and submits it. This works in your website chat (Chat Bubble, Help Page, and Center Stage).
- Auto shows no form. The agent picks up the details from the conversation, asks only for required ones that are missing, and saves them as soon as it has everything. This works on every channel, including WhatsApp and other messaging apps.
Example: report a damaged item
This example sets up an Auto action that records damaged or wrong deliveries for Acme's returns team.
-
Open Build → Actions and select Collect data.
-
In Action name, enter
Damaged item report. -
In When should the agent use it?, enter:
Use when a customer says an item arrived damaged, is the wrong size, or is the wrong item. Reuse details they already gave. Ask only for missing required details, then save the report. -
Under Collection method, choose Auto.
-
In Fields, the action starts with one field called Details. Change its Label to
Order number, set Type to Short text, and enter the DescriptionThe 5-digit order number, for example 48213.Leave Required on. -
Select Add field. Set Label to
Problem, Type to Select, and Options toDamaged, Wrong size, Wrong item, Missing item. -
Select Add field. Set Label to
What happened, Type to Long text, and Description toA short description in the customer's own words. -
Select Add field. Set Label to
Preferred fix, Type to Select, Options toReplacement, Refund, and turn off Required. -
Under Confirmation, set Success message to
Thanks, your report has been saved for our returns team. -
Select Create action.
Here is how a conversation might go:
Customer: My jacket from order 48213 arrived with a torn sleeve.
Agent:    I'm sorry about that. I've saved a report for our returns team:
          order 48213, damaged item, torn sleeve.
The customer already gave the order number and the problem, so the agent saved the report straight away. Preferred fix is optional, so it's saved empty.
Tip
To use a form instead, choose Form in step 4. The Form builder then lets you edit the form directly: its title, a description, each field, the submit button, and the message shown After submission. Select a field to open its Field settings.
Fields
Every field has a Label, a Type, an optional Description, and a Required switch. The Key is created from the label for you.
- Types: Short text, Long text, Email, Phone, Number, Yes / no, and Select. A Select field needs at least one option.
- Description: helps the agent understand what belongs in the field. In a form, the hint you add with Add helper text is shown to the customer under the field.
- Limit: up to 20 fields per action.
Field labels become the column names on Activity → Collected Data and in CSV exports, so choose clear, stable names.
Warning
Never collect passwords, full card numbers, or other secrets with an action. Everything saved is visible to your team and appears in exports.
Write a good "When should the agent use it?"
Say exactly when to collect, and when to save:
- When to start: "Use when a customer reports a damaged, wrong, or missing item."
- What to reuse: "Reuse details they already gave."
- When to save: "Save once the order number and problem are known."
Saving a report only records it. If something should happen next, like approving a replacement, set that up in a procedure that uses this action together with others.
See and export collected data
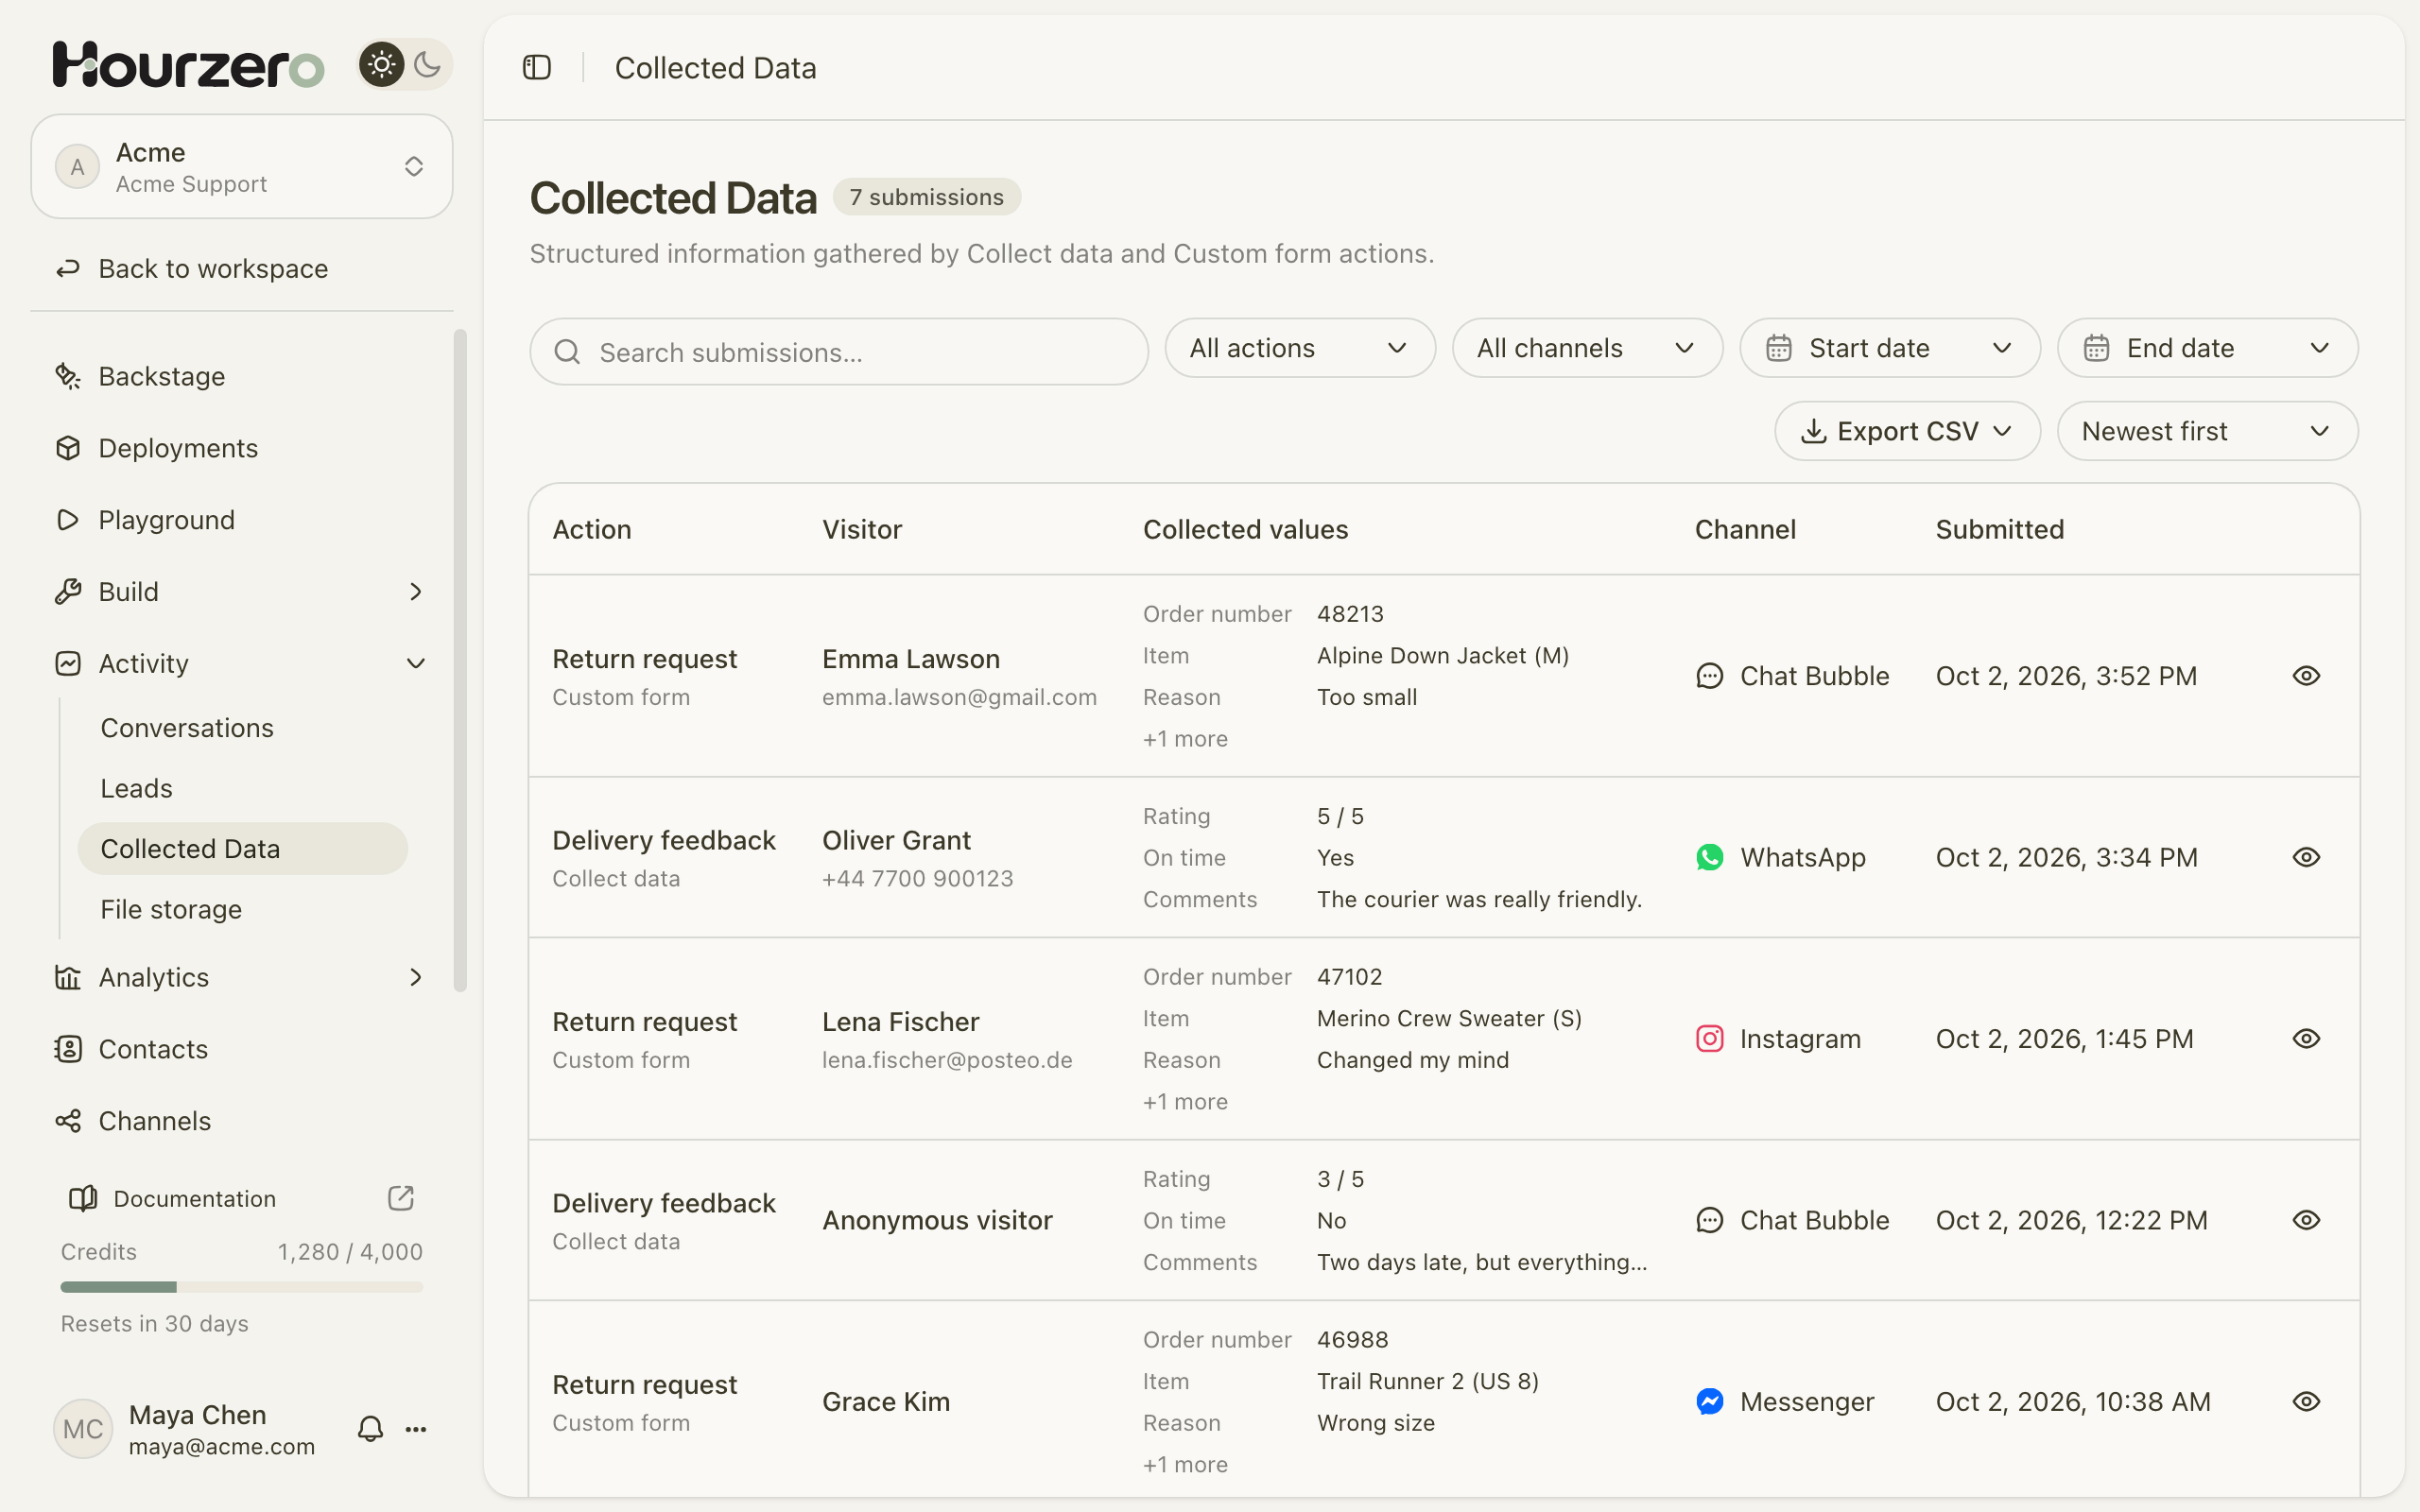
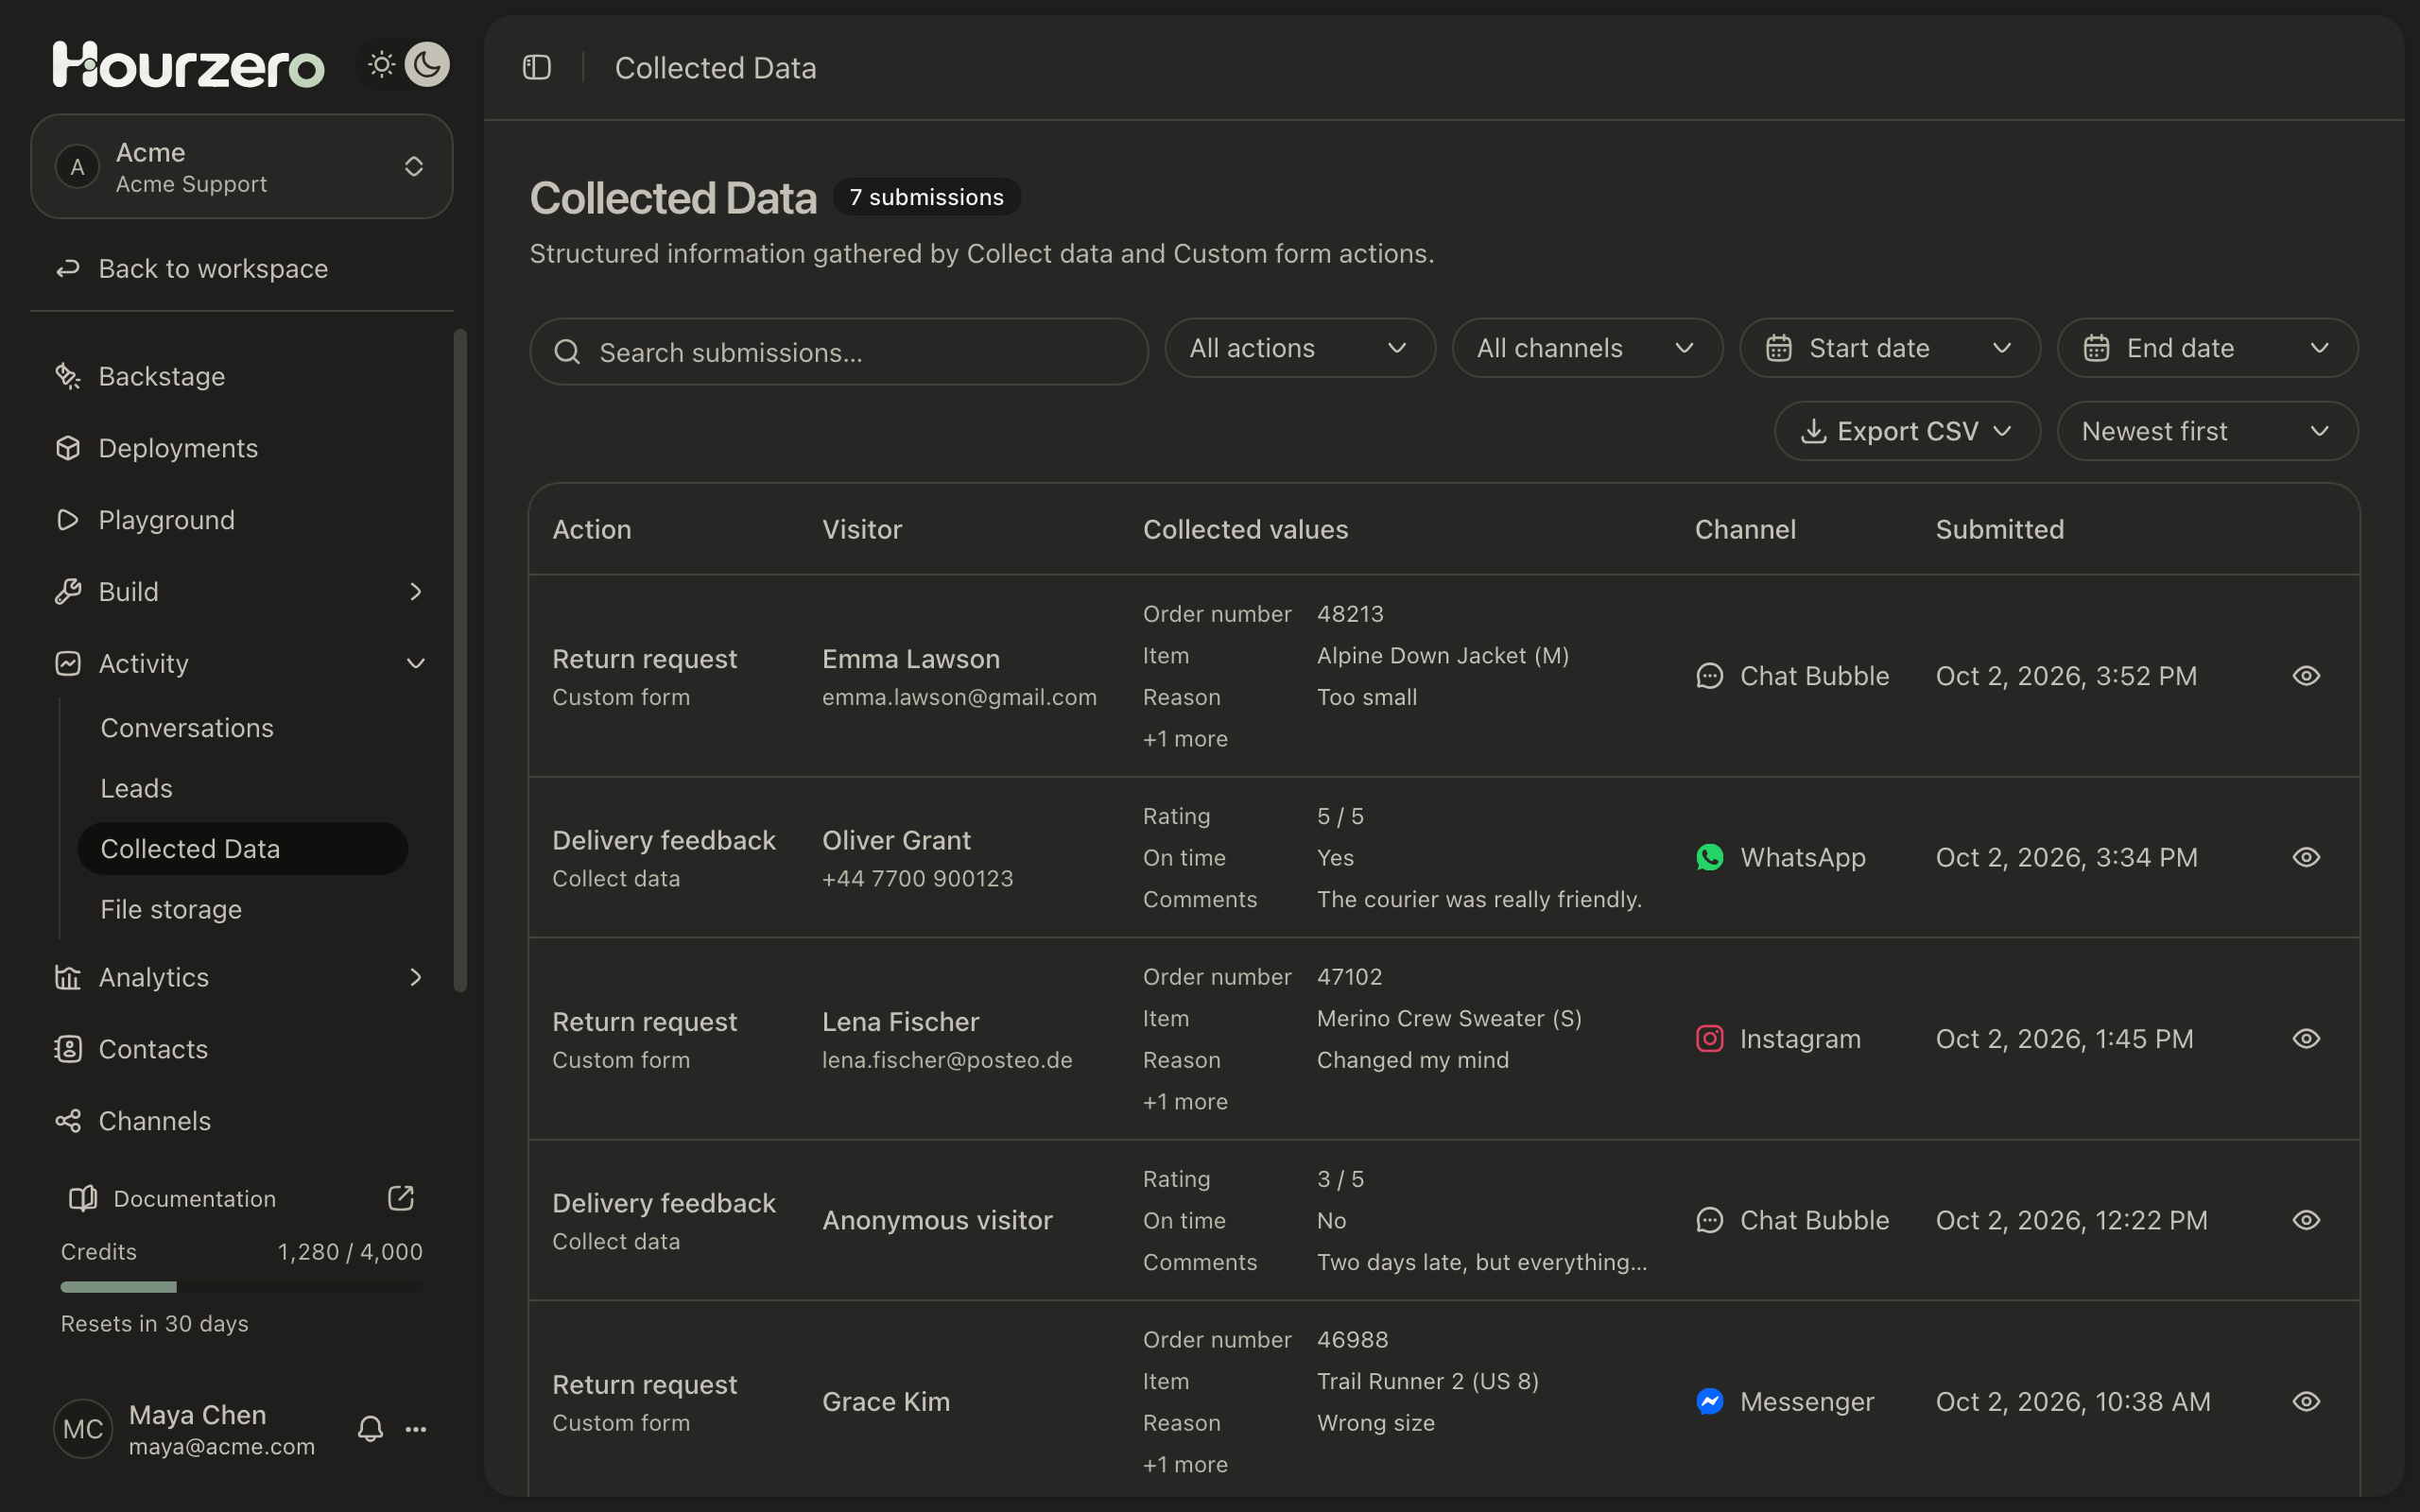
Every saved answer appears on Activity → Collected Data. There you can:
- Search across all saved values.
- Filter by action, channel (including Playground for your tests), and date range.
- Sort by newest or oldest.
- Select the eye icon on a row to see all values and the conversation it came from.
- Select Export CSV to download everything, or only the entries that match your filters.
For more, see Leads and collected data. To send each new submission to another tool automatically, set up a webhook for the submission.created event.
Test it
- In Playground, check that the action is switched on for your channel in the Capabilities tab, and select Save draft.
- Describe a problem that should trigger it, like "My jacket arrived with a torn sleeve."
- Check that the agent asks only for missing required details, or that the form appears.
- Check that optional fields can be skipped and required ones can't.
- Open Activity → Collected Data, filter by Playground, and check the saved values.
- Ask something unrelated, like "Do you ship to Canada?" The agent should just answer.
- Publish the channel when you're happy.