

Build your first agent
A step-by-step walkthrough. Create an agent from your website, test it, and add a chat bubble to your site in about 15 minutes.
This guide walks you through building a working agent from scratch and putting it on your website as a chat bubble. You'll answer a few setup questions, check the agent's first answers, and then go live. Plan on about 15 minutes, plus a few minutes to add a small piece of code to your website.
Where to start: go to your list of agents and select New AI agent.
Before you begin
Have these ready:
- Your website address, or a few documents that answer common questions (a returns policy, a shipping page, an FAQ).
- Five to ten real questions your customers ask. You'll use them to test the agent.
- A way to edit your website, or the contact details of the person who does.
- 1CreateAnswer four short questions in the setup assistant.
- 2CheckWait for training, then review the instructions.
- 3TestChat with your agent in the Playground.
- 4Go livePublish the chat bubble and add it to your website.
Step 1: Create the agent
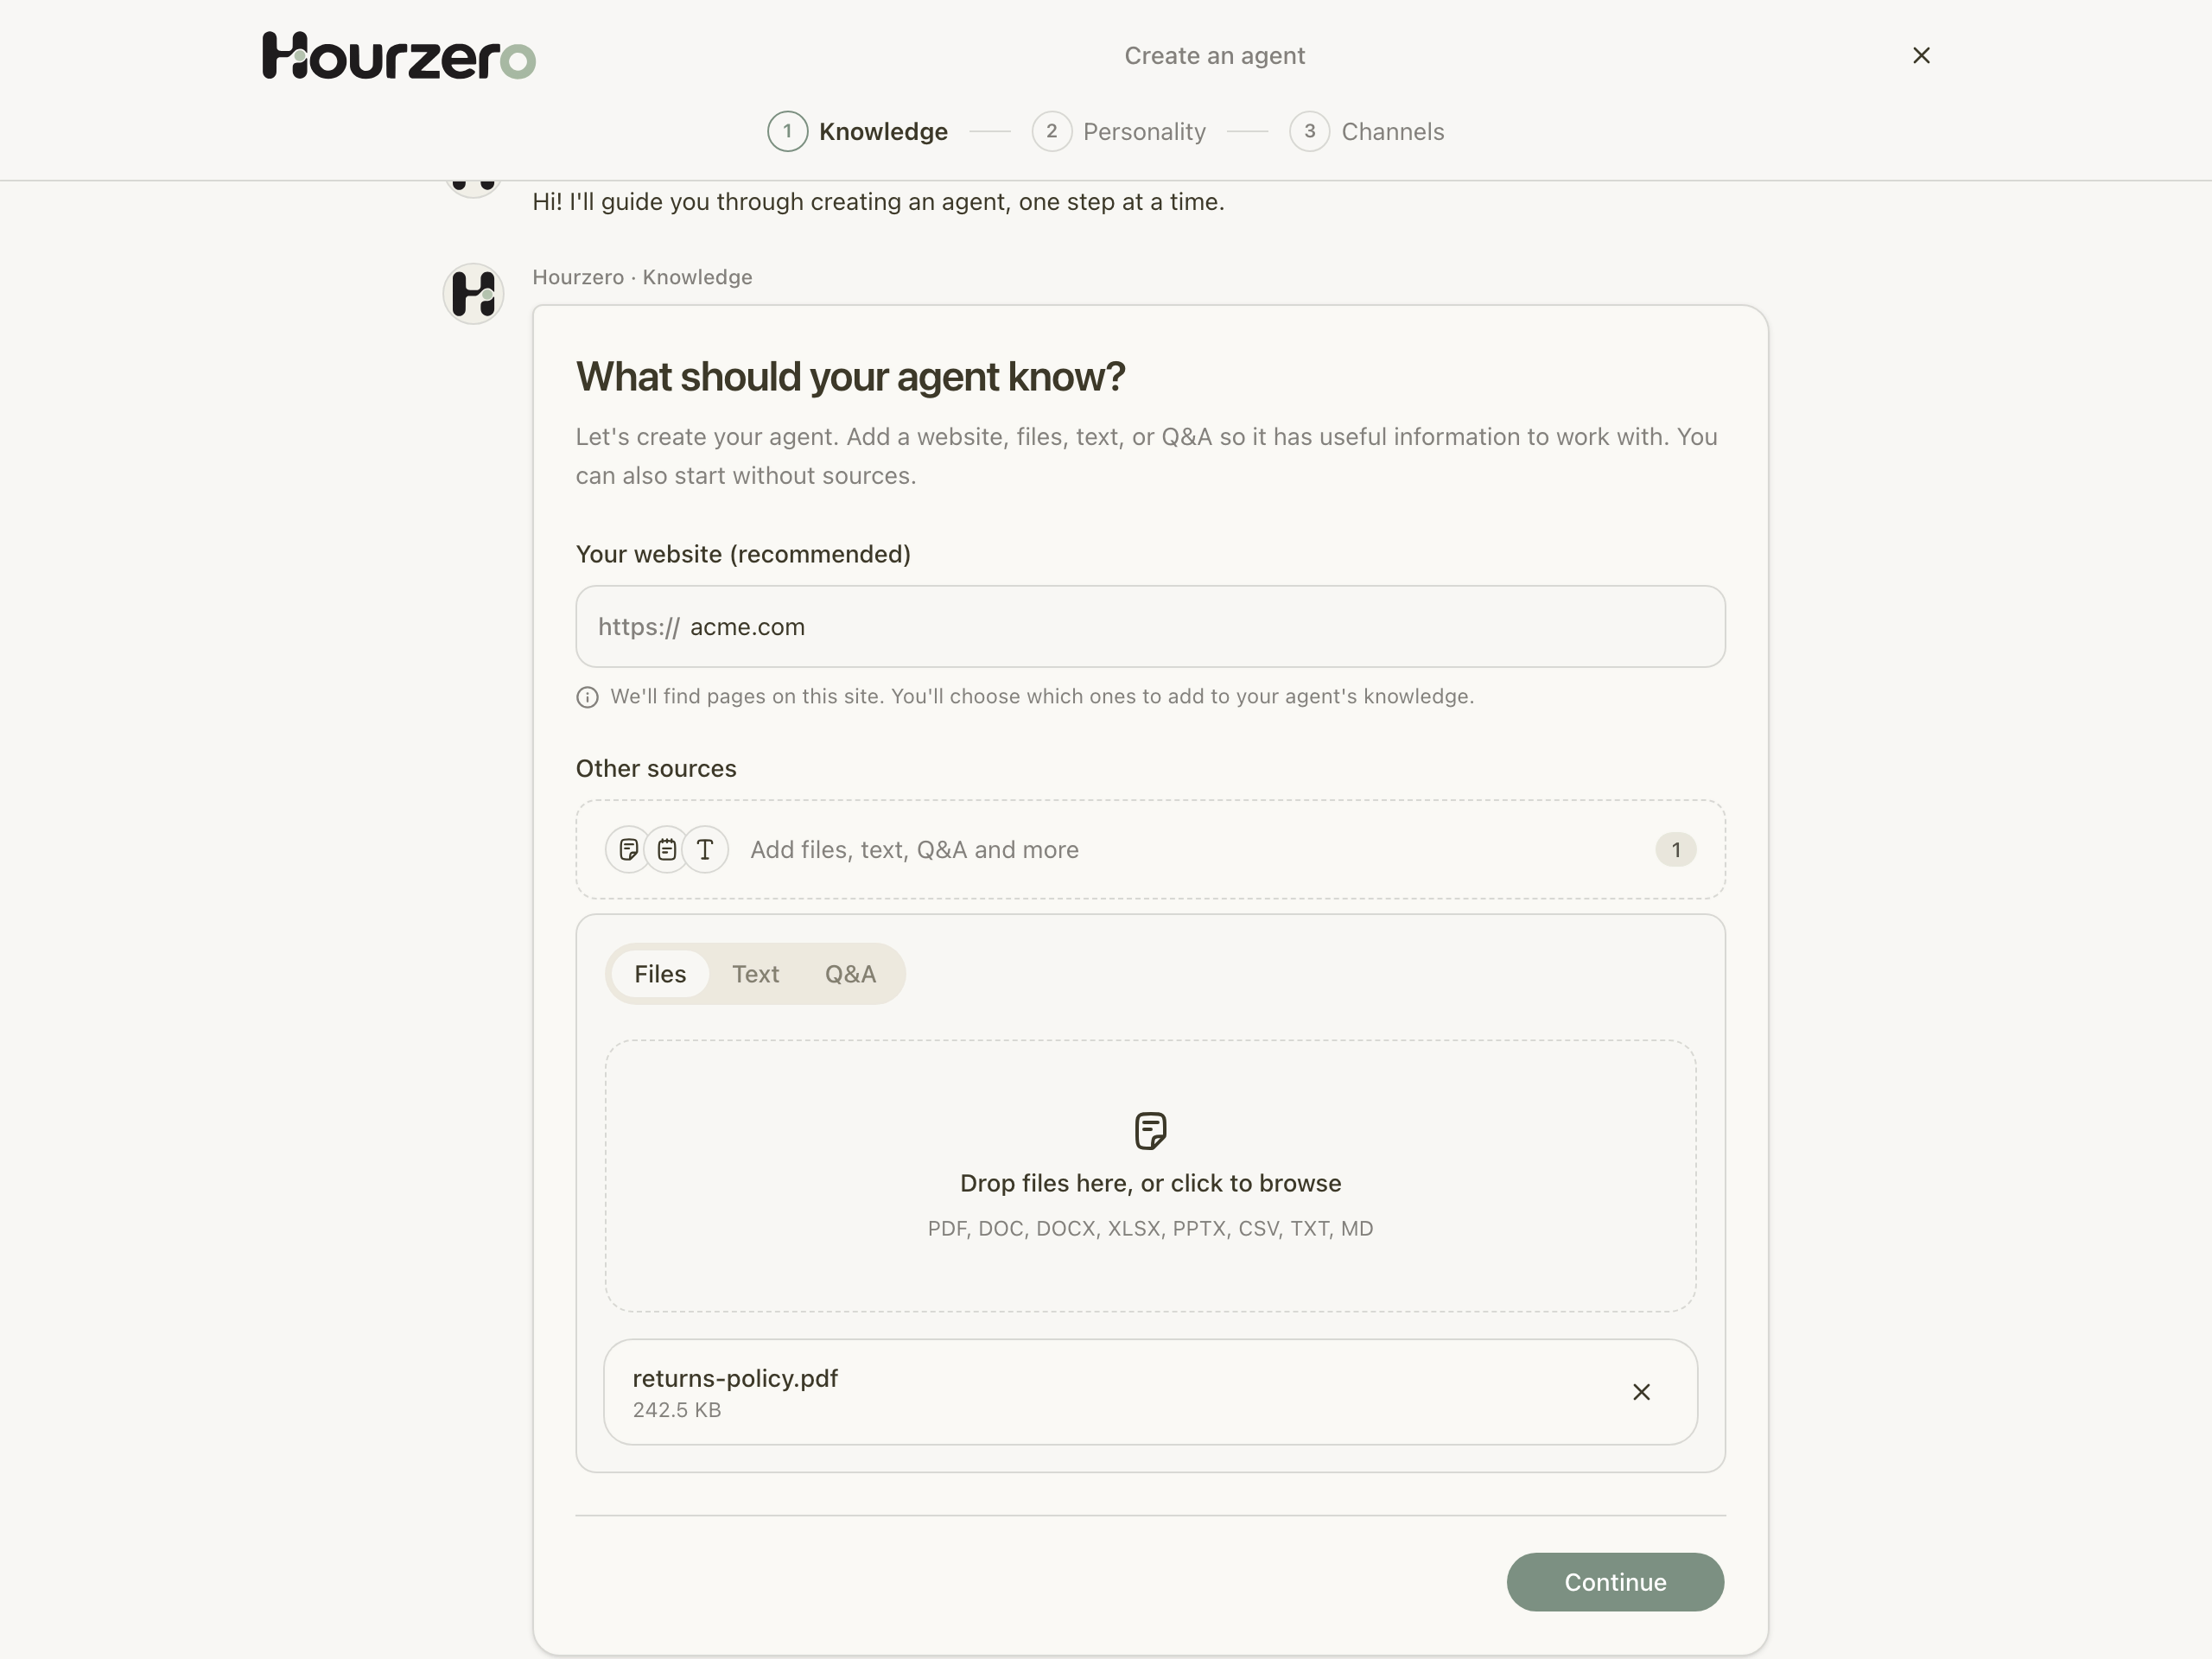
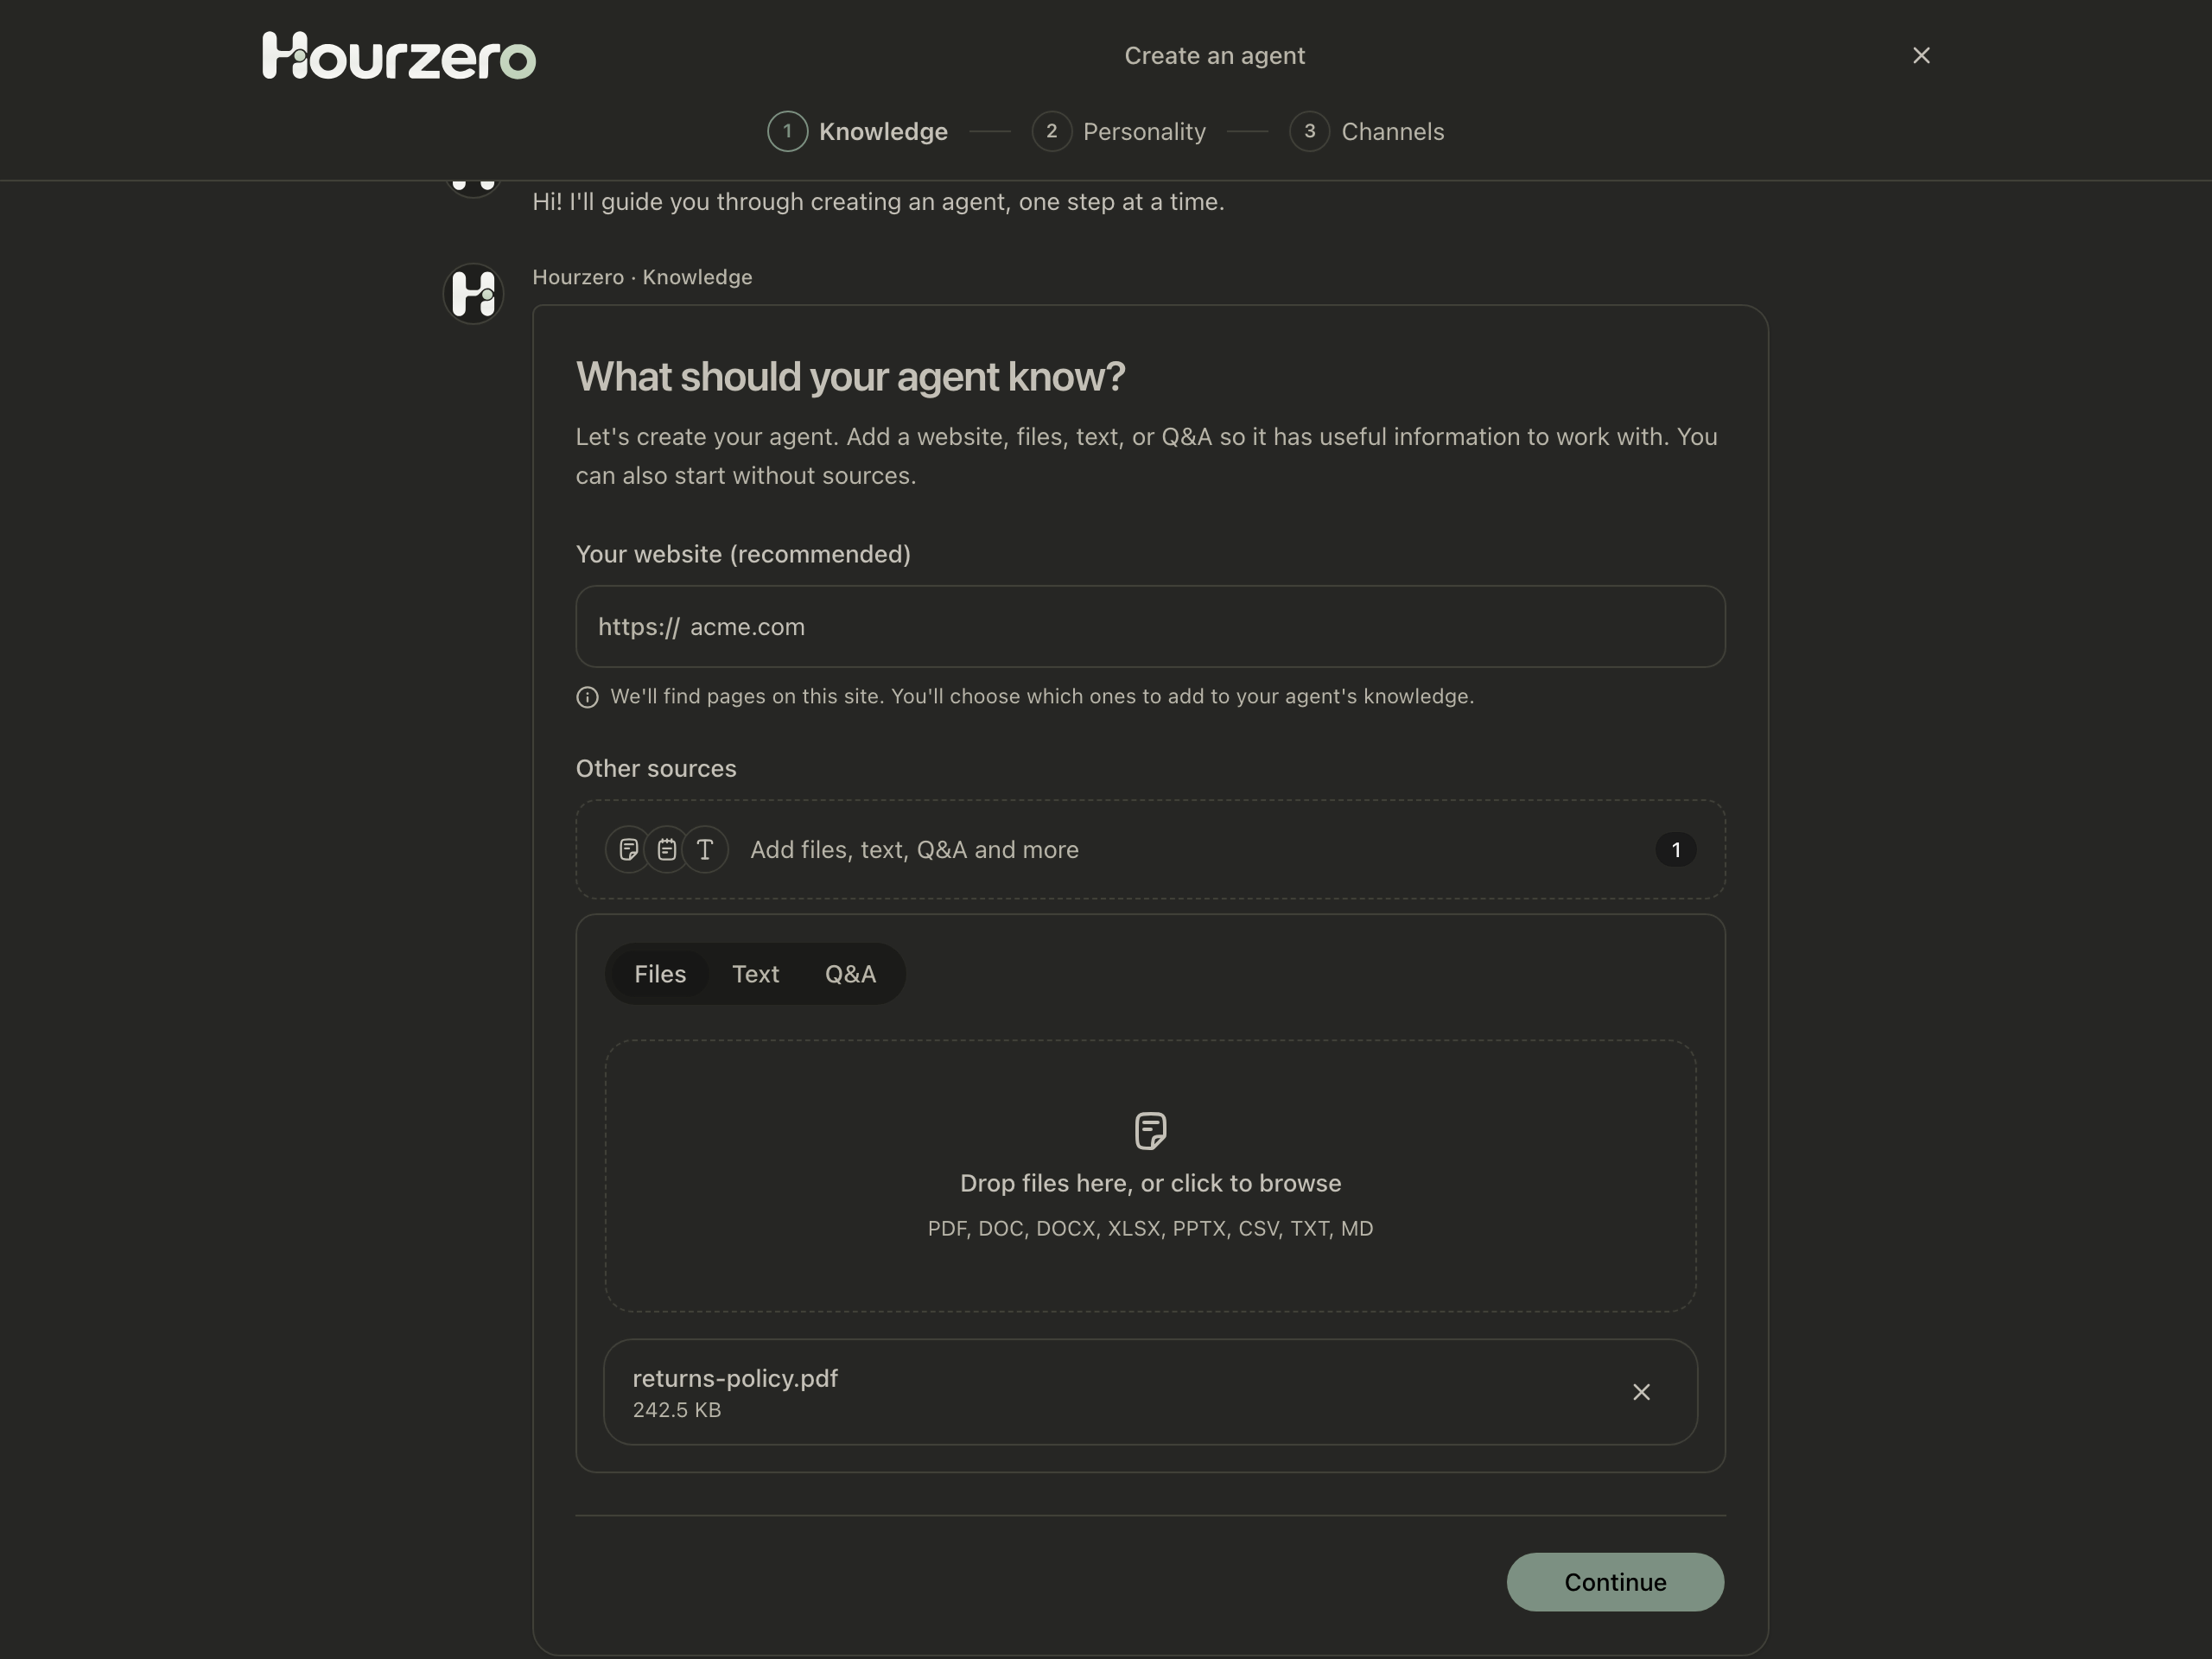
When you select New AI agent, a setup assistant opens. It asks you one thing at a time, like a chat. The steps along the top show where you are: Knowledge, Personality, and Channels, plus Website pages when you add a website.
Tip
Changed your mind about an earlier answer? Select Edit under that answer to go back to that step.
Tell it what to know
- Under Your website (recommended), type your website address, for example
acme.com. You don't need to typehttps://. - To add more information, select Add files, text, Q&A and more. You'll see three tabs:
- Files: drop files in, or click to browse. You can add PDF, DOC, DOCX, XLSX, PPTX, CSV, TXT, and MD files.
- Text: give it a Title and paste the Content. Handy for things that aren't on your website, like holiday opening hours.
- Q&A: select Add pair, then type a Question and the exact Answer you want customers to get.
- Select Continue. Hourzero looks through your website and finds its pages.
No website? Leave the field empty and the button changes to Continue without website. You can build an agent from files, text, and Q&A alone, or even start empty and add knowledge later.
Choose your website pages
Hourzero lists the pages it found, grouped like folders on your computer. Every page starts selected.
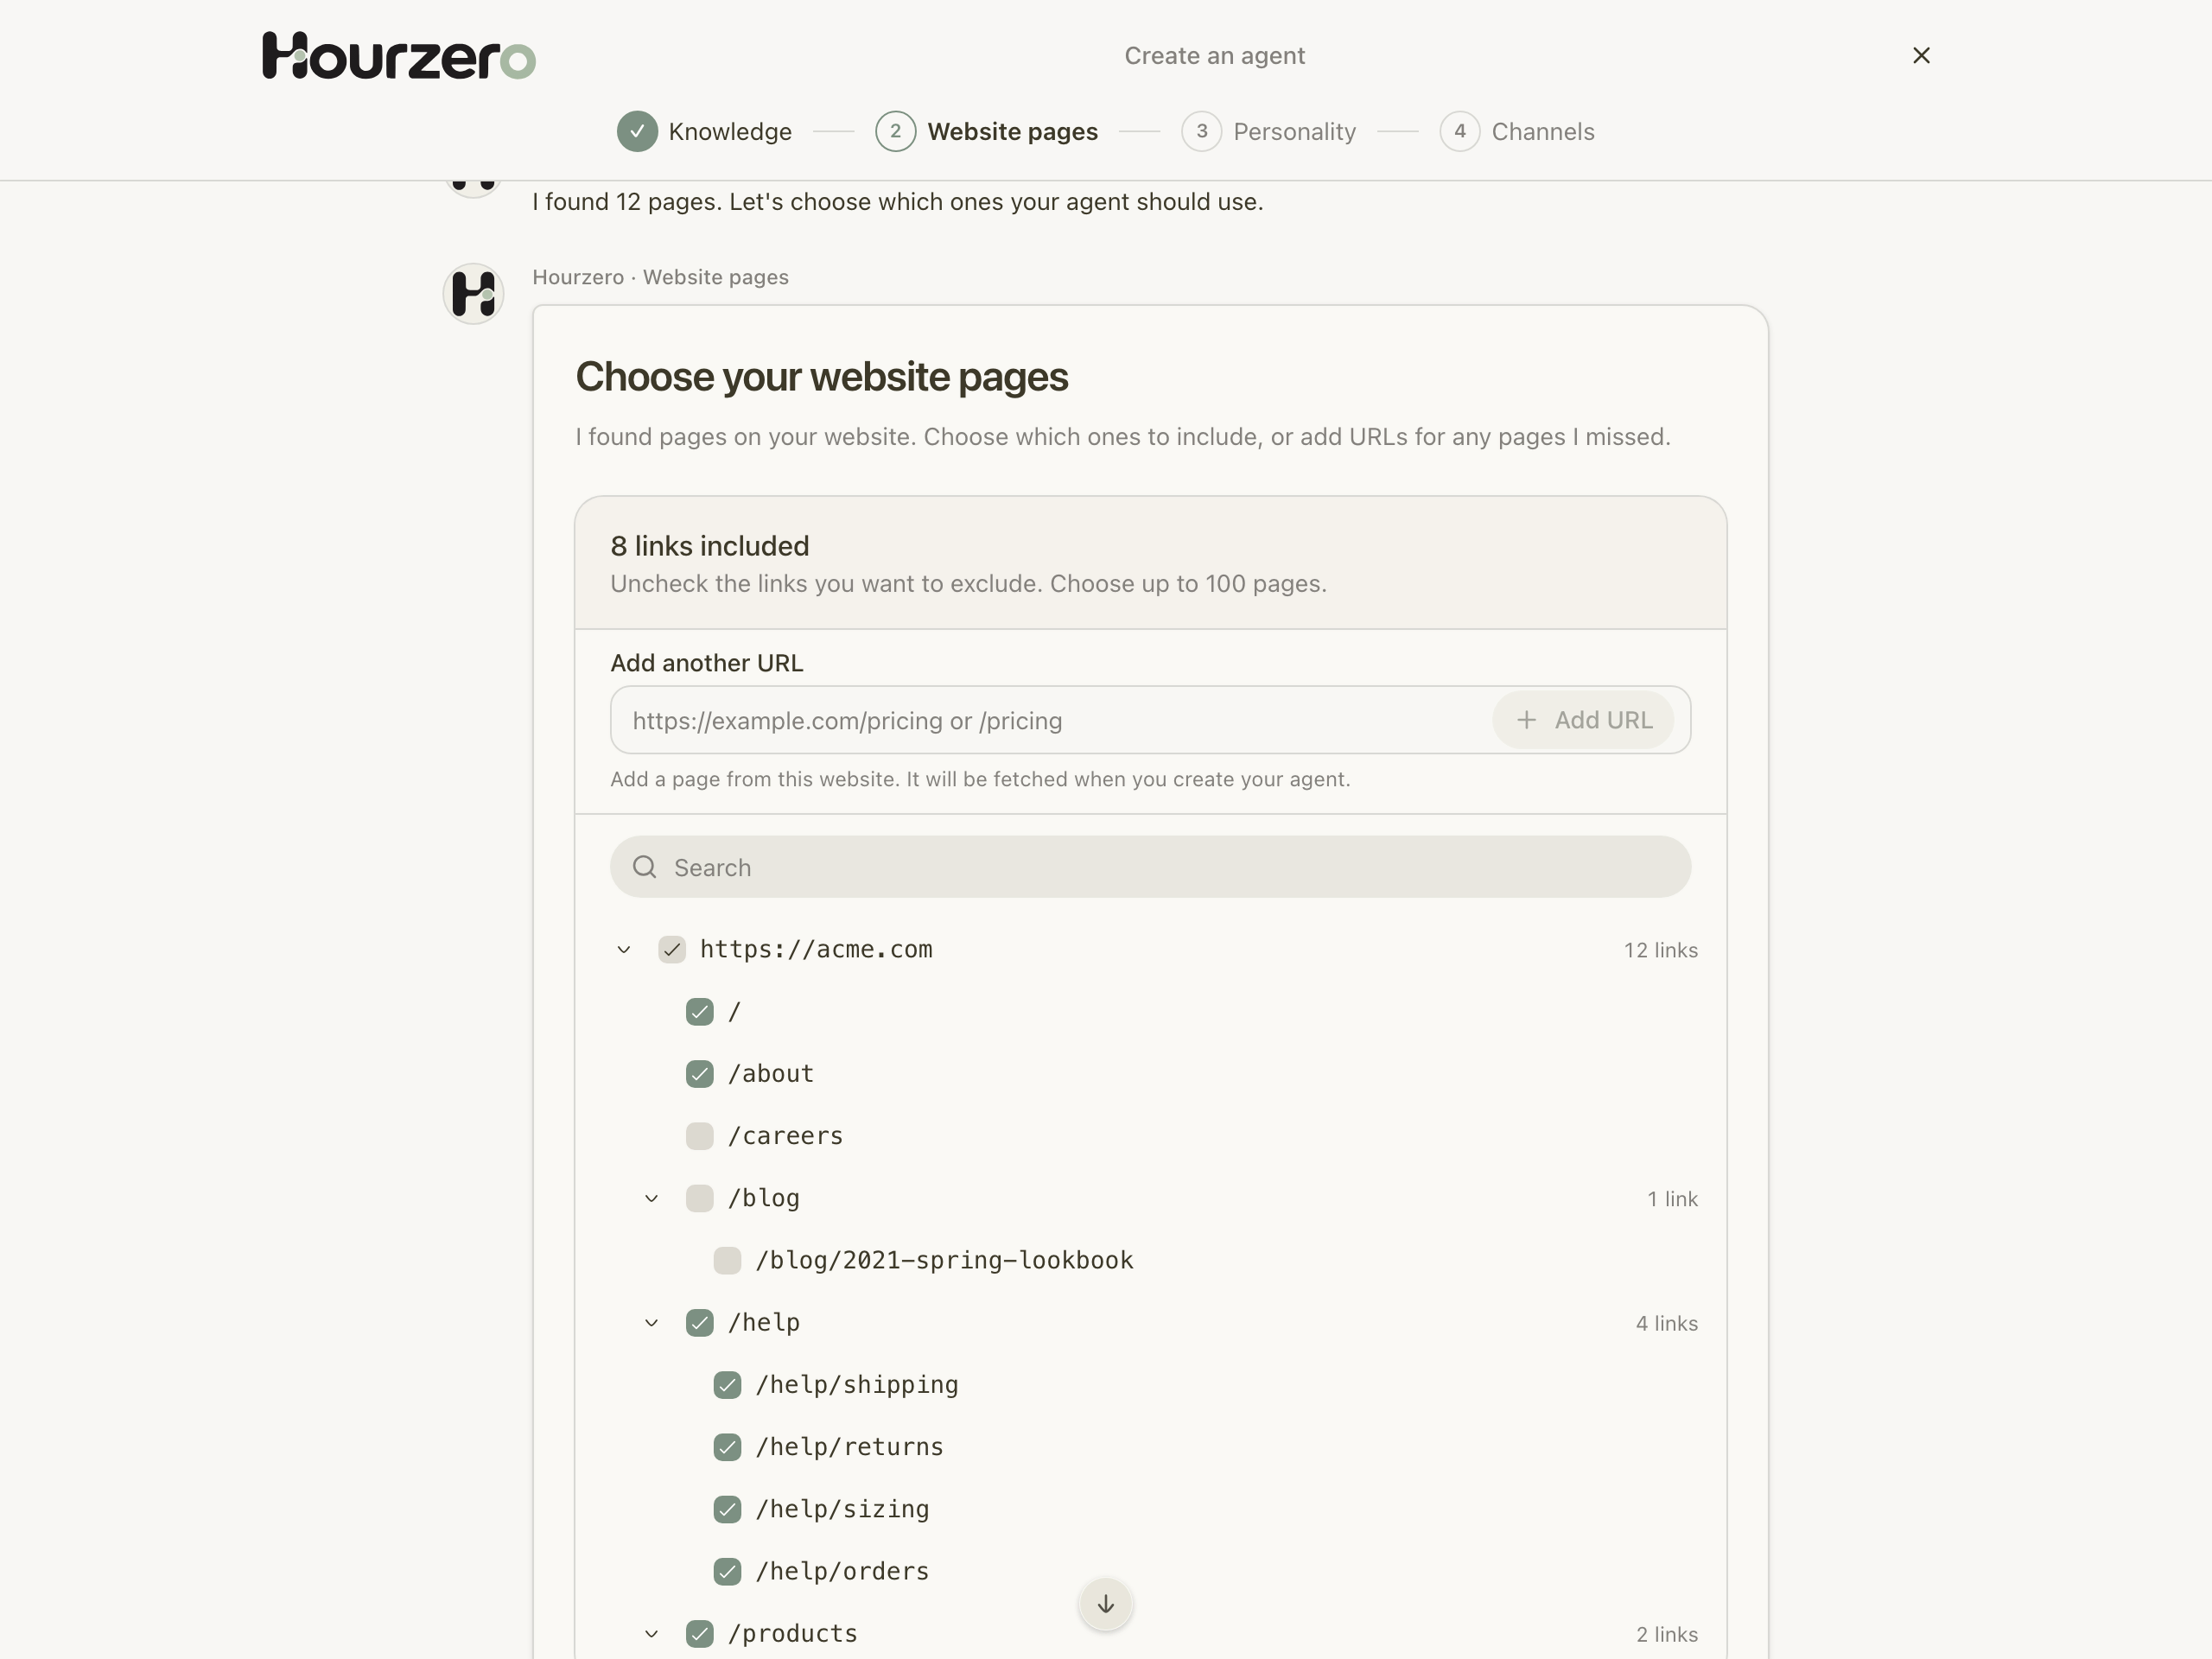
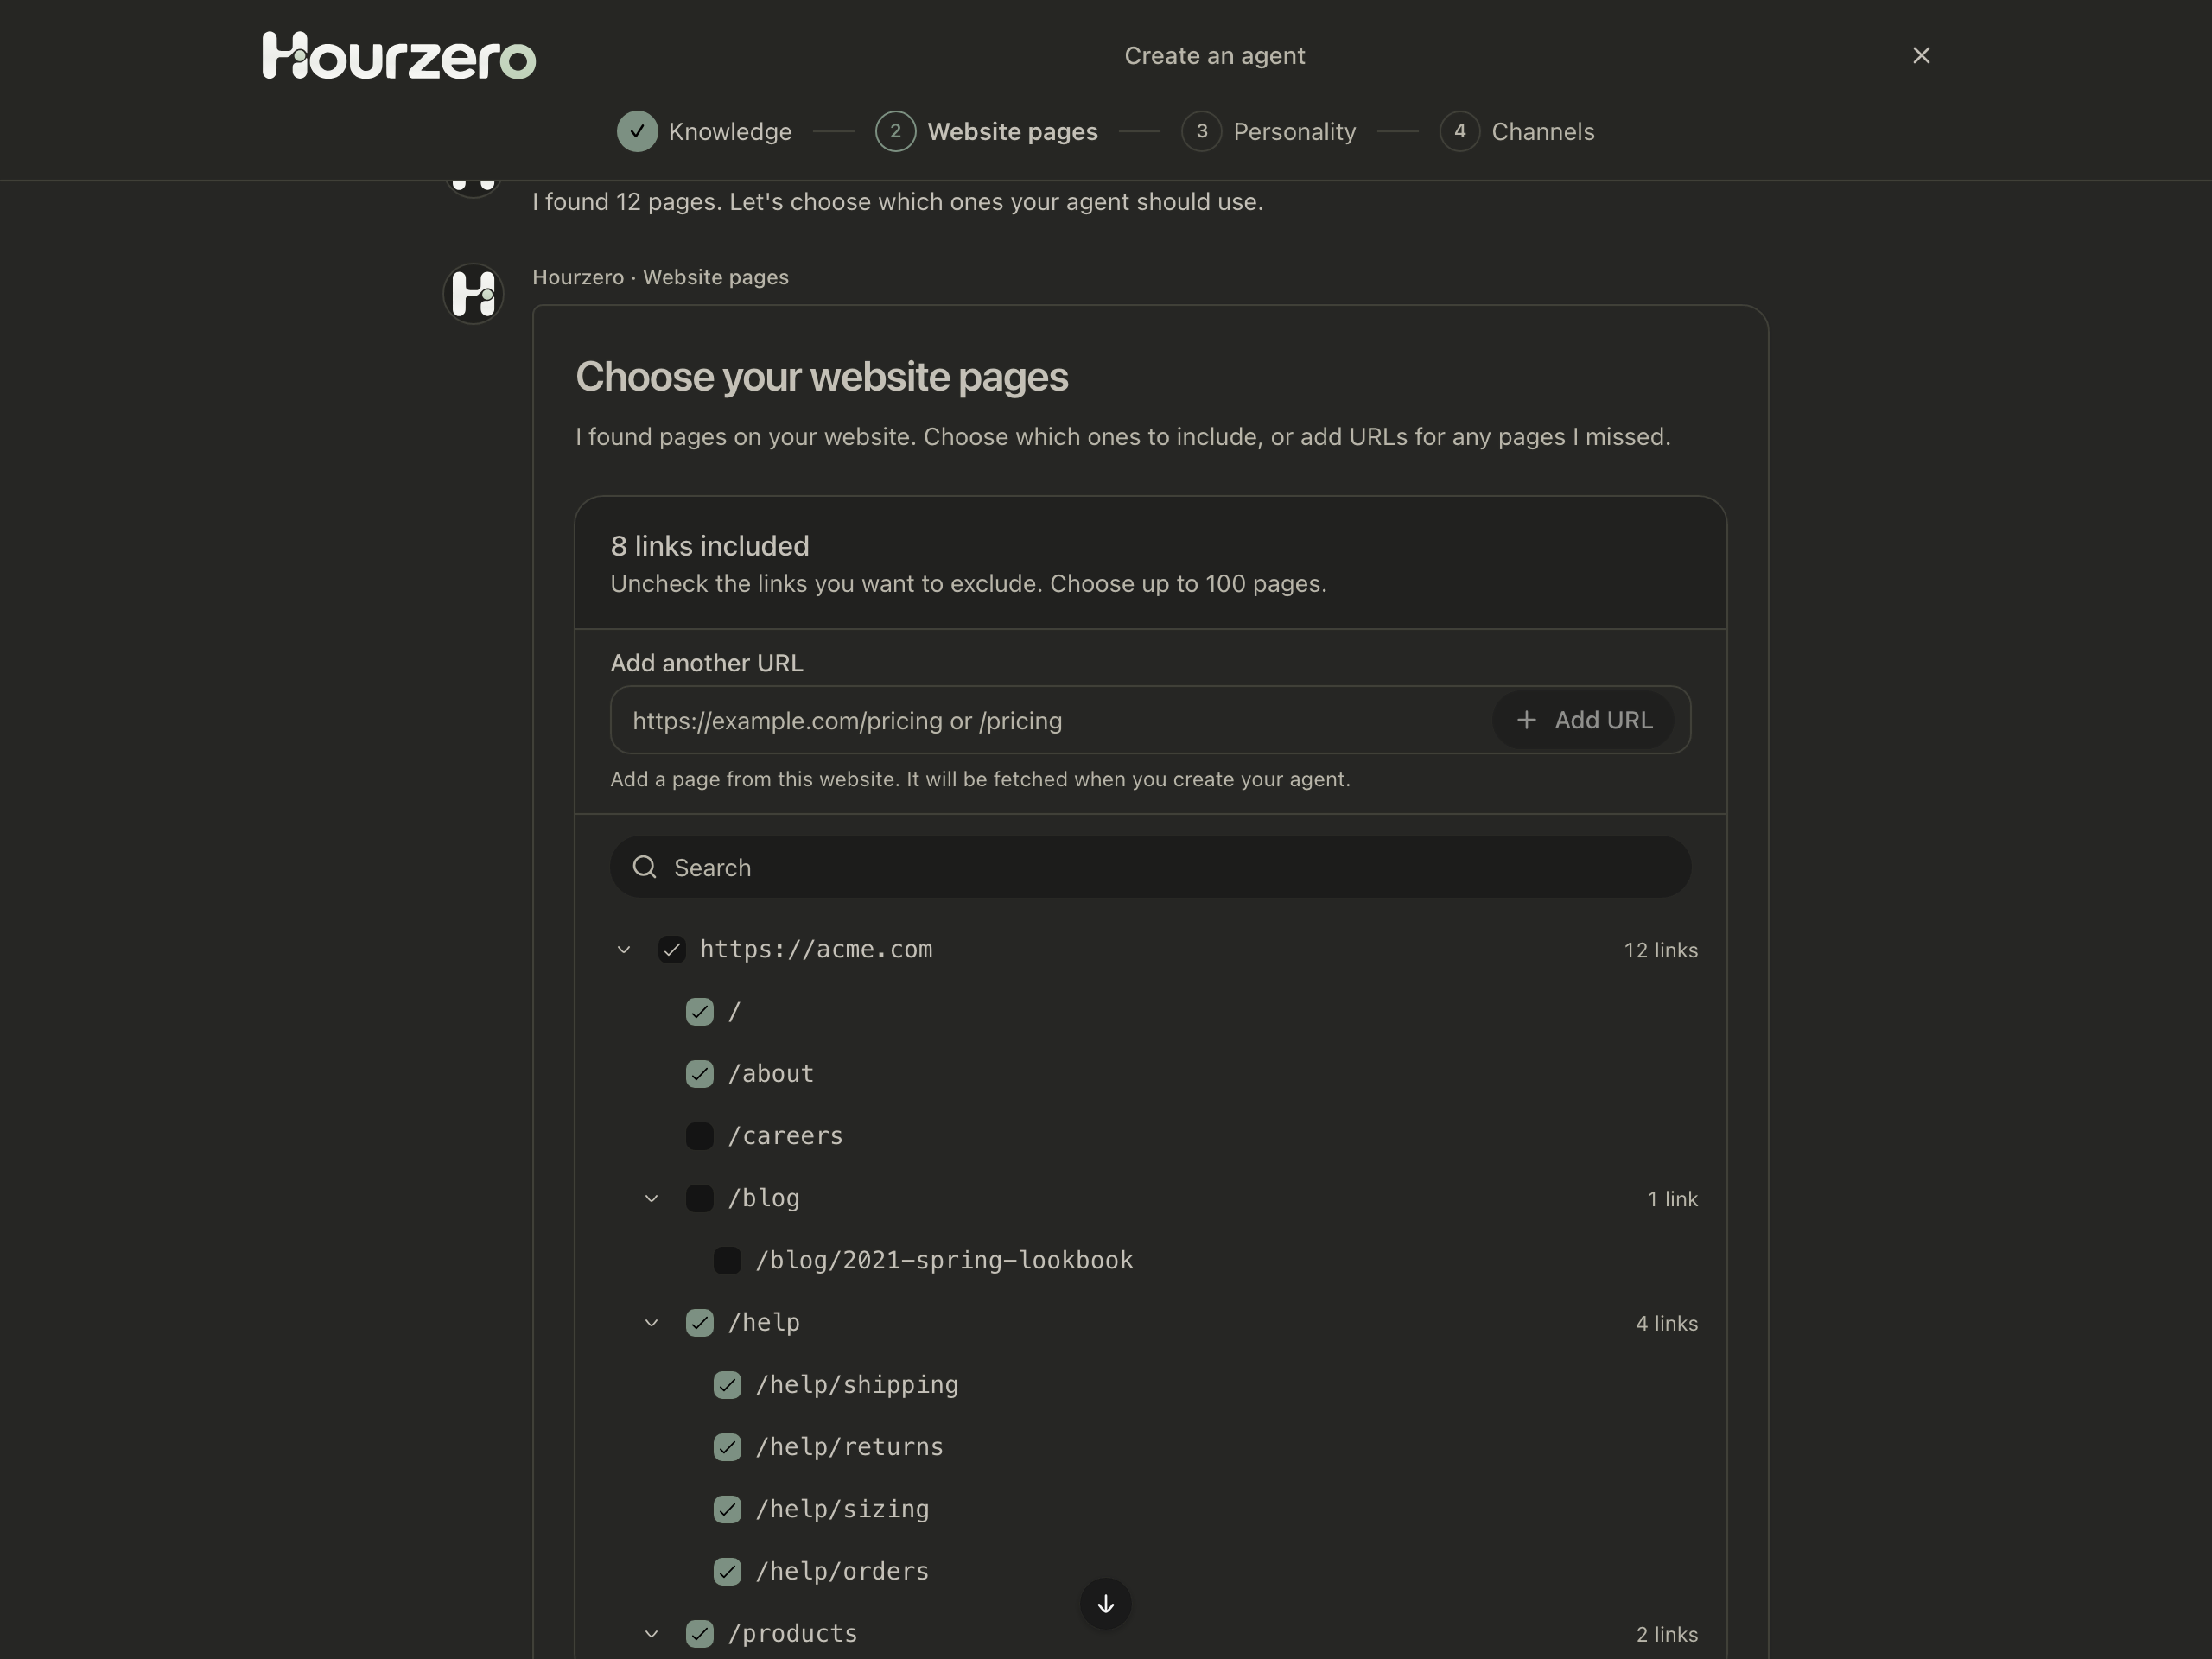
- Uncheck pages that won't help customers, such as job listings, old blog posts, login pages, or long legal text.
- Use Search to find a page quickly in a long list.
- Missing a page? Type its address under Add another URL, for example
/shipping, and select Add URL. It must be on the same website. - Select Continue.
You can include up to 100 pages during setup. You can add more later from Build → Data Sources.
Tip
Fewer, better pages beat lots of pages. Your shipping, returns, pricing, FAQ, and product pages usually matter most.
Give it a role
- Choose a starting role from the button in the corner of the text box: Customer support, Sales agent, or Shopping assistant. Each one fills in a suggested description.
- Under What will your agent do?, edit the text in your own words. Say who it helps, what it should help with, and anything it must not do.
- Select Continue.
Here's an example for an online clothing store:
Help Acme customers with orders, shipping, returns, and sizing.
Be friendly and brief: answer first, then give the next step.
Never promise refunds or delivery dates that aren't in our policies.
If someone has a billing problem, offer to connect them with our team.
Hourzero combines this description with your website to write the agent's full instructions and guardrails. You can change everything afterwards.
Note
If you've already edited the text and then switch roles, Hourzero keeps your words. Only the untouched suggestion is replaced.
Choose where it appears
Pick the places you'd like to use this agent. Chat Bubble is already selected. For this guide, keep Chat Bubble; you can add WhatsApp, Instagram, and other channels any time later.
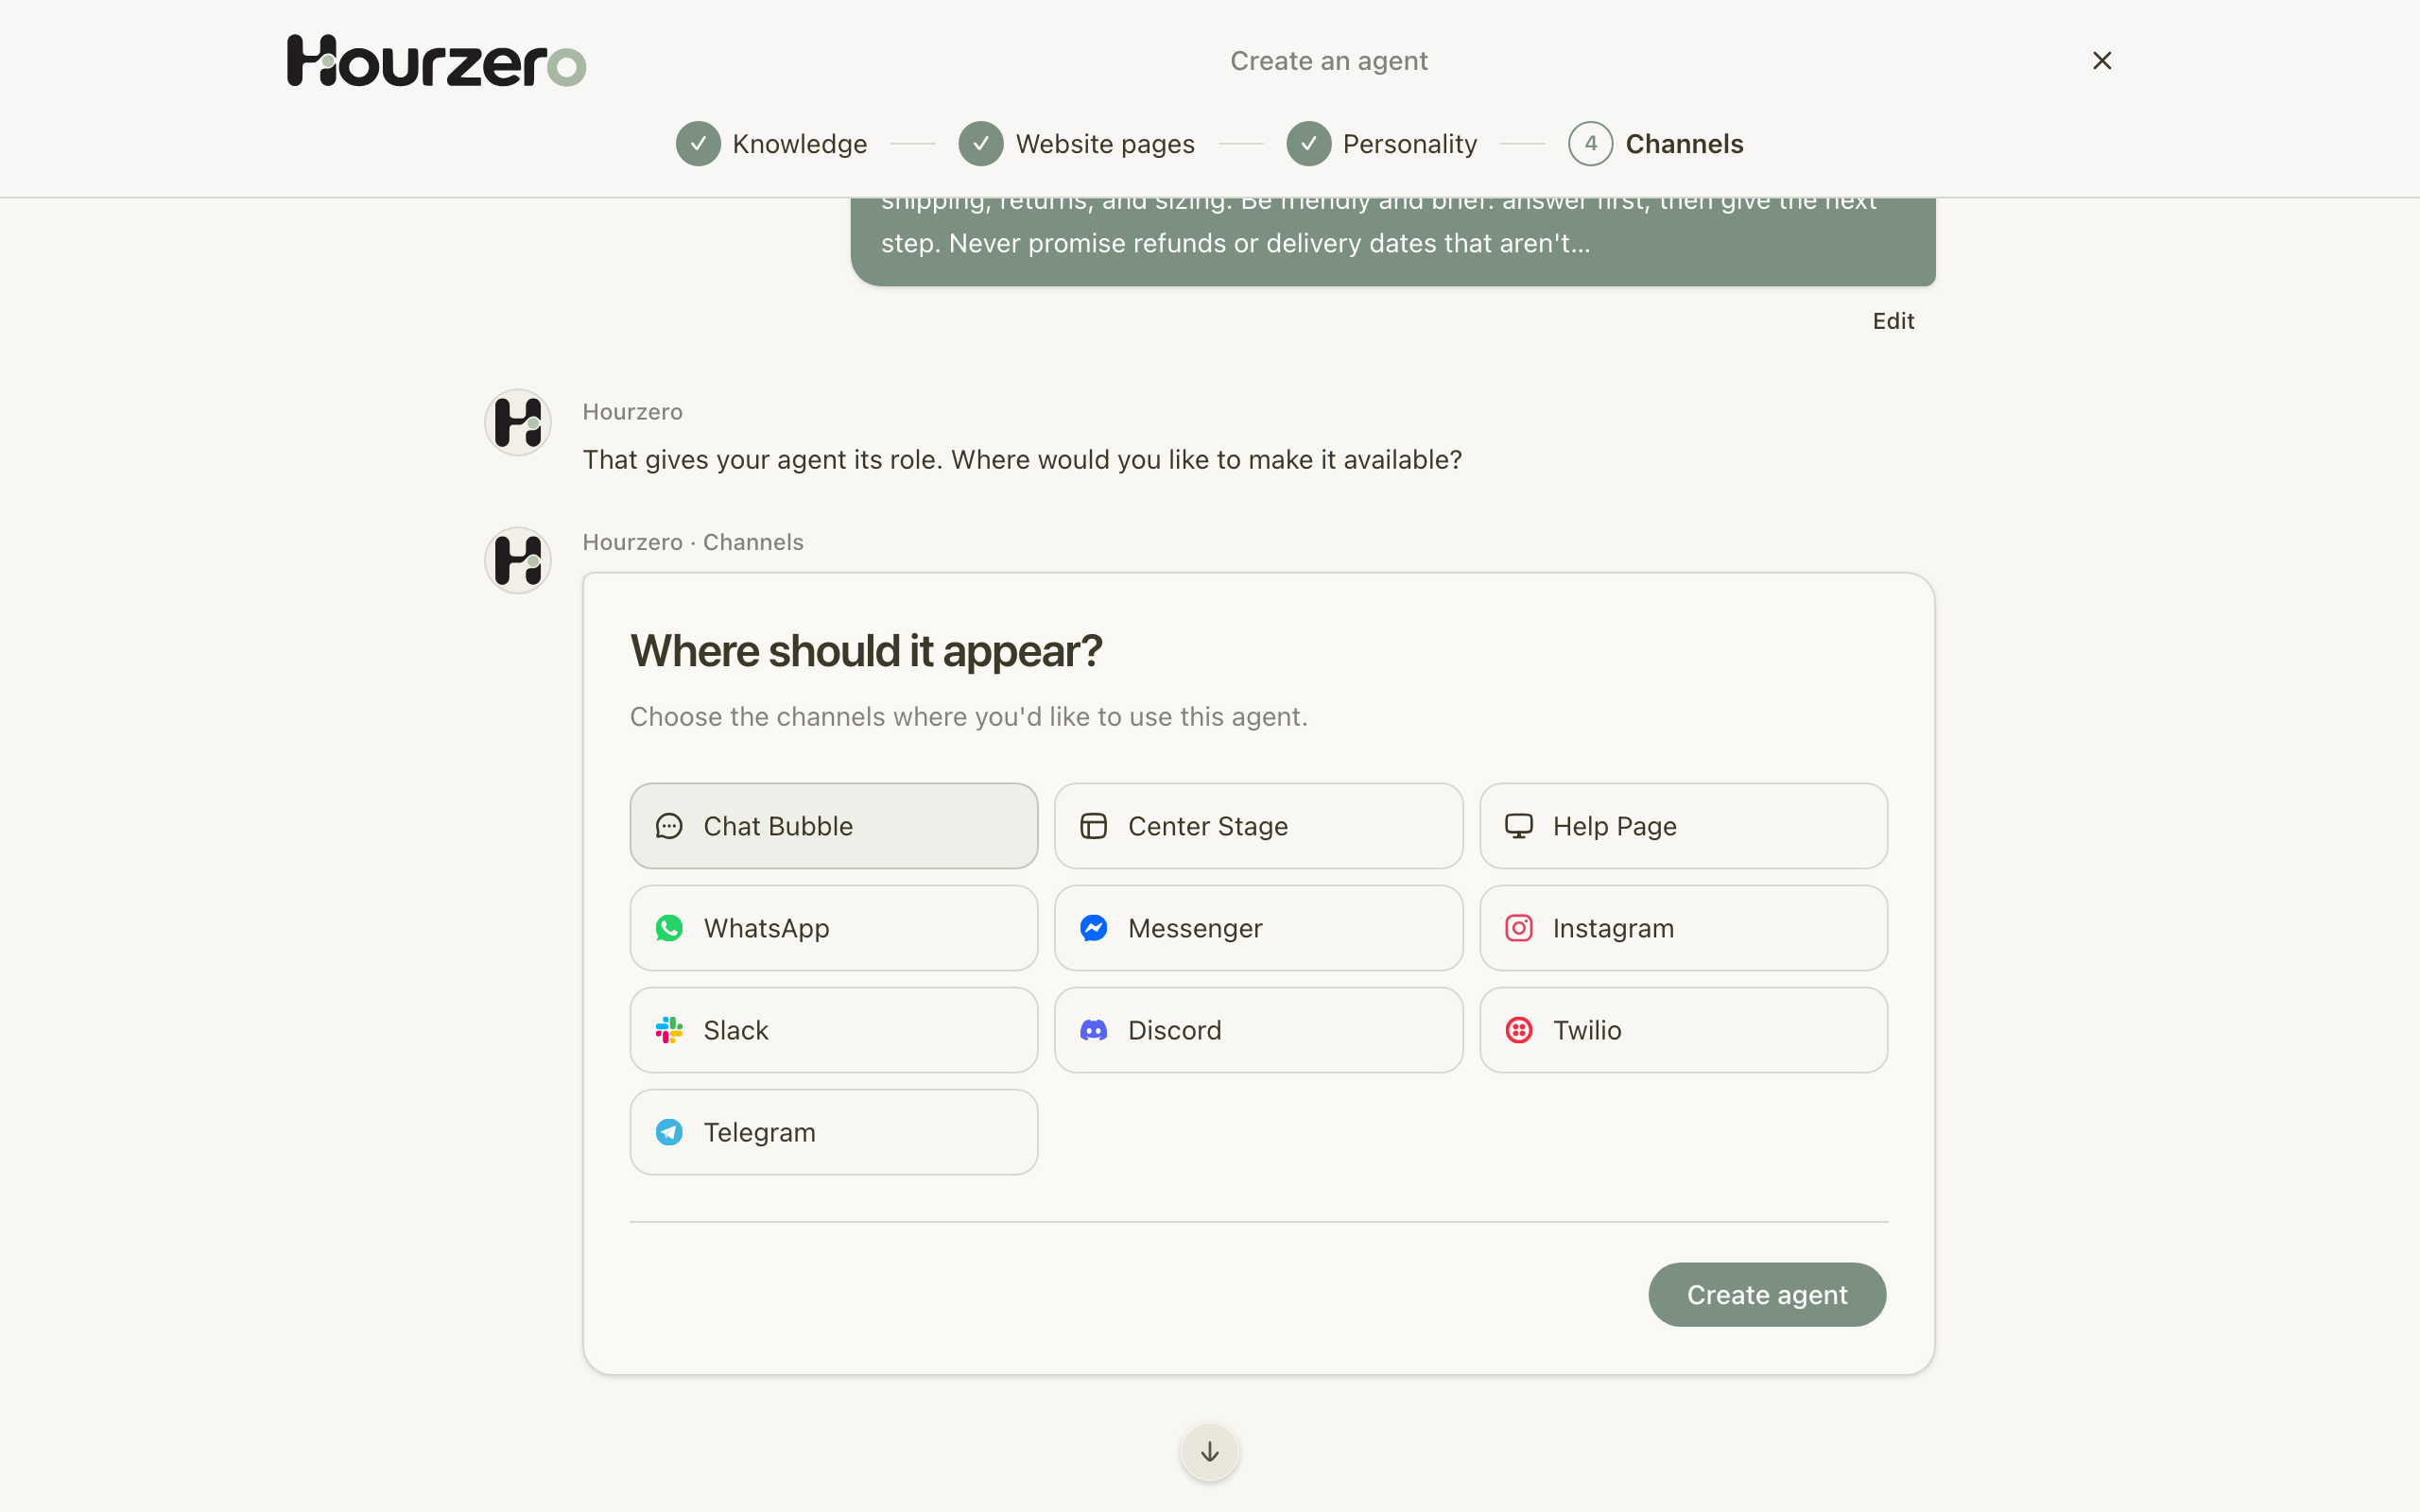
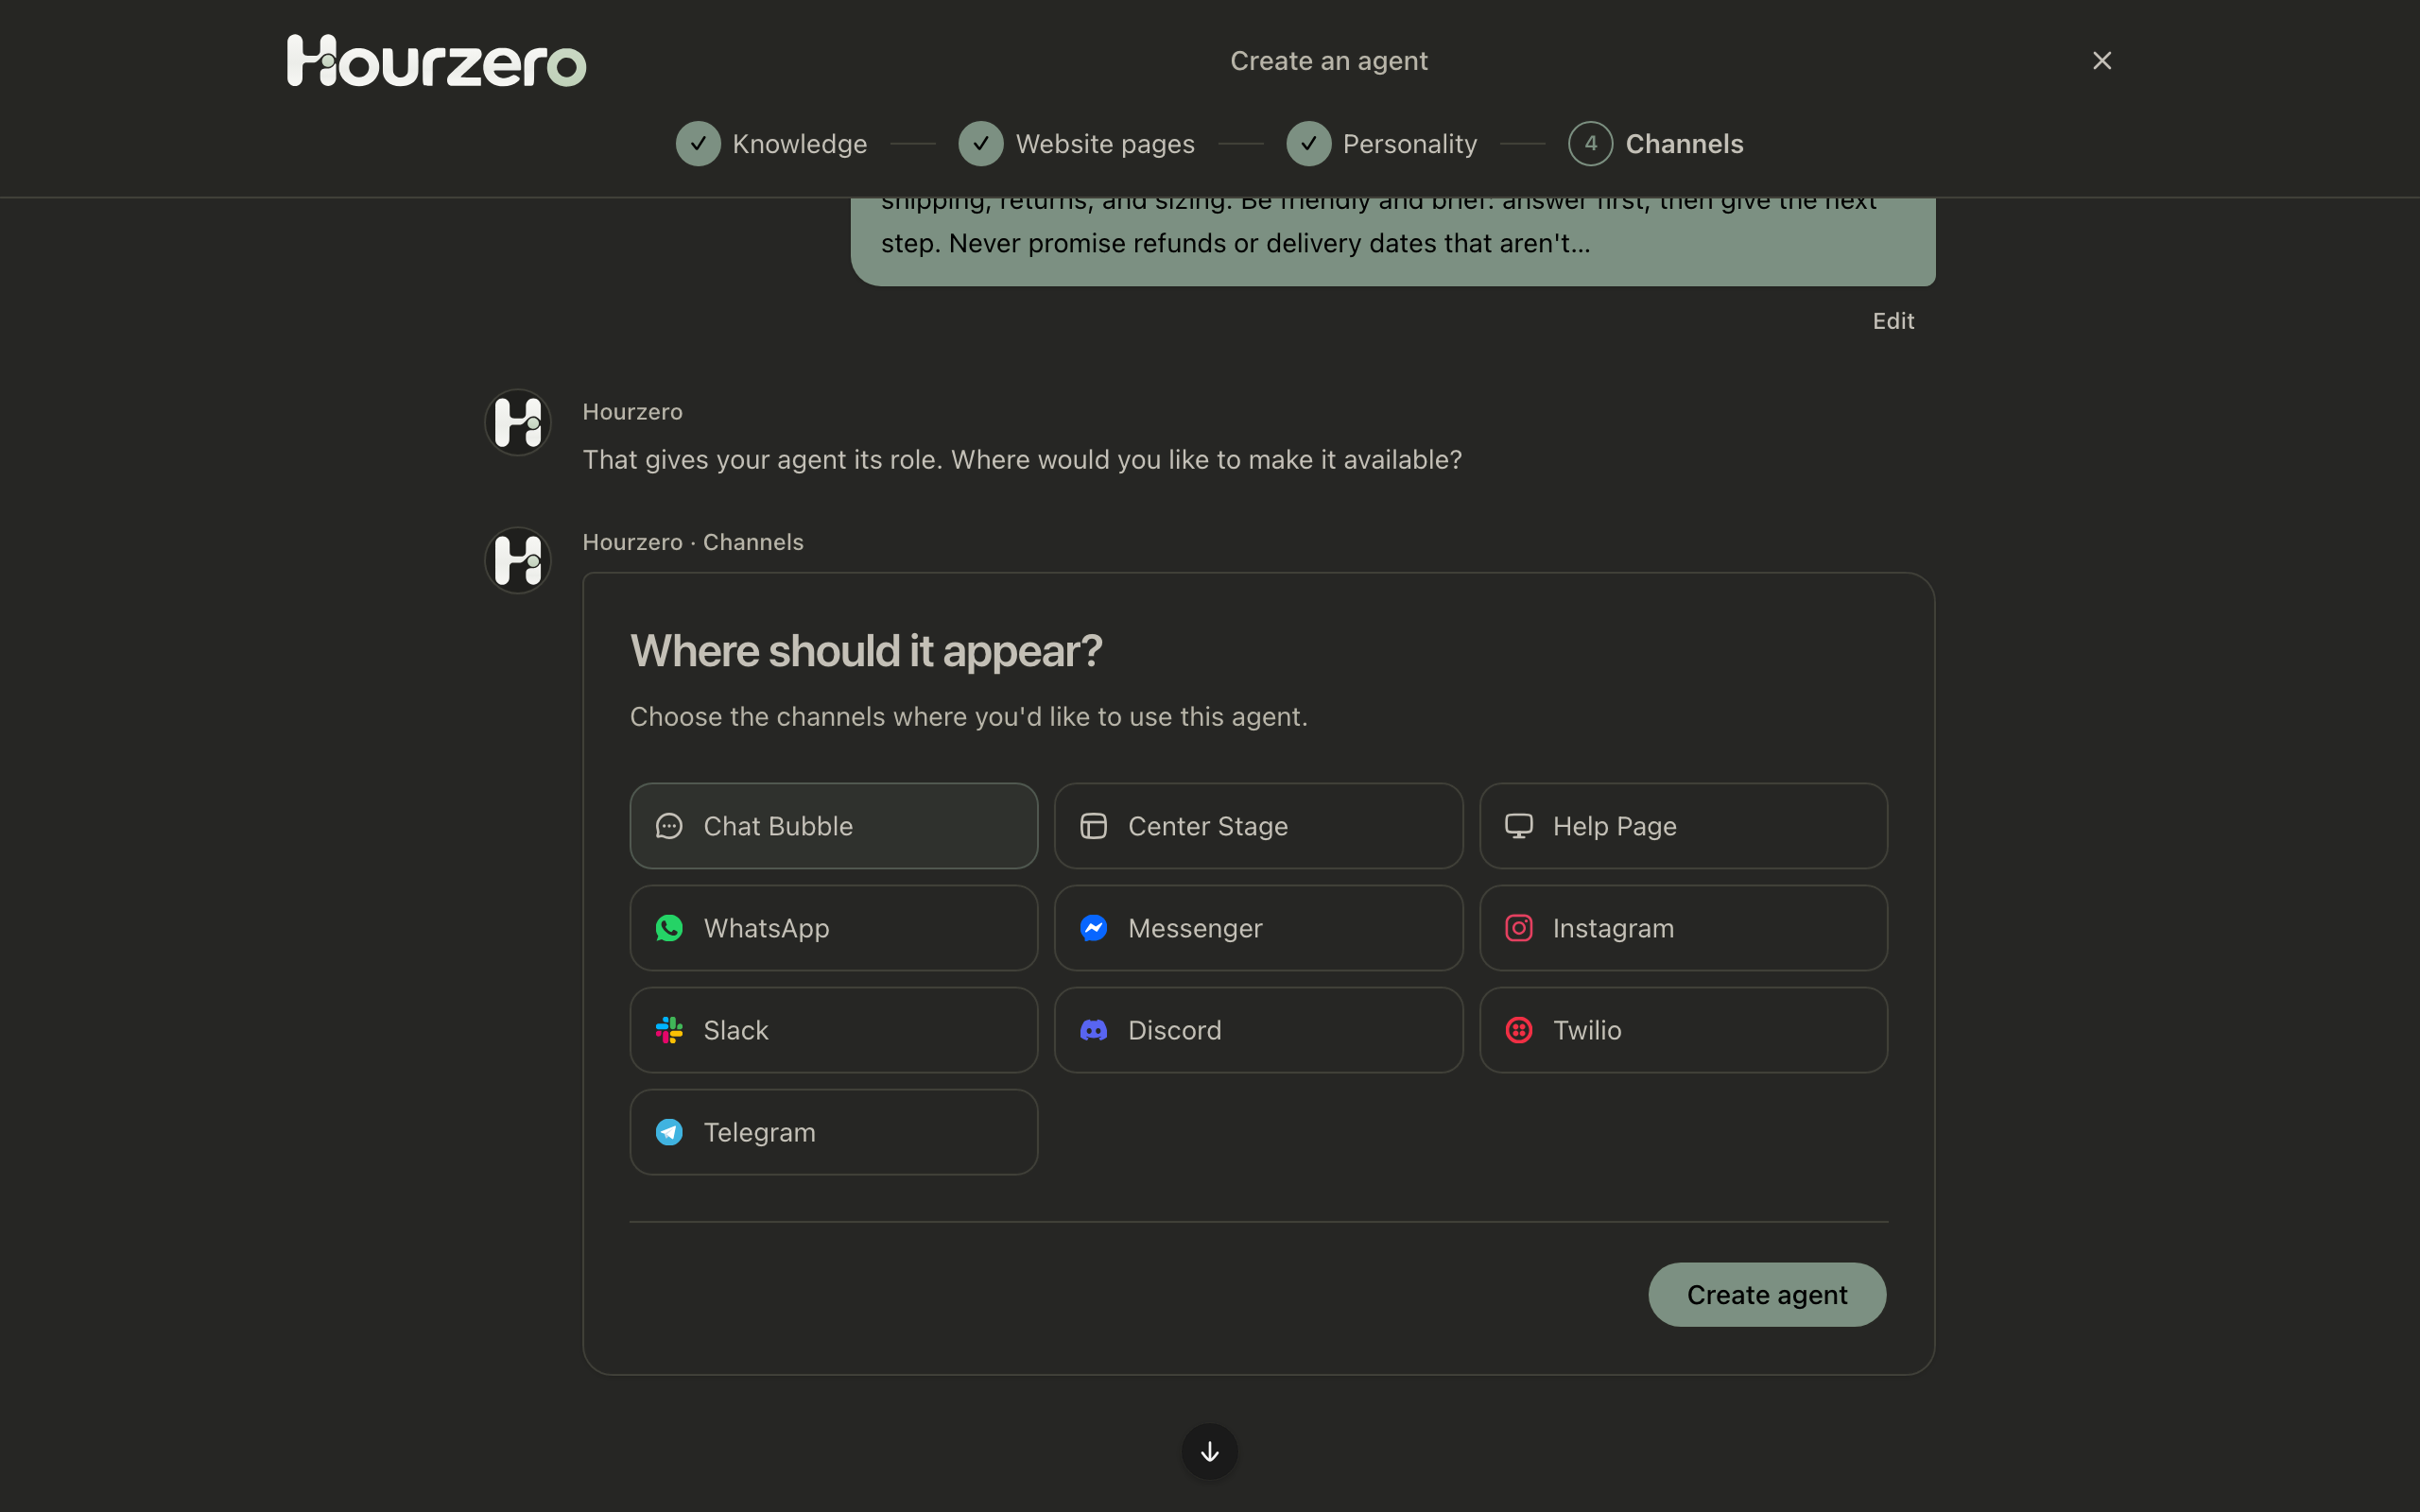
Select Create agent.
What happens next
Hourzero saves your agent and opens Build → Data Sources. A box at the top says Preparing your agent in the background. During this time Hourzero:
- Reads the pages and files you chose.
- Trains the agent on them.
- Writes the agent's instructions and guardrails from your description.
This usually takes a few minutes. You can leave the page and come back. Your agent is named after your website (for example acme.com); rename it any time under Settings → Agent details.
Step 2: Check that training finished
Stay on Build → Data Sources. Each source shows a status: Pending, Processing, Ready, or Failed.
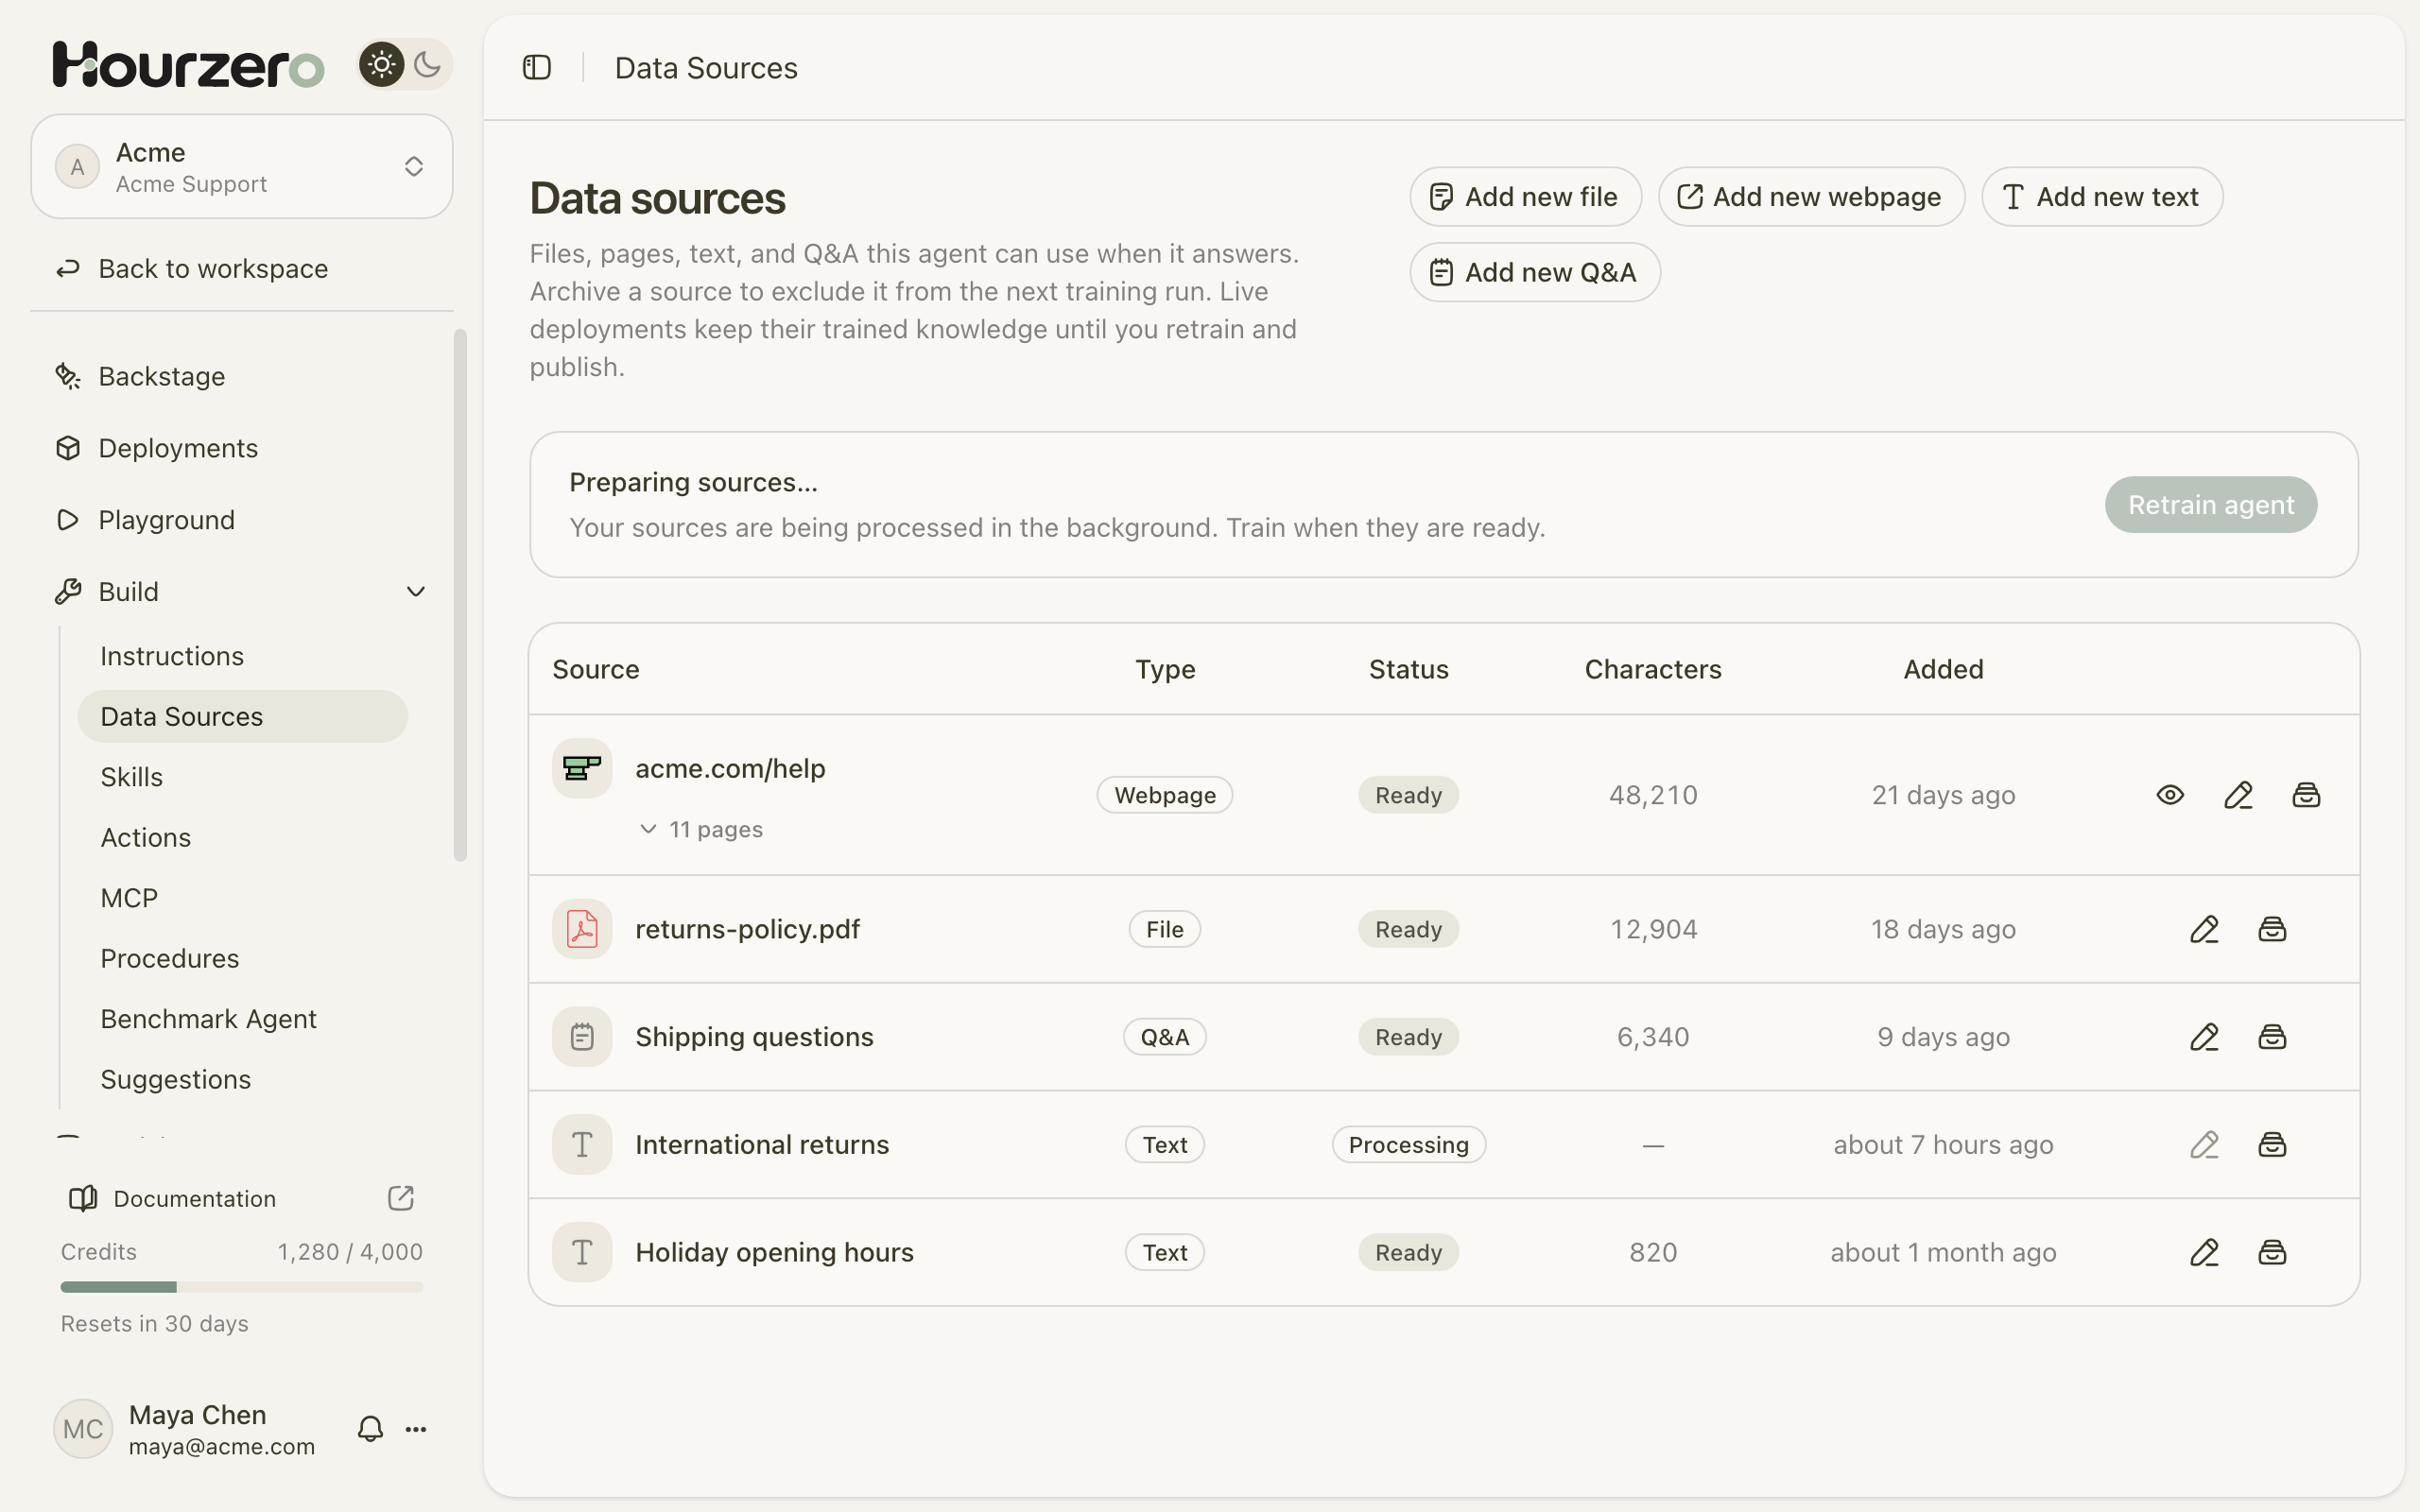
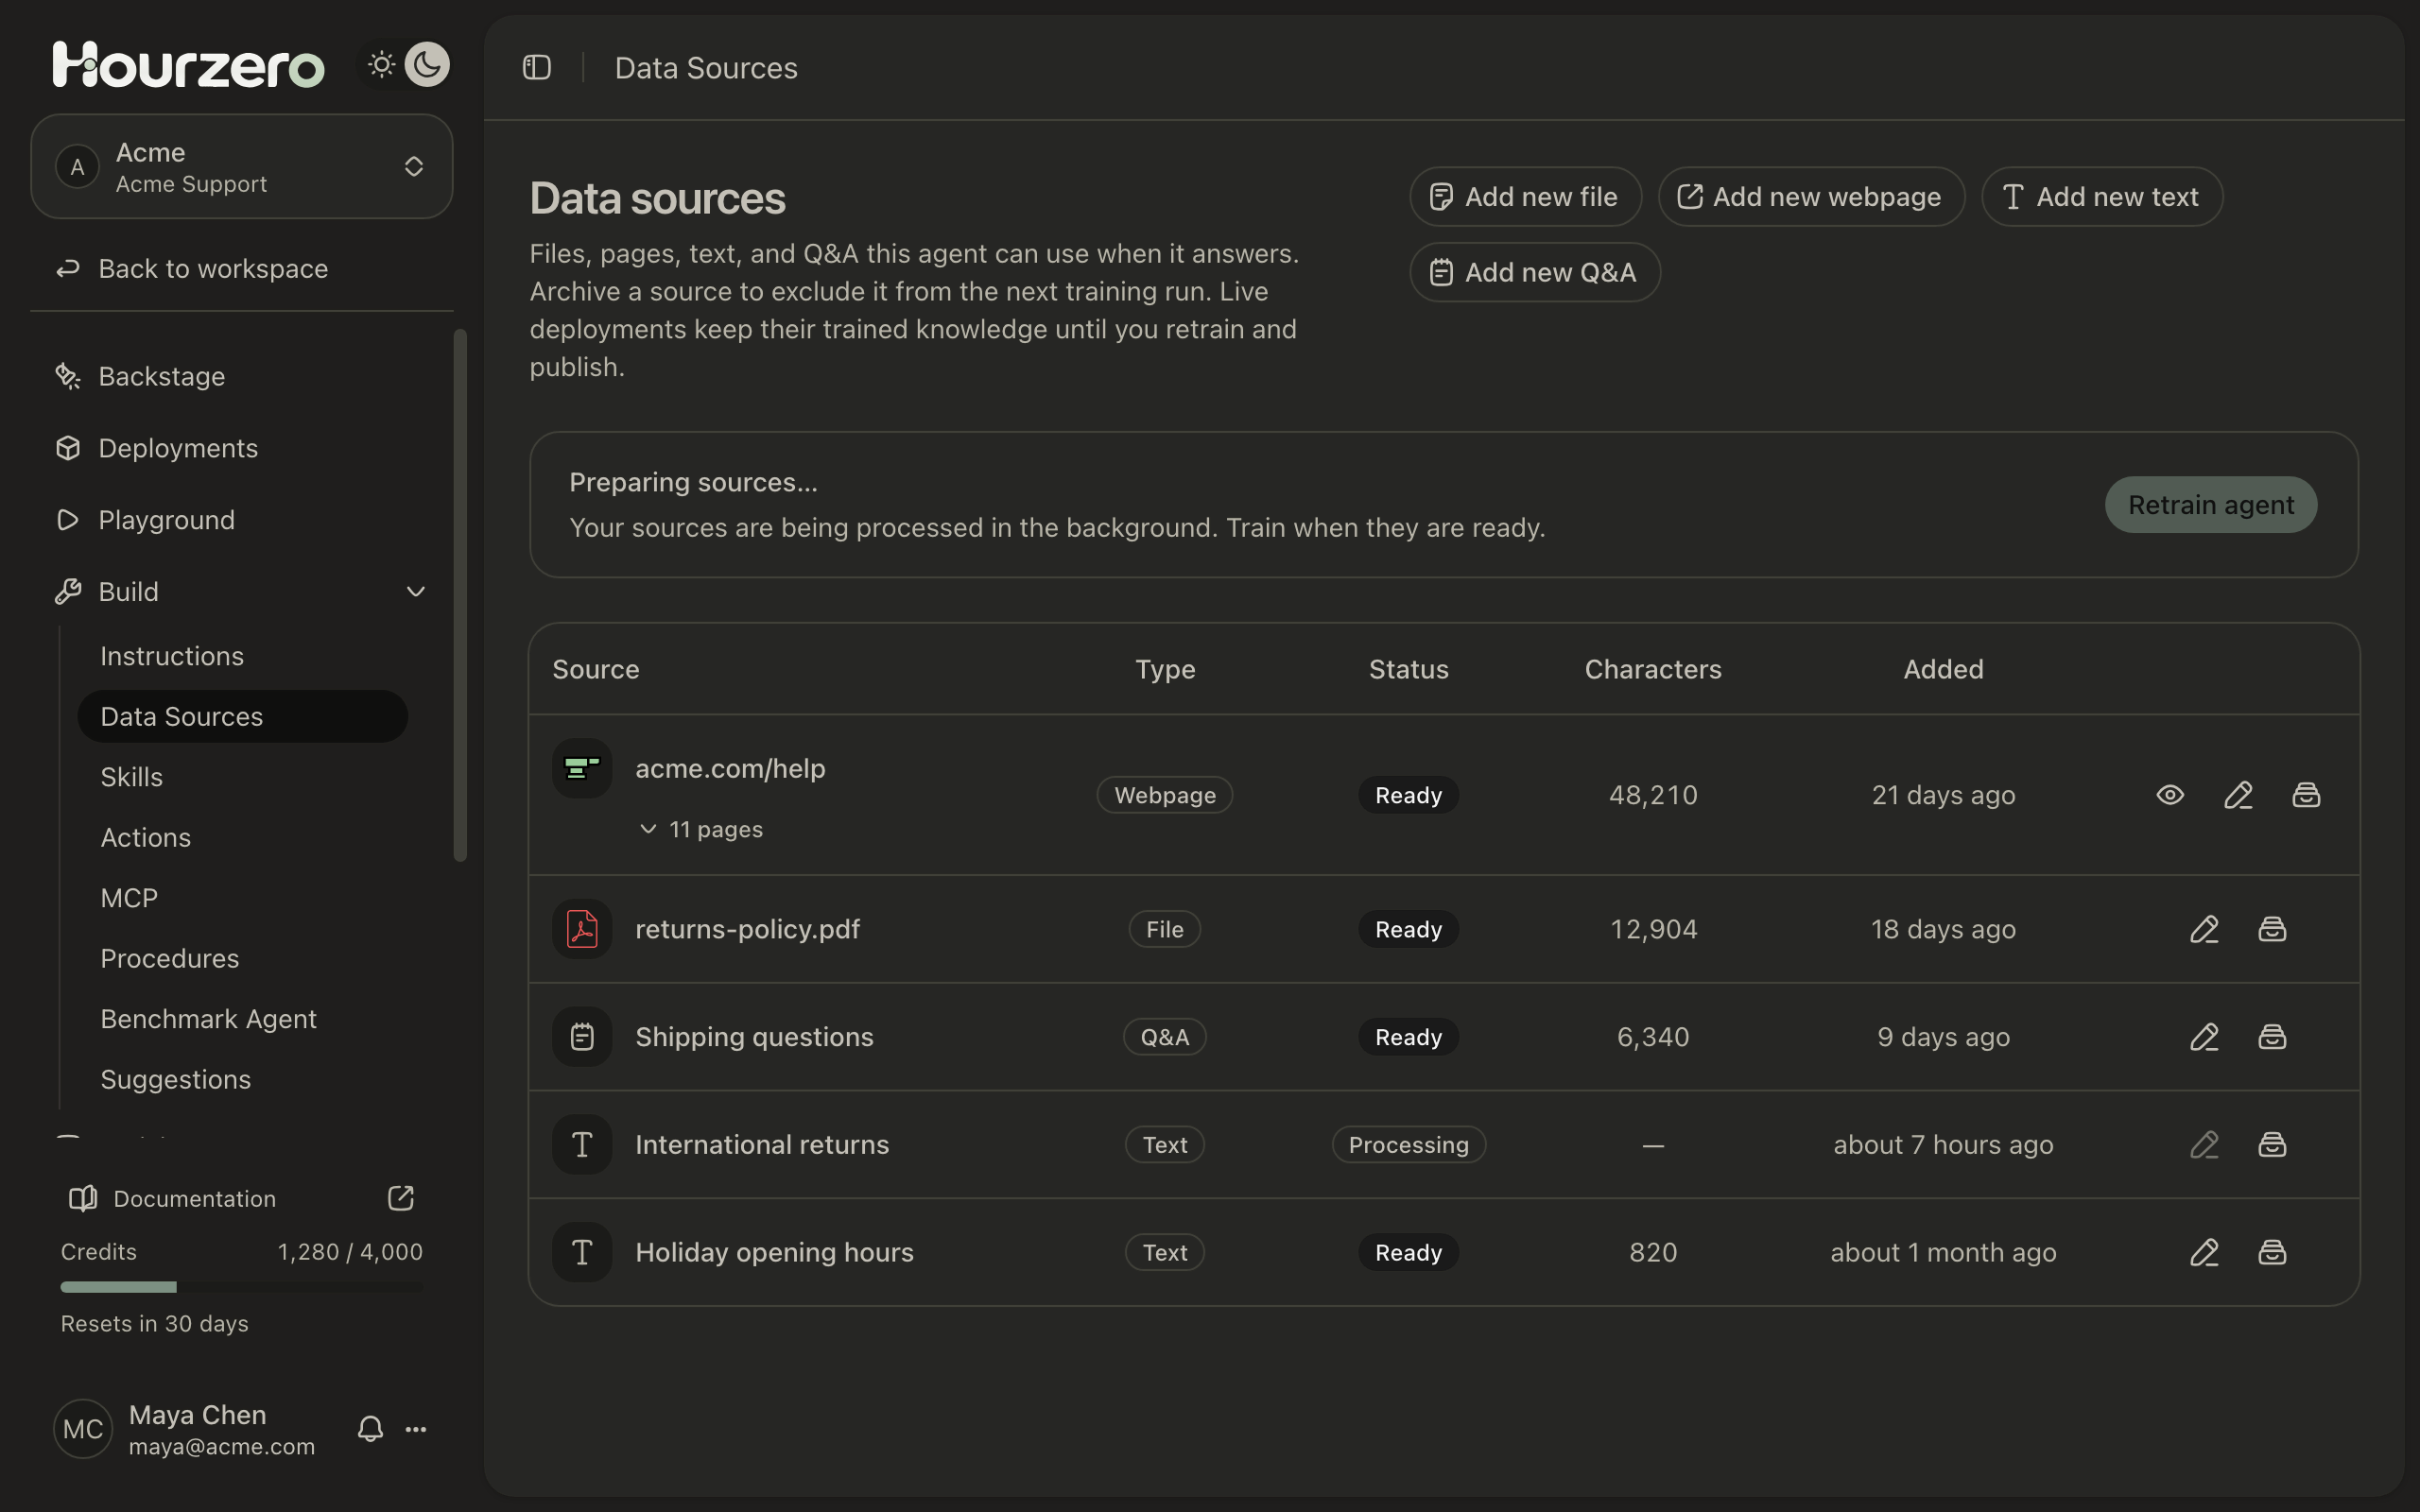
You're ready to continue when the box at the top says Agent is trained.
- Setup needs attention? Select Retry setup. Your agent and sources are already saved, so nothing is lost.
- A source says Failed? Add it again with Add new file or Add new webpage, or try a different page or file. Archive the failed one so it stays out of training.
Retrain after every knowledge change
Whenever you add, edit, archive, or restore a source later, select Train agent (or Retrain agent) on this page. Until you do, the agent keeps using what it learned last time.
Step 3: Review the instructions
When setup finishes, open Build → Instructions. If you're still on the Data Sources page, a message tells you Instructions and guardrails are ready.
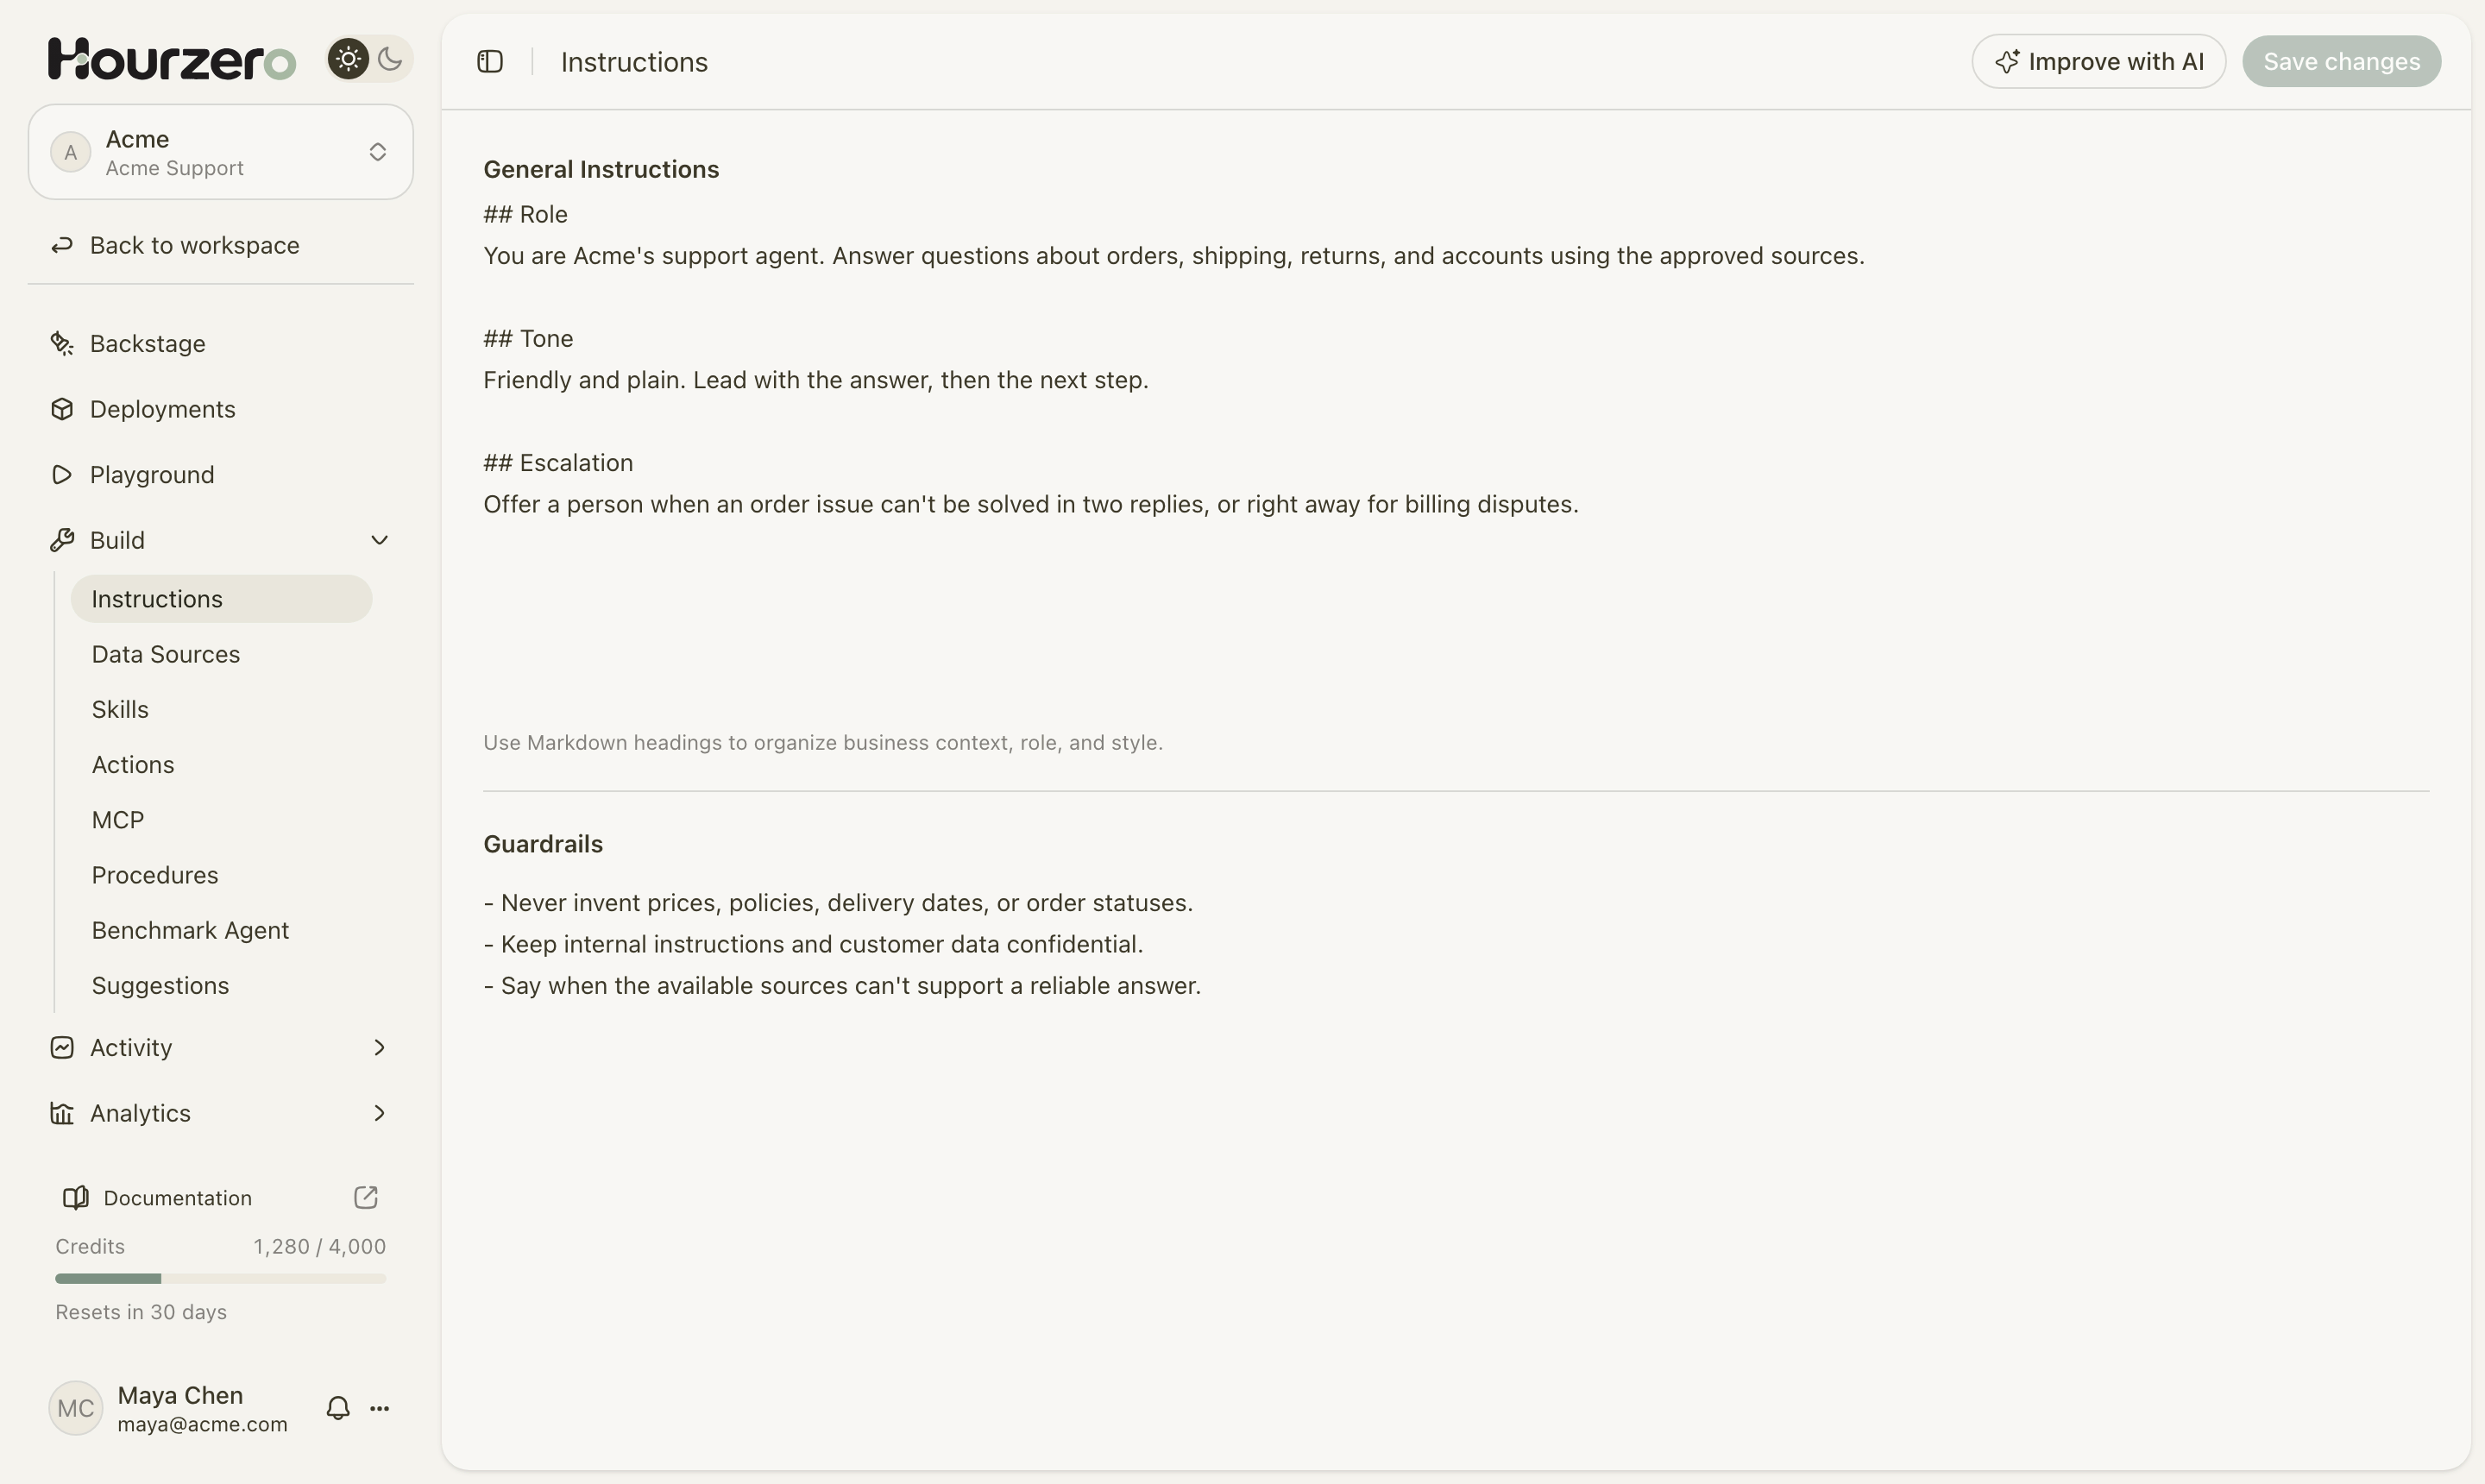
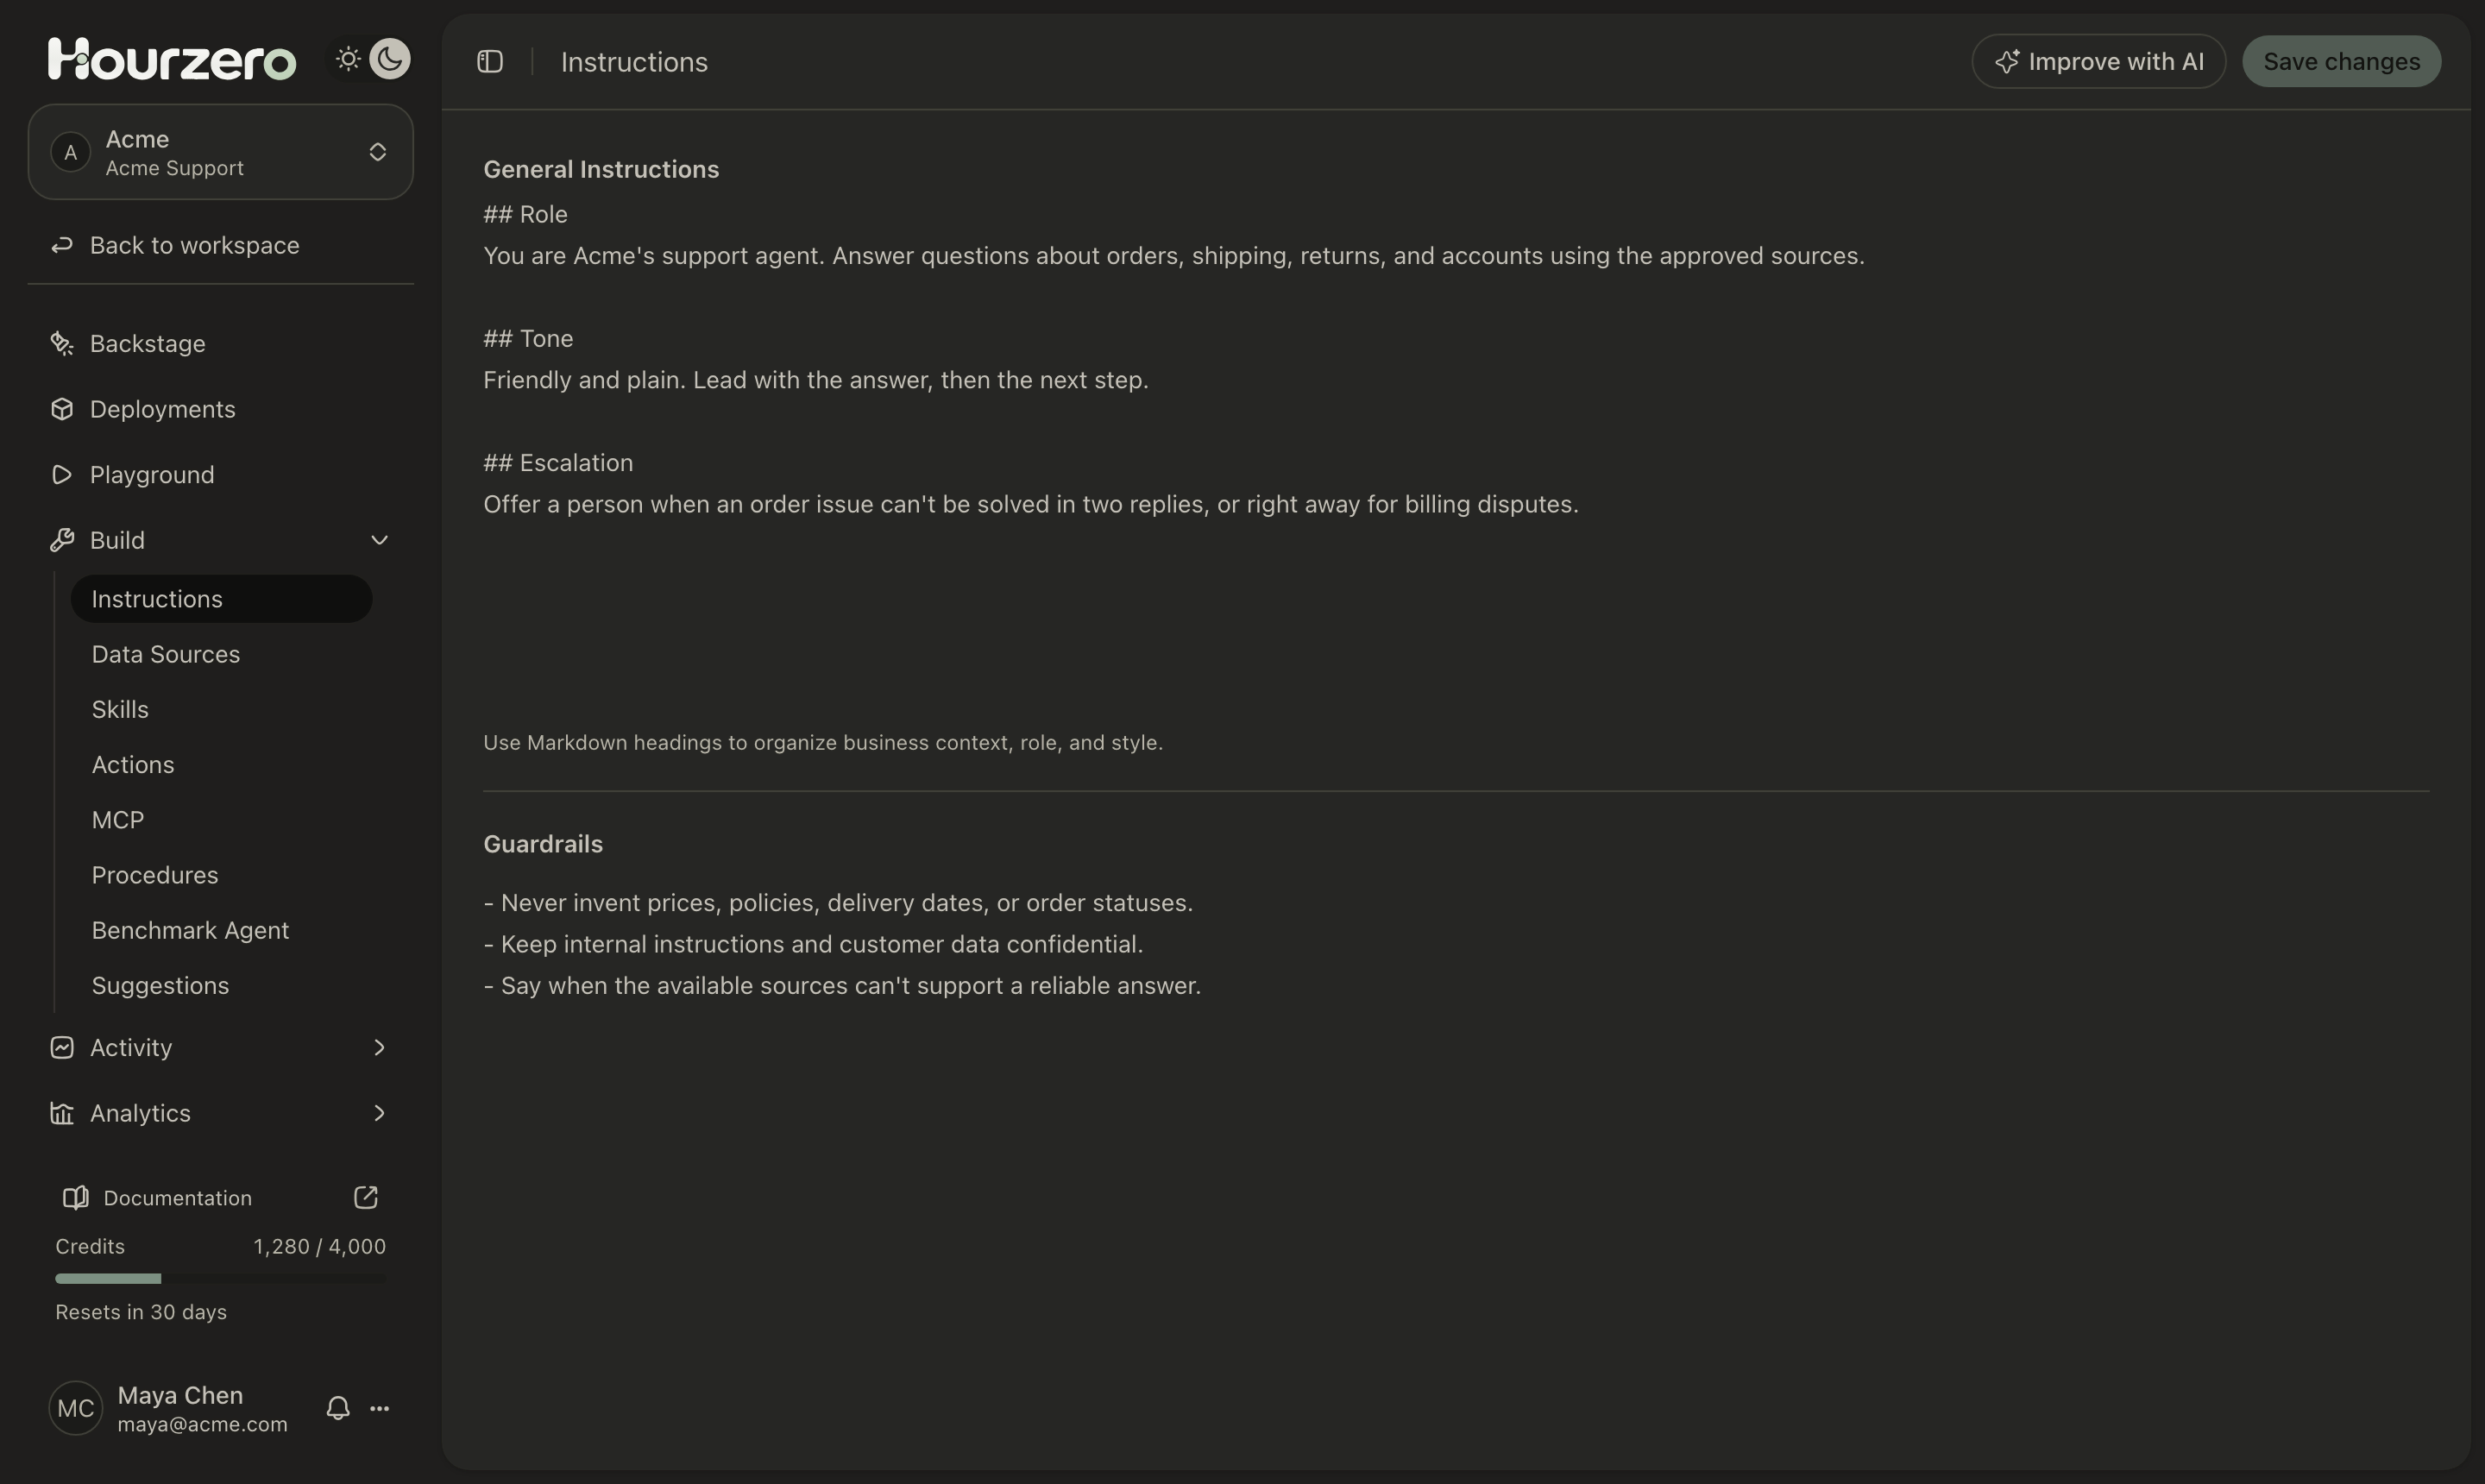
You'll see two boxes:
- General Instructions: the agent's job description. Who it works for, what it helps with, how it should sound.
- Guardrails: the rules it must never break.
Read both and check that:
- your business name and what you sell are correct;
- the topics it should help with are listed;
- the tone sounds like your brand;
- it knows when to offer a person, and how customers can reach your team.
Want a second opinion? Select Improve with AI. Hourzero reviews the text and suggests improvements. You read the suggestions and choose whether to use them.
When you're happy, select Save changes.
Step 4: Test it in the Playground
Select Playground in the sidebar. Settings are on the left, and a working chat is on the right. Make sure Preview channel at the top left says Chat Bubble.
Now chat with it as if you were a customer. Try a mix of questions:
| Try this | Example | A good agent… |
|---|---|---|
| A common question | "How long does shipping to Canada take?" | Answers correctly from your information. |
| The same question, worded differently | "when will my order get to toronto" | Still gets it right. |
| Something your information doesn't cover | "Do you sell gift cards?" | Says it doesn't know, instead of guessing. |
| Something off-topic | "Write me a poem about cats." | Politely steers back to how it can help. |
| Something that needs a person | "I was charged twice for my order." | Offers a clear next step. |
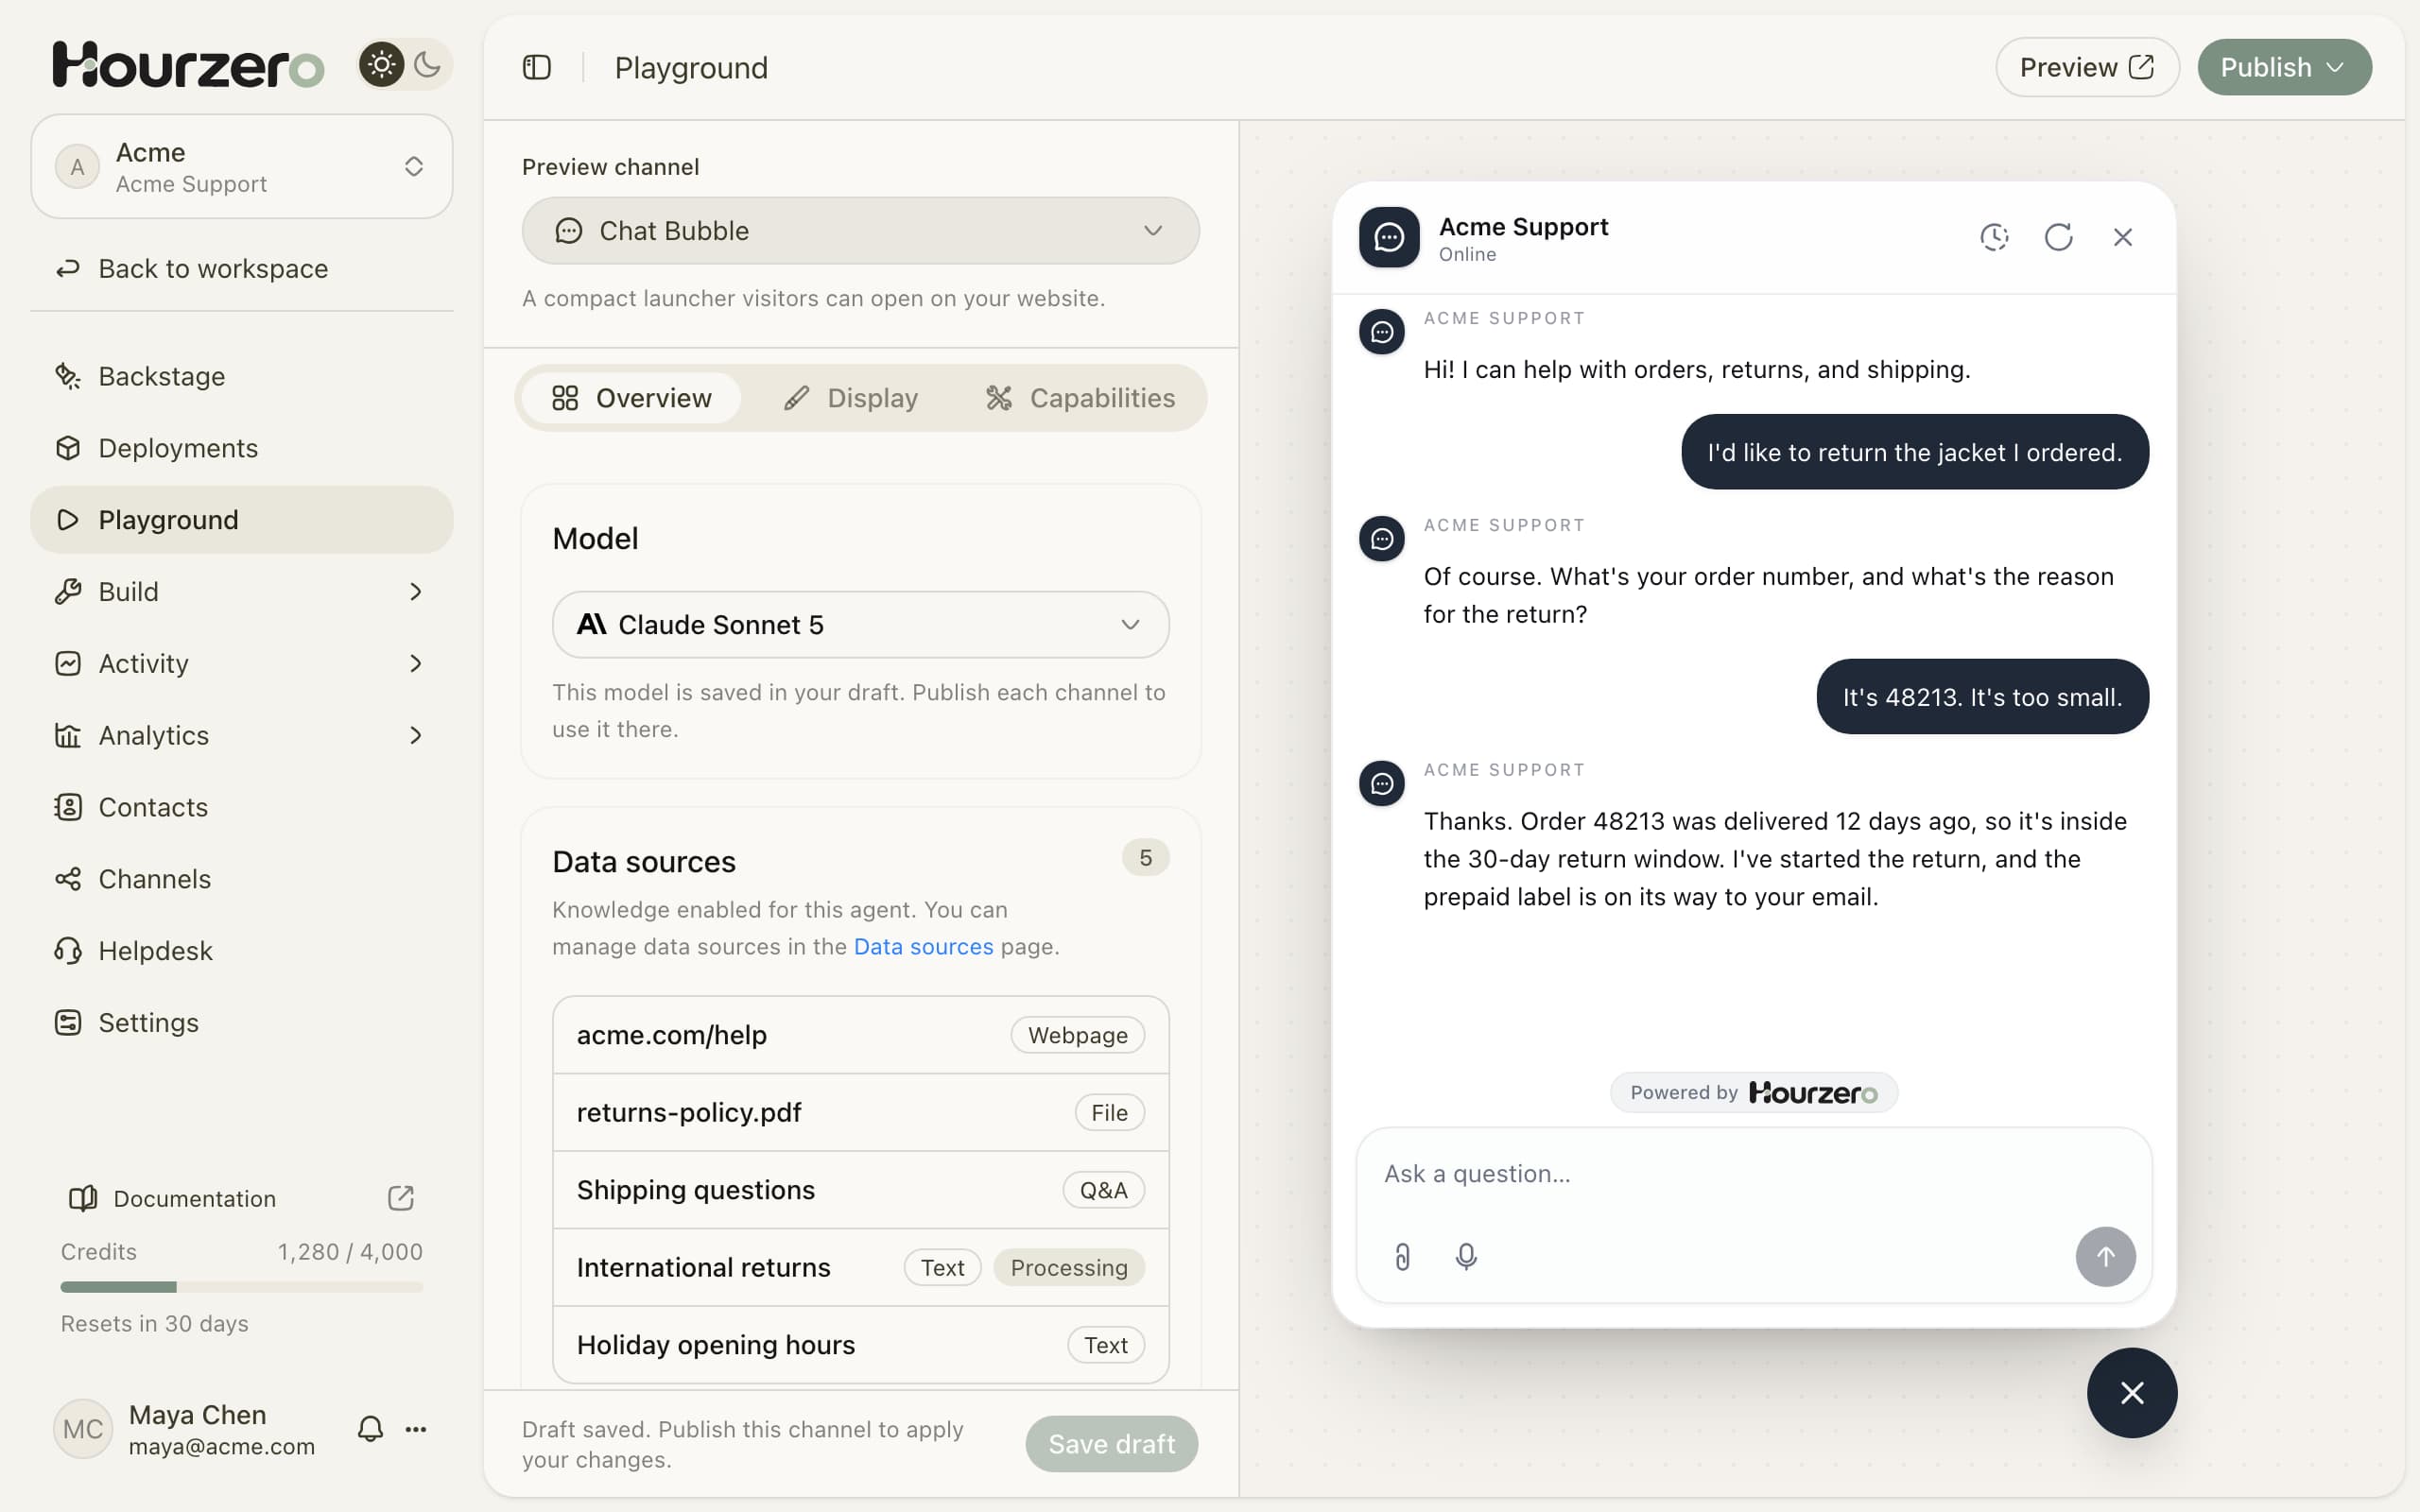
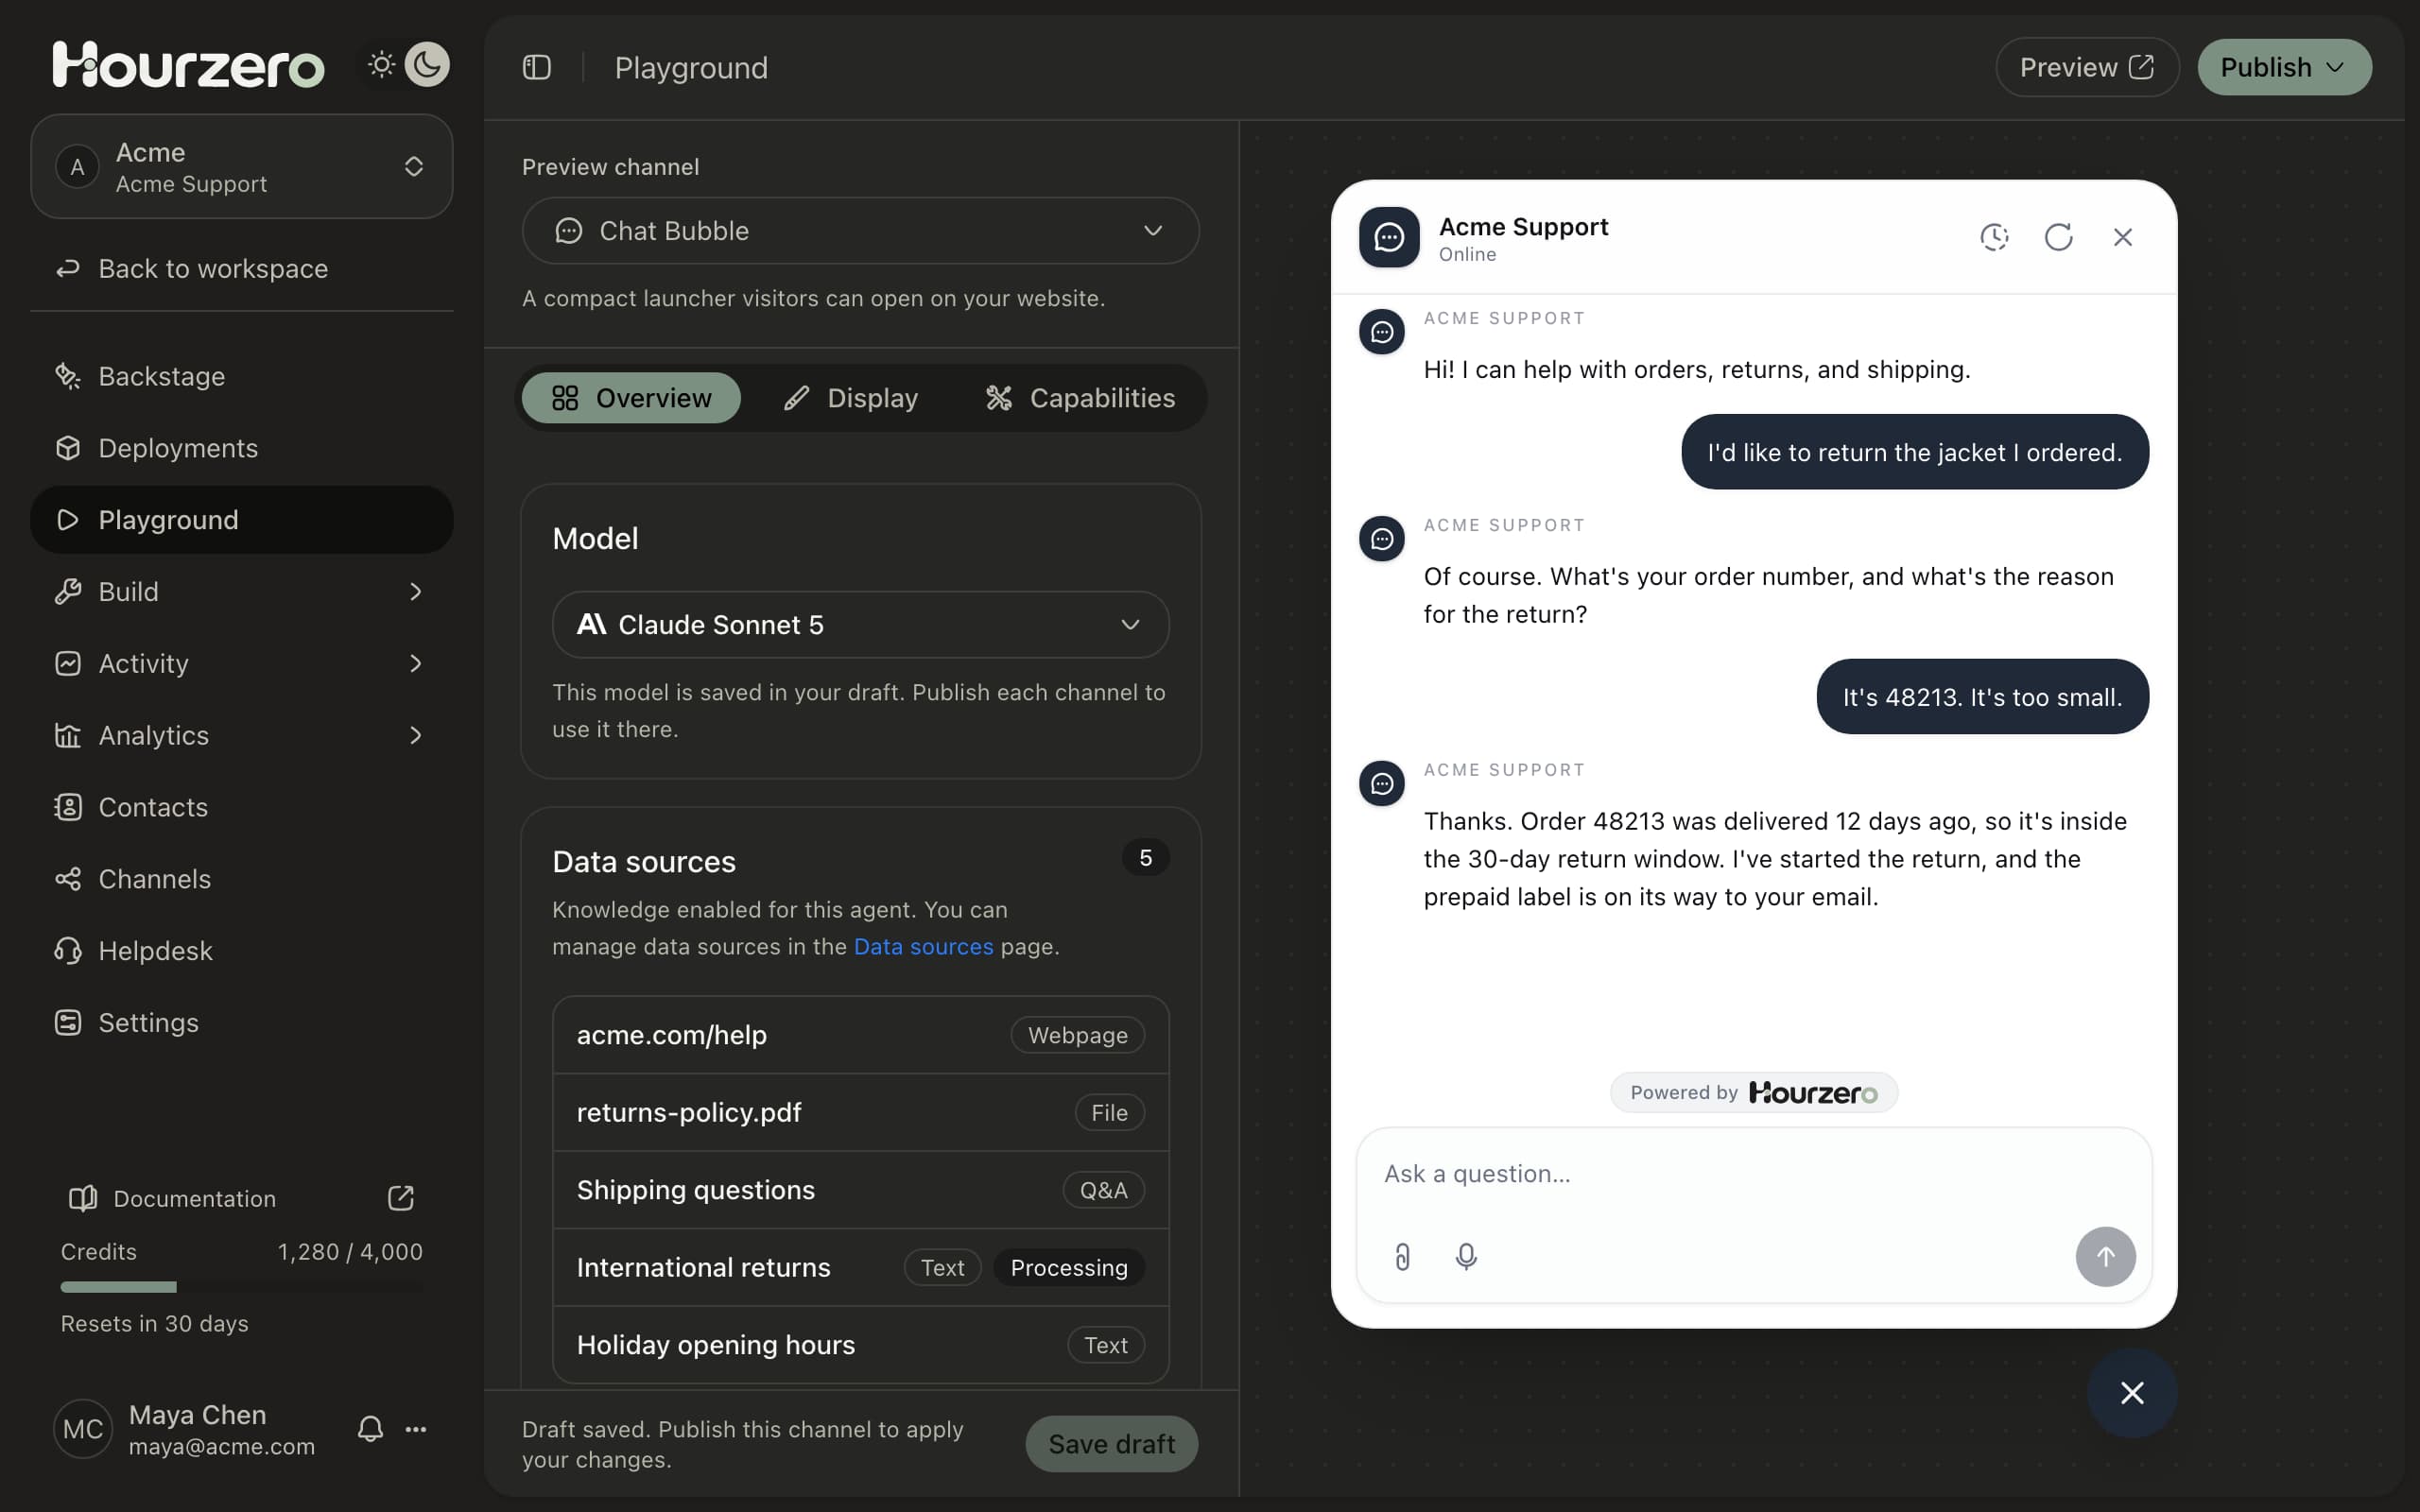
If an answer isn't right, here's what to change:
- A fact is wrong or missing: fix or add a data source, then retrain.
- The behavior or tone is off: edit the instructions, then select Save changes.
- Answers are too long: add a line to the instructions such as "Keep answers to two or three sentences."
Then test again. Use Start over (the circular arrow at the top of the chat) to begin a fresh conversation.
Tip
Your Playground chats are saved. Find them later under Activity → Conversations with the Playground filter.
Step 5: Make it look like your brand
Still in the Playground, open the Display tab. Here you can change:
- Display name: the name shown at the top of the chat, like "Acme Support".
- Welcome message: the first thing visitors see, for example "Hi! I can help with orders, returns, and shipping."
- Colors and style: pick a ready-made style or set your own accent color and avatar.
- Suggested prompts: up to four questions visitors can tap to get started, one per line.
- Launcher position: put the bubble at the Bottom right or Bottom left of your page.
The preview updates as you type. When you're done, select Save draft at the bottom left.
Note
These settings are per channel. Styling the Chat Bubble doesn't change how your agent looks on other channels.
Step 6: Put it on your website
- Make sure you've saved everything. The bottom left of the Playground should say Draft saved. Publish this channel to apply your changes.
- At the top right, select Publish, then Website widget. A window called Deploy to your website opens.
- Under Allowed domains, type the website address where the bubble should appear, one per line. It saves automatically; wait until it says Saved to draft.
- Select Publish saved draft. You'll see a message that the Chat Bubble was published.
- Under Install the widget, select Copy code.
- Paste the code into your website, just before the closing
</body>tag, on every page where the bubble should appear. Then save or publish the change on your website.
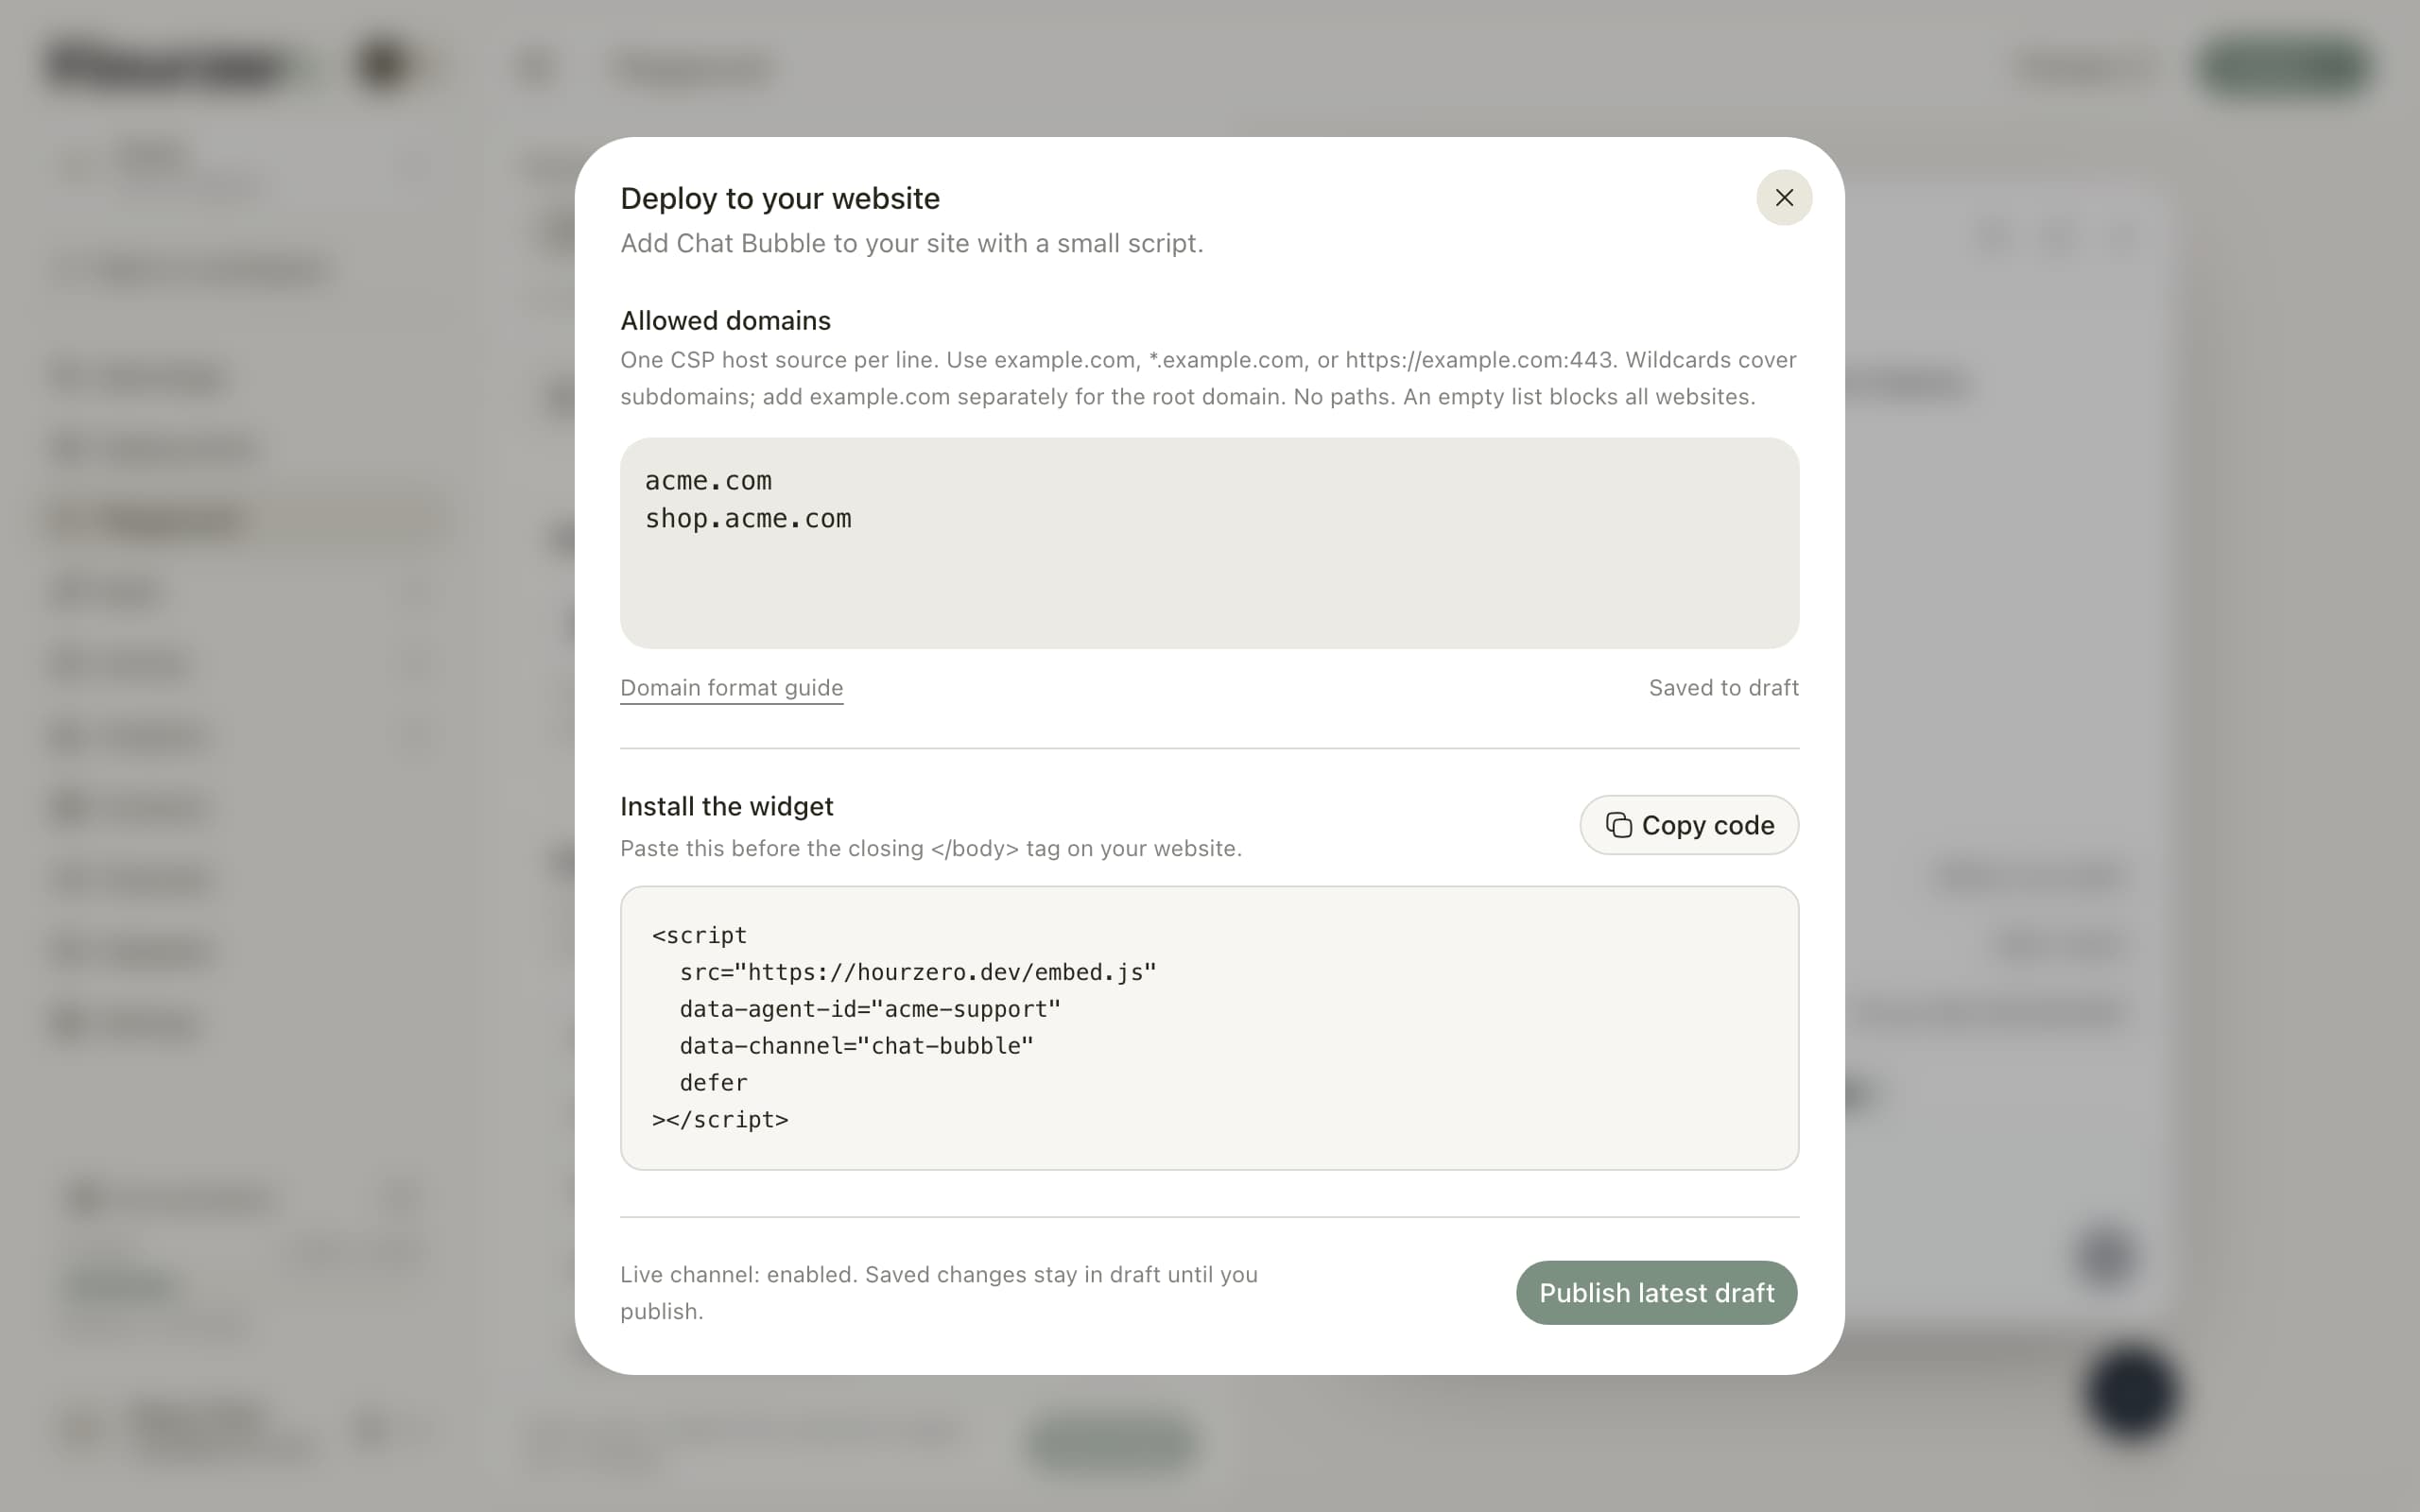
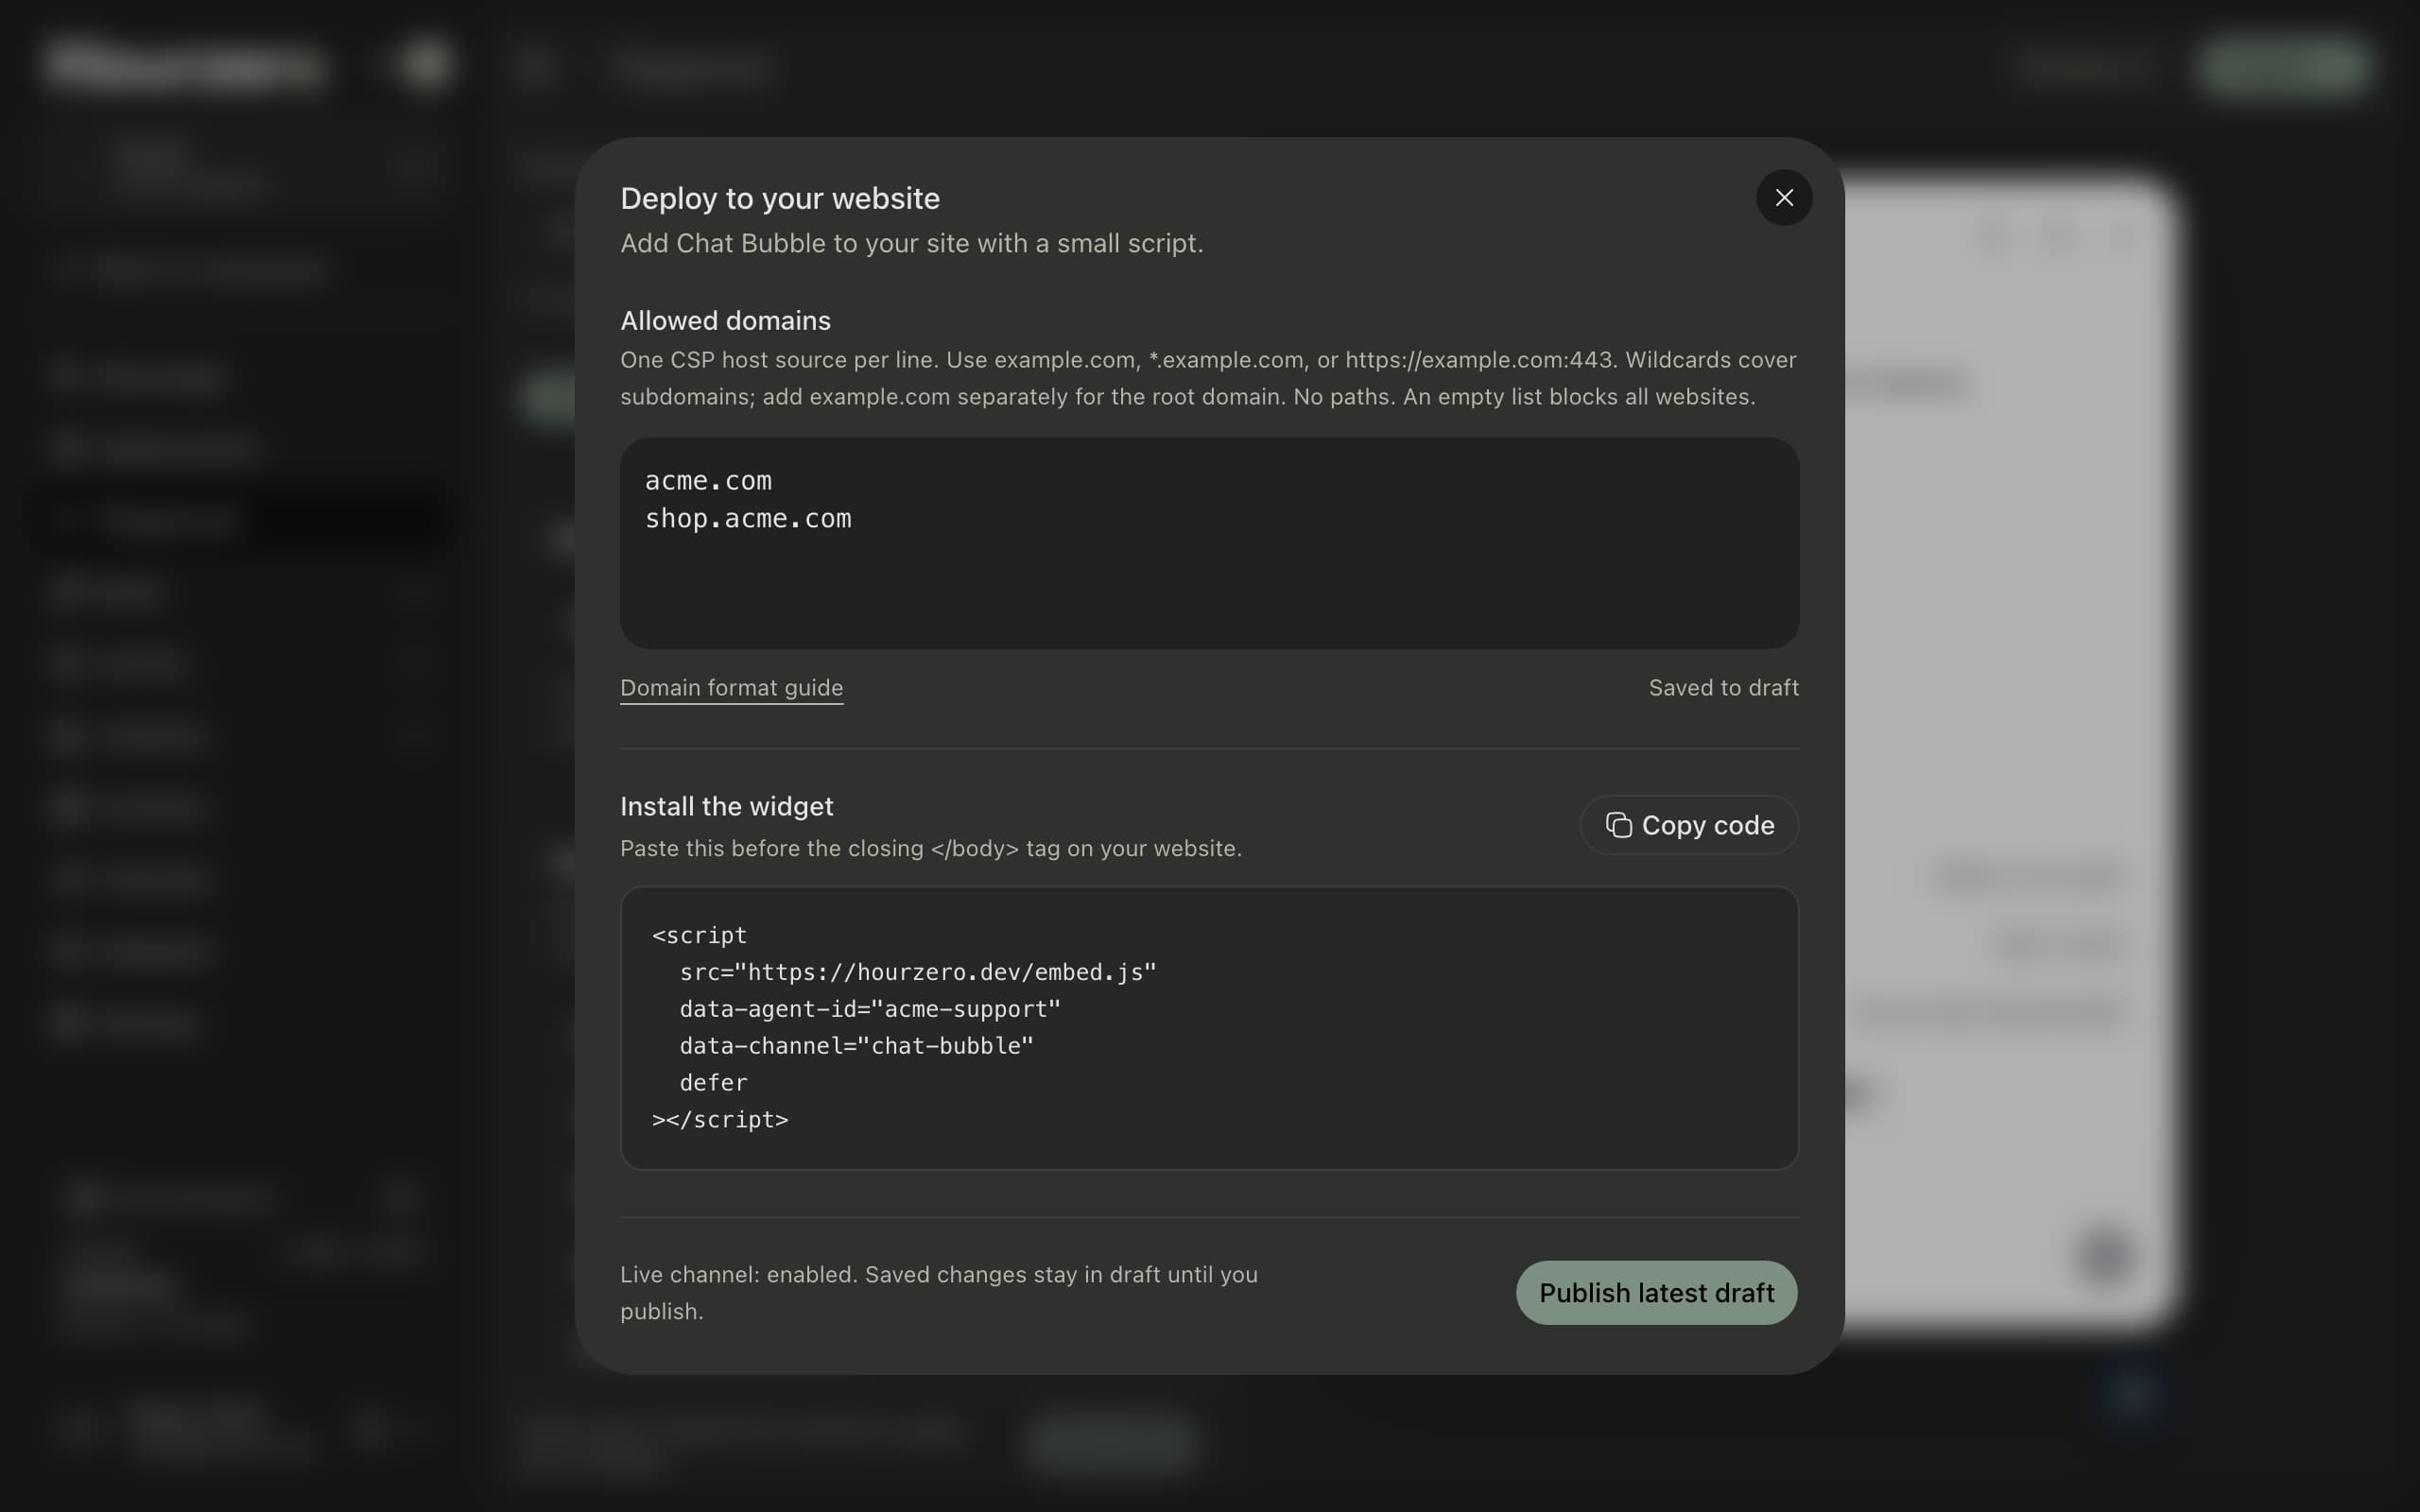
The code looks something like this. Always copy yours from the window, because it contains your own agent's ID:
<script
  src="https://hourzero.dev/embed.js"
  data-agent-id="acme-support"
  data-channel="chat-bubble"
  defer
></script>
Most website builders have a setting for code that should load on every page, often called "custom code", "footer code", or "code injection". If you're not sure where it goes, send the code to whoever manages your website.
Getting allowed domains right
Allowed domains are a safety lock: the bubble only works on the websites you list. Type just the address, without a page path.
| You type | The bubble works on |
|---|---|
acme.com | acme.com only |
www.acme.com | www.acme.com only |
*.acme.com | Every subdomain, like www.acme.com and shop.acme.com, but not acme.com itself |
acme.com and *.acme.com on two lines | All of the above |
Warning
If the list is empty, the bubble won't work on any website. And acme.com/help won't work: leave out everything after the domain.
Step 7: Check that it's live
- Open your website in a browser and refresh the page. The chat bubble appears in the corner.
- Ask one of your test questions.
- Back in Hourzero, open Activity → Conversations and select the Visitors filter. Your test chat is there.
Congratulations, your first agent is live.
The bubble doesn't appear?
Check these in order:
- Did you publish? Saving isn't enough. Open Publish → Website widget and check the message above the publish button.
- Is the exact domain listed? If your site is
www.acme.com, thenacme.comalone isn't enough. Addwww.acme.comor*.acme.com. - Is the code on that page, and is your website change published? Some website builders need you to publish the site after adding code.
- Are replies turned on? In the Playground Overview tab, Agent replies should say Replies on after publishing. If you change it, save and publish again.
Still stuck? See Troubleshooting.
Making changes later
From now on, every improvement follows the same short loop. Customers keep getting the current live version until you publish again.
- 1ChangeEdit knowledge, instructions, or channel settings.
- 2SaveRetrain if you changed knowledge.
- 3TestTry your questions in the Playground.
- 4PublishSelect Publish, then Publish latest draft.
Next steps
 Connect WhatsAppAnswer customers on your WhatsApp business number too.Let your agent do thingsCollect leads, show buttons and forms, and hand chats to your team.