

Helpdesk inbox and saved views
Find the tickets that need you, reply to customers, leave notes for teammates, and save the lists you check every day.
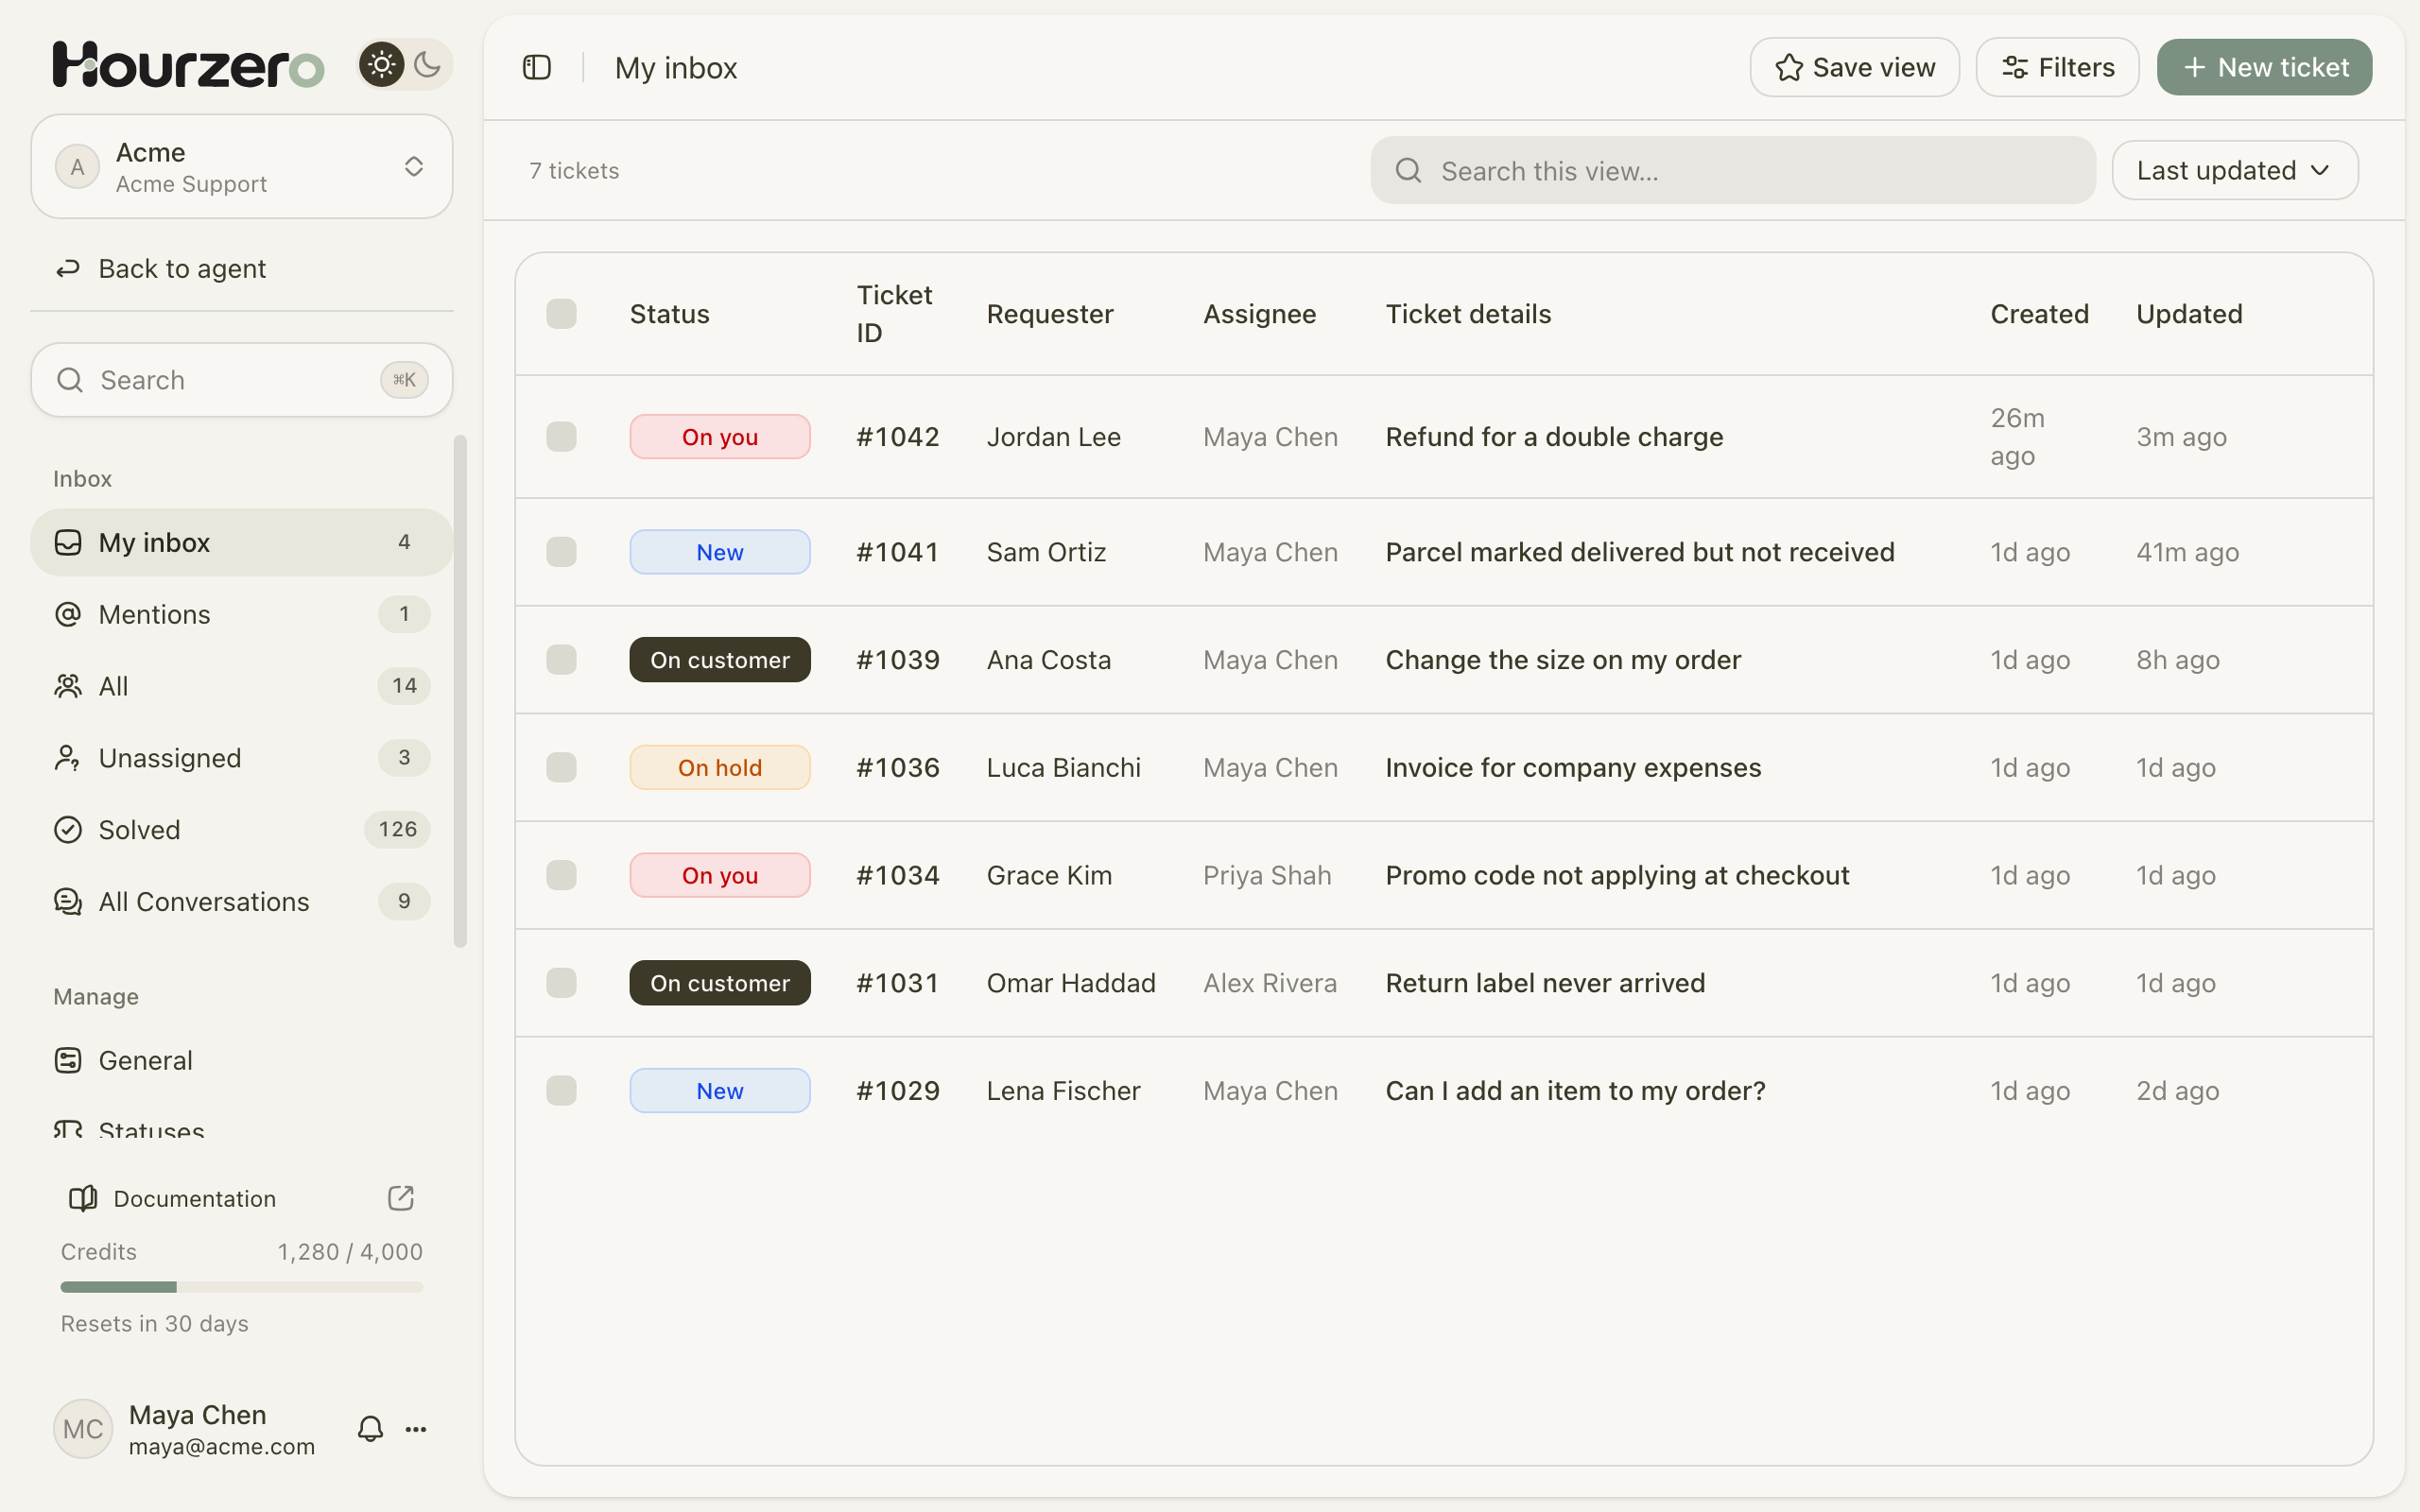
The inbox lists every ticket for this agent. Use it to see what needs attention, open a ticket to reply or leave a note, and save filtered lists you come back to often.
Where to find it: open your agent and select Helpdesk in the sidebar. You land on My inbox.
Built-in views
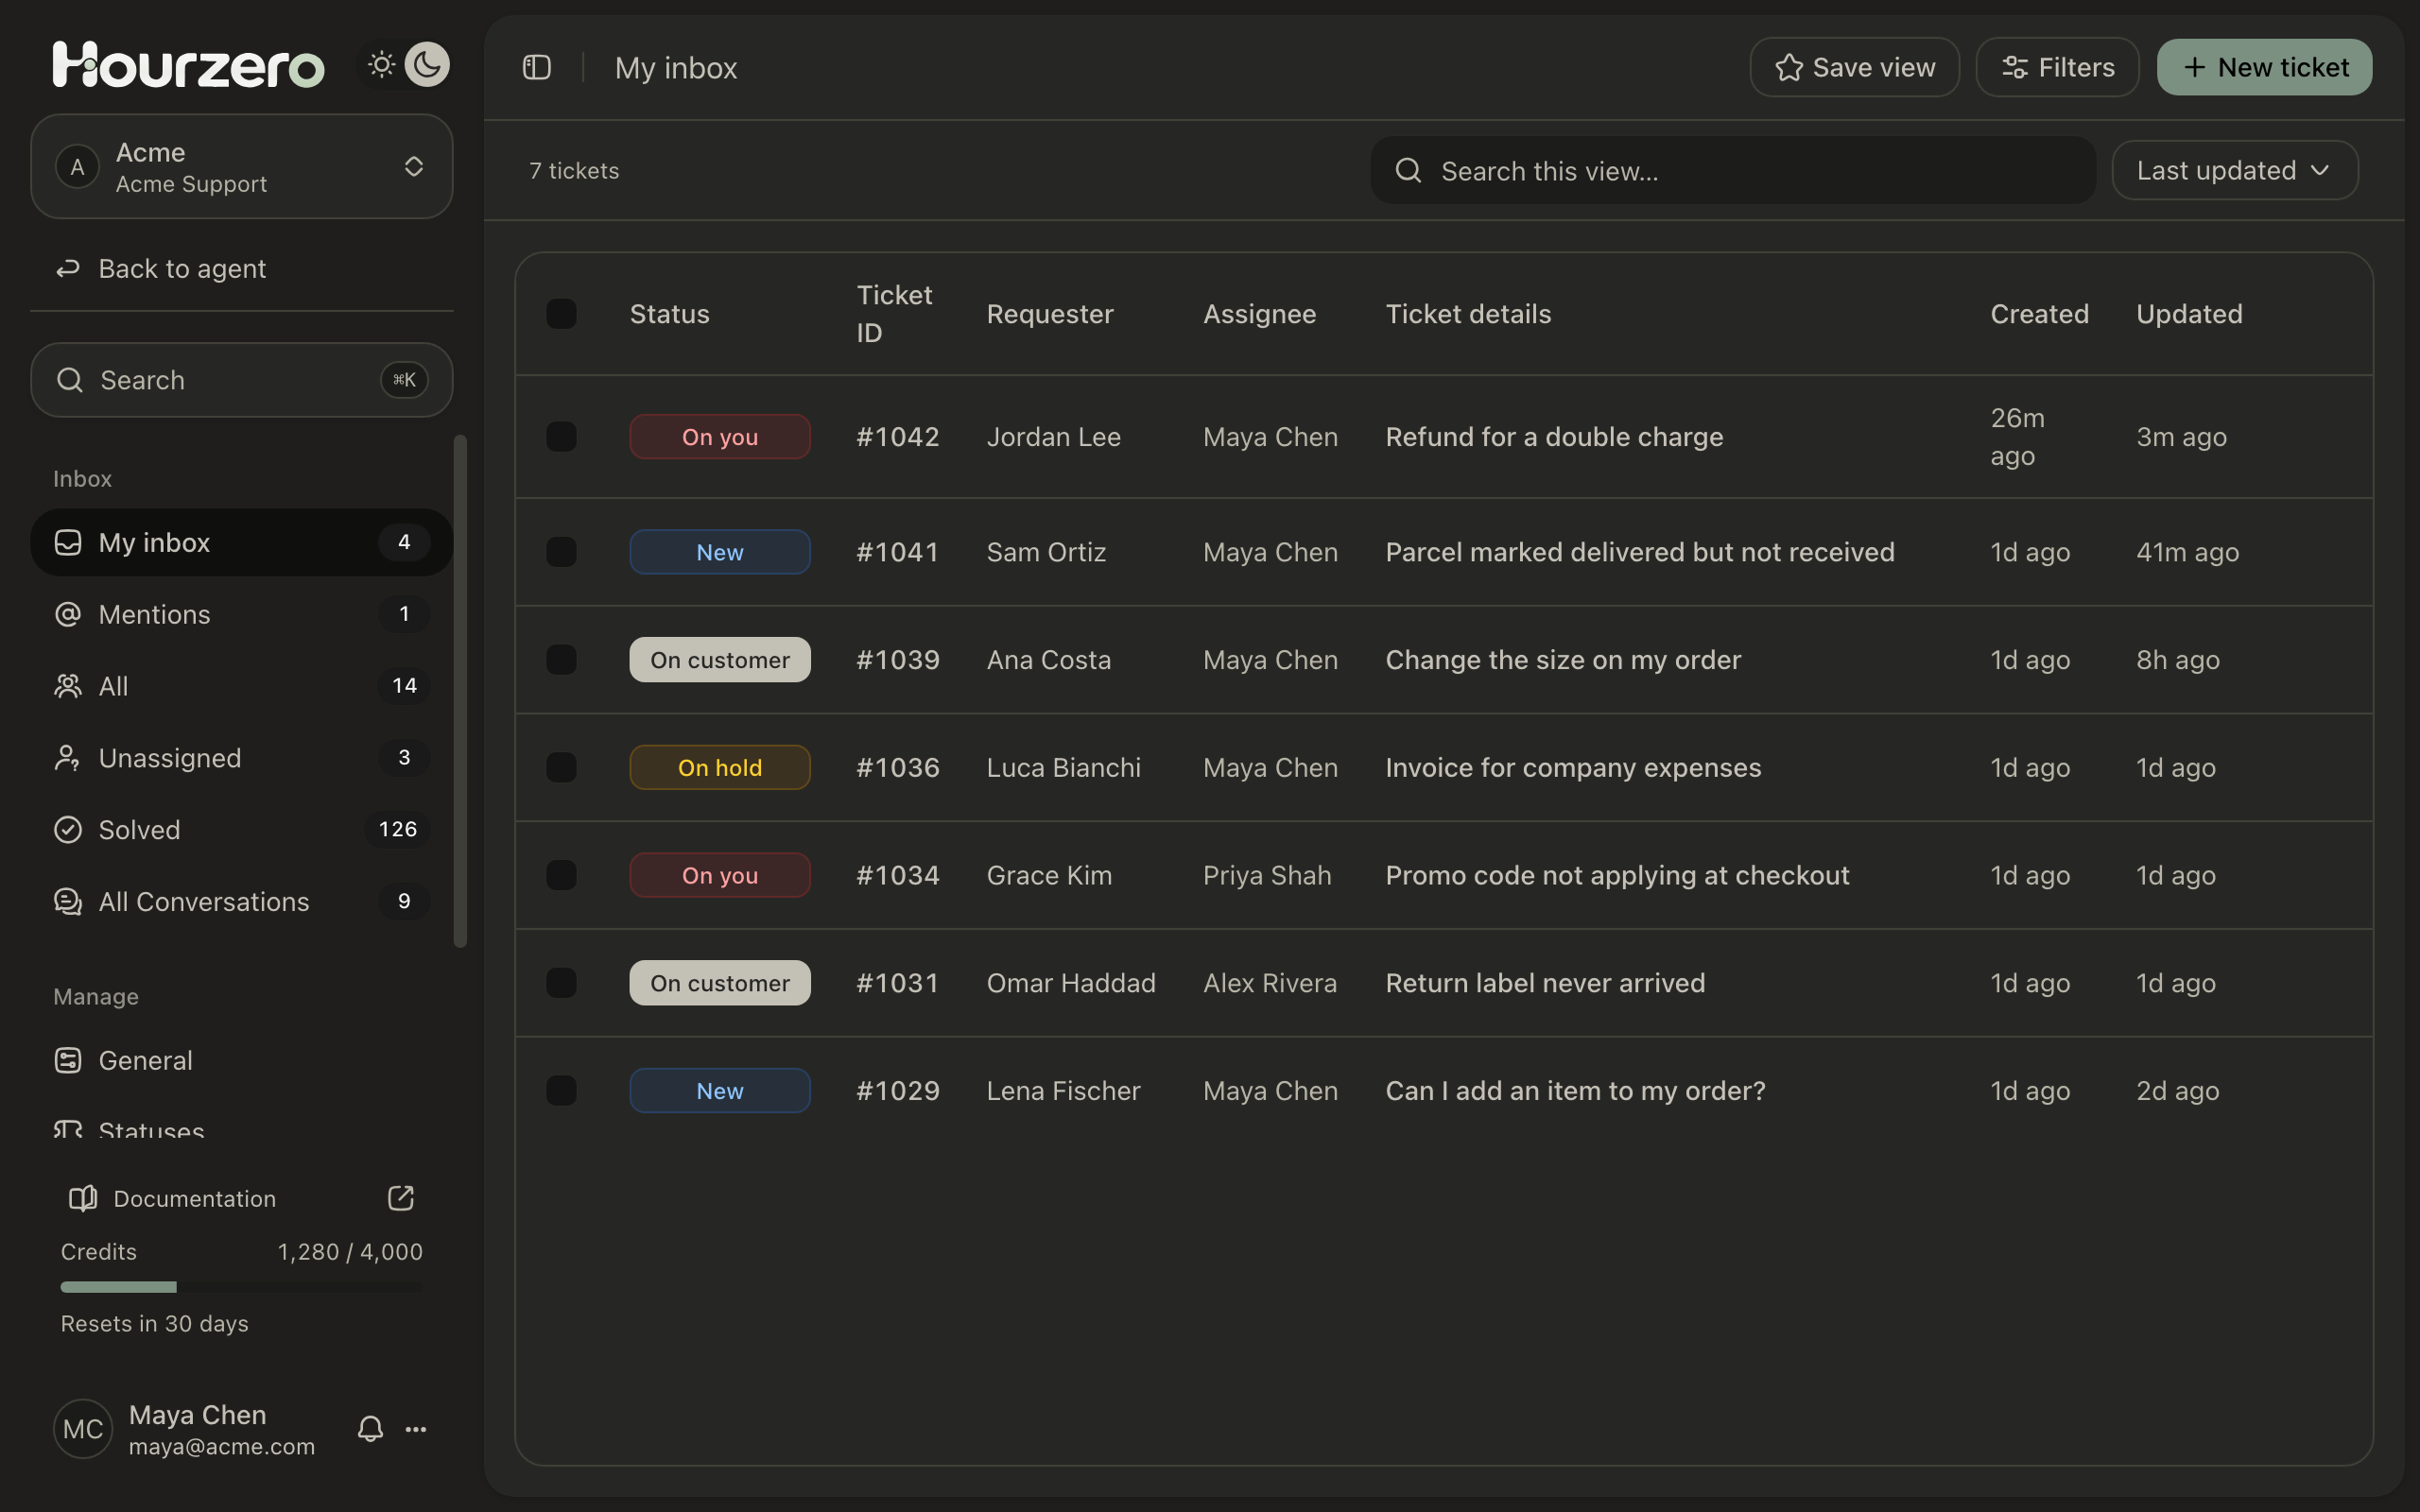
The Inbox group in the sidebar has ready-made lists. Most show a count next to their name.
- My inbox: open tickets assigned to you.
- Mentions: tickets where a teammate mentioned you in a note. The count shows mentions you haven't seen yet, and goes down when you open the ticket.
- All: every open ticket.
- Unassigned: open tickets nobody owns yet.
- Solved: tickets set to Closed or Cancelled.
- All Conversations: every chat with your agent, the same list as Activity → Conversations. Use it to step into a chat that has no ticket.
"Open" means any status except Closed and Cancelled.
Tip
If your team hands out tickets by hand, start the day in Unassigned. If Hourzero assigns tickets for you, start in My inbox.
Find a ticket
There are two search boxes:
- Search this view… above the list looks only inside the view you're in.
- Search at the top of the sidebar looks through the whole Helpdesk. You can also press ⌘K on a Mac or Ctrl+K on Windows. It shows matching tickets and customers.
Both search by subject, ticket number, and the customer's name, email, or phone. Type 48213, Jordan, or jordan@northwind.co, for example.
To change the order, open the sort menu next to the search box. It starts on Last updated. You can also sort by Newest created, Oldest created, ticket number, or Priority high to low.
Filter the list
- Select Filters at the top right.
- Pick what you want to see. For example, set Priority to High and Urgent.
- Select Show tickets.
The Filters button shows a number while filters are on. You can filter by:
- Status (the six categories, like On you) or Specific status (including your own statuses)
- Priority
- Assignee: Me, Unassigned, or a teammate
- Team and Tags
- Channel, such as WhatsApp or Chat Bubble
- Last message by: Customer, or Agent, which here means a teammate replied last
- Created date and Last updated, with After and Before dates
When you pick several options in one filter, you see tickets that match any of them. When you use several filters, a ticket has to match all of them. Filters also add to the view's own rules. In Unassigned, a High priority filter shows high-priority tickets nobody owns.
Filters stay on when you switch views
If a view looks emptier than expected, check whether Filters shows a number. Open it and select Clear filters.
Save a view
A saved view remembers a set of filters, a sort order, and the columns you want. It appears under Saved views in the sidebar.
- Open the view you want to start from, then add filters and pick a sort order.
- Select Save view at the top right.
- Enter a Name, such as
Urgent and unassigned. - Choose Visibility: Only me, or Everyone in the workspace.
- Under Columns, tick the columns to show. Use the arrows to change their order.
- Select Save view.
To change a saved view later, open it and select Edit view, then Save changes. Use the ⋯ menu next to it in the sidebar to Add to favorites (favorites move to the top) or Delete view.
Some views worth saving:
Urgent and unassigned
  Start from: Unassigned
  Filters: Priority is High or Urgent
  Sort: Priority high to low
  Visibility: Everyone in the workspace

WhatsApp waiting on us
  Start from: All
  Filters: Status is On you, Channel is WhatsApp

My refunds
  Start from: My inbox
  Filters: Tags include Refund
Tip
Saved views are the only way to change the columns. Want to see Priority, Team, Channel, or Tags in the list? Save a view and tick those columns.
A few things to know:
- Each person can save up to 20 views per agent.
- Only the person who created a view can edit or delete it, even when it's shared.
- A saved view only organizes your list. It doesn't change any ticket's status or owner.
Work on a ticket
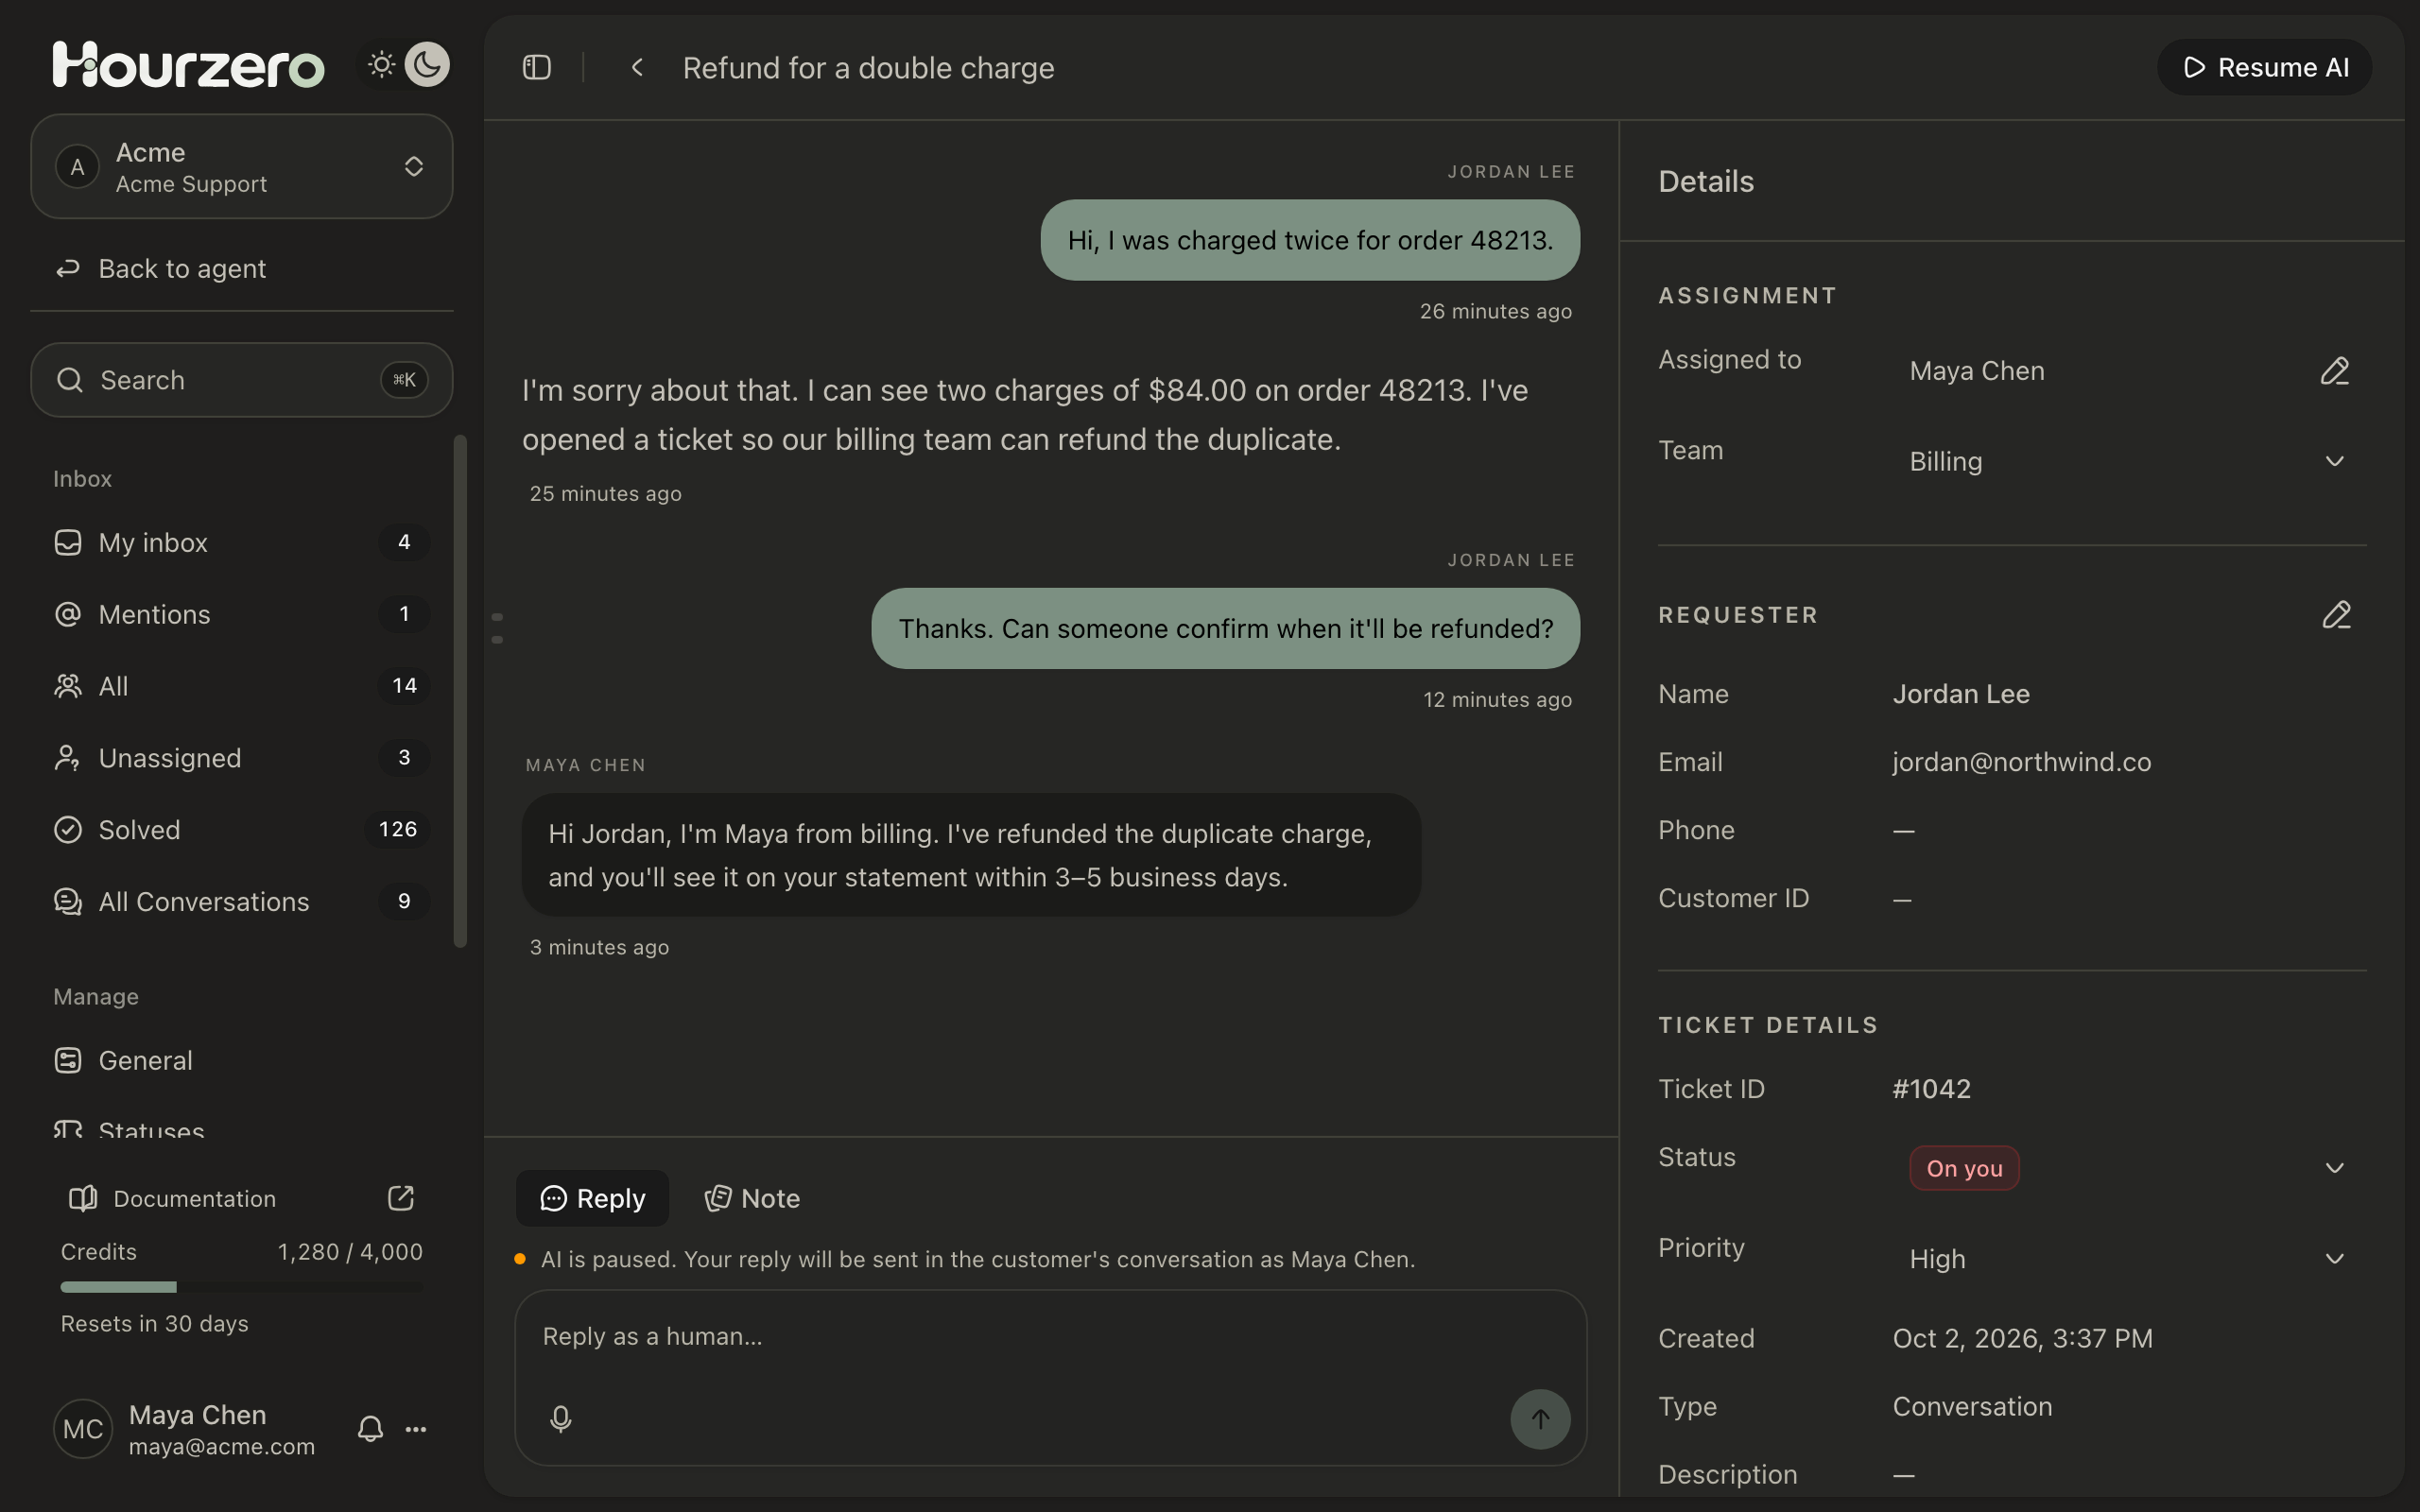
Select a row to open the ticket. The chat is on the left, with a box to write in at the bottom. The Details panel is on the right. On a small screen, open Ticket details under the writing box.
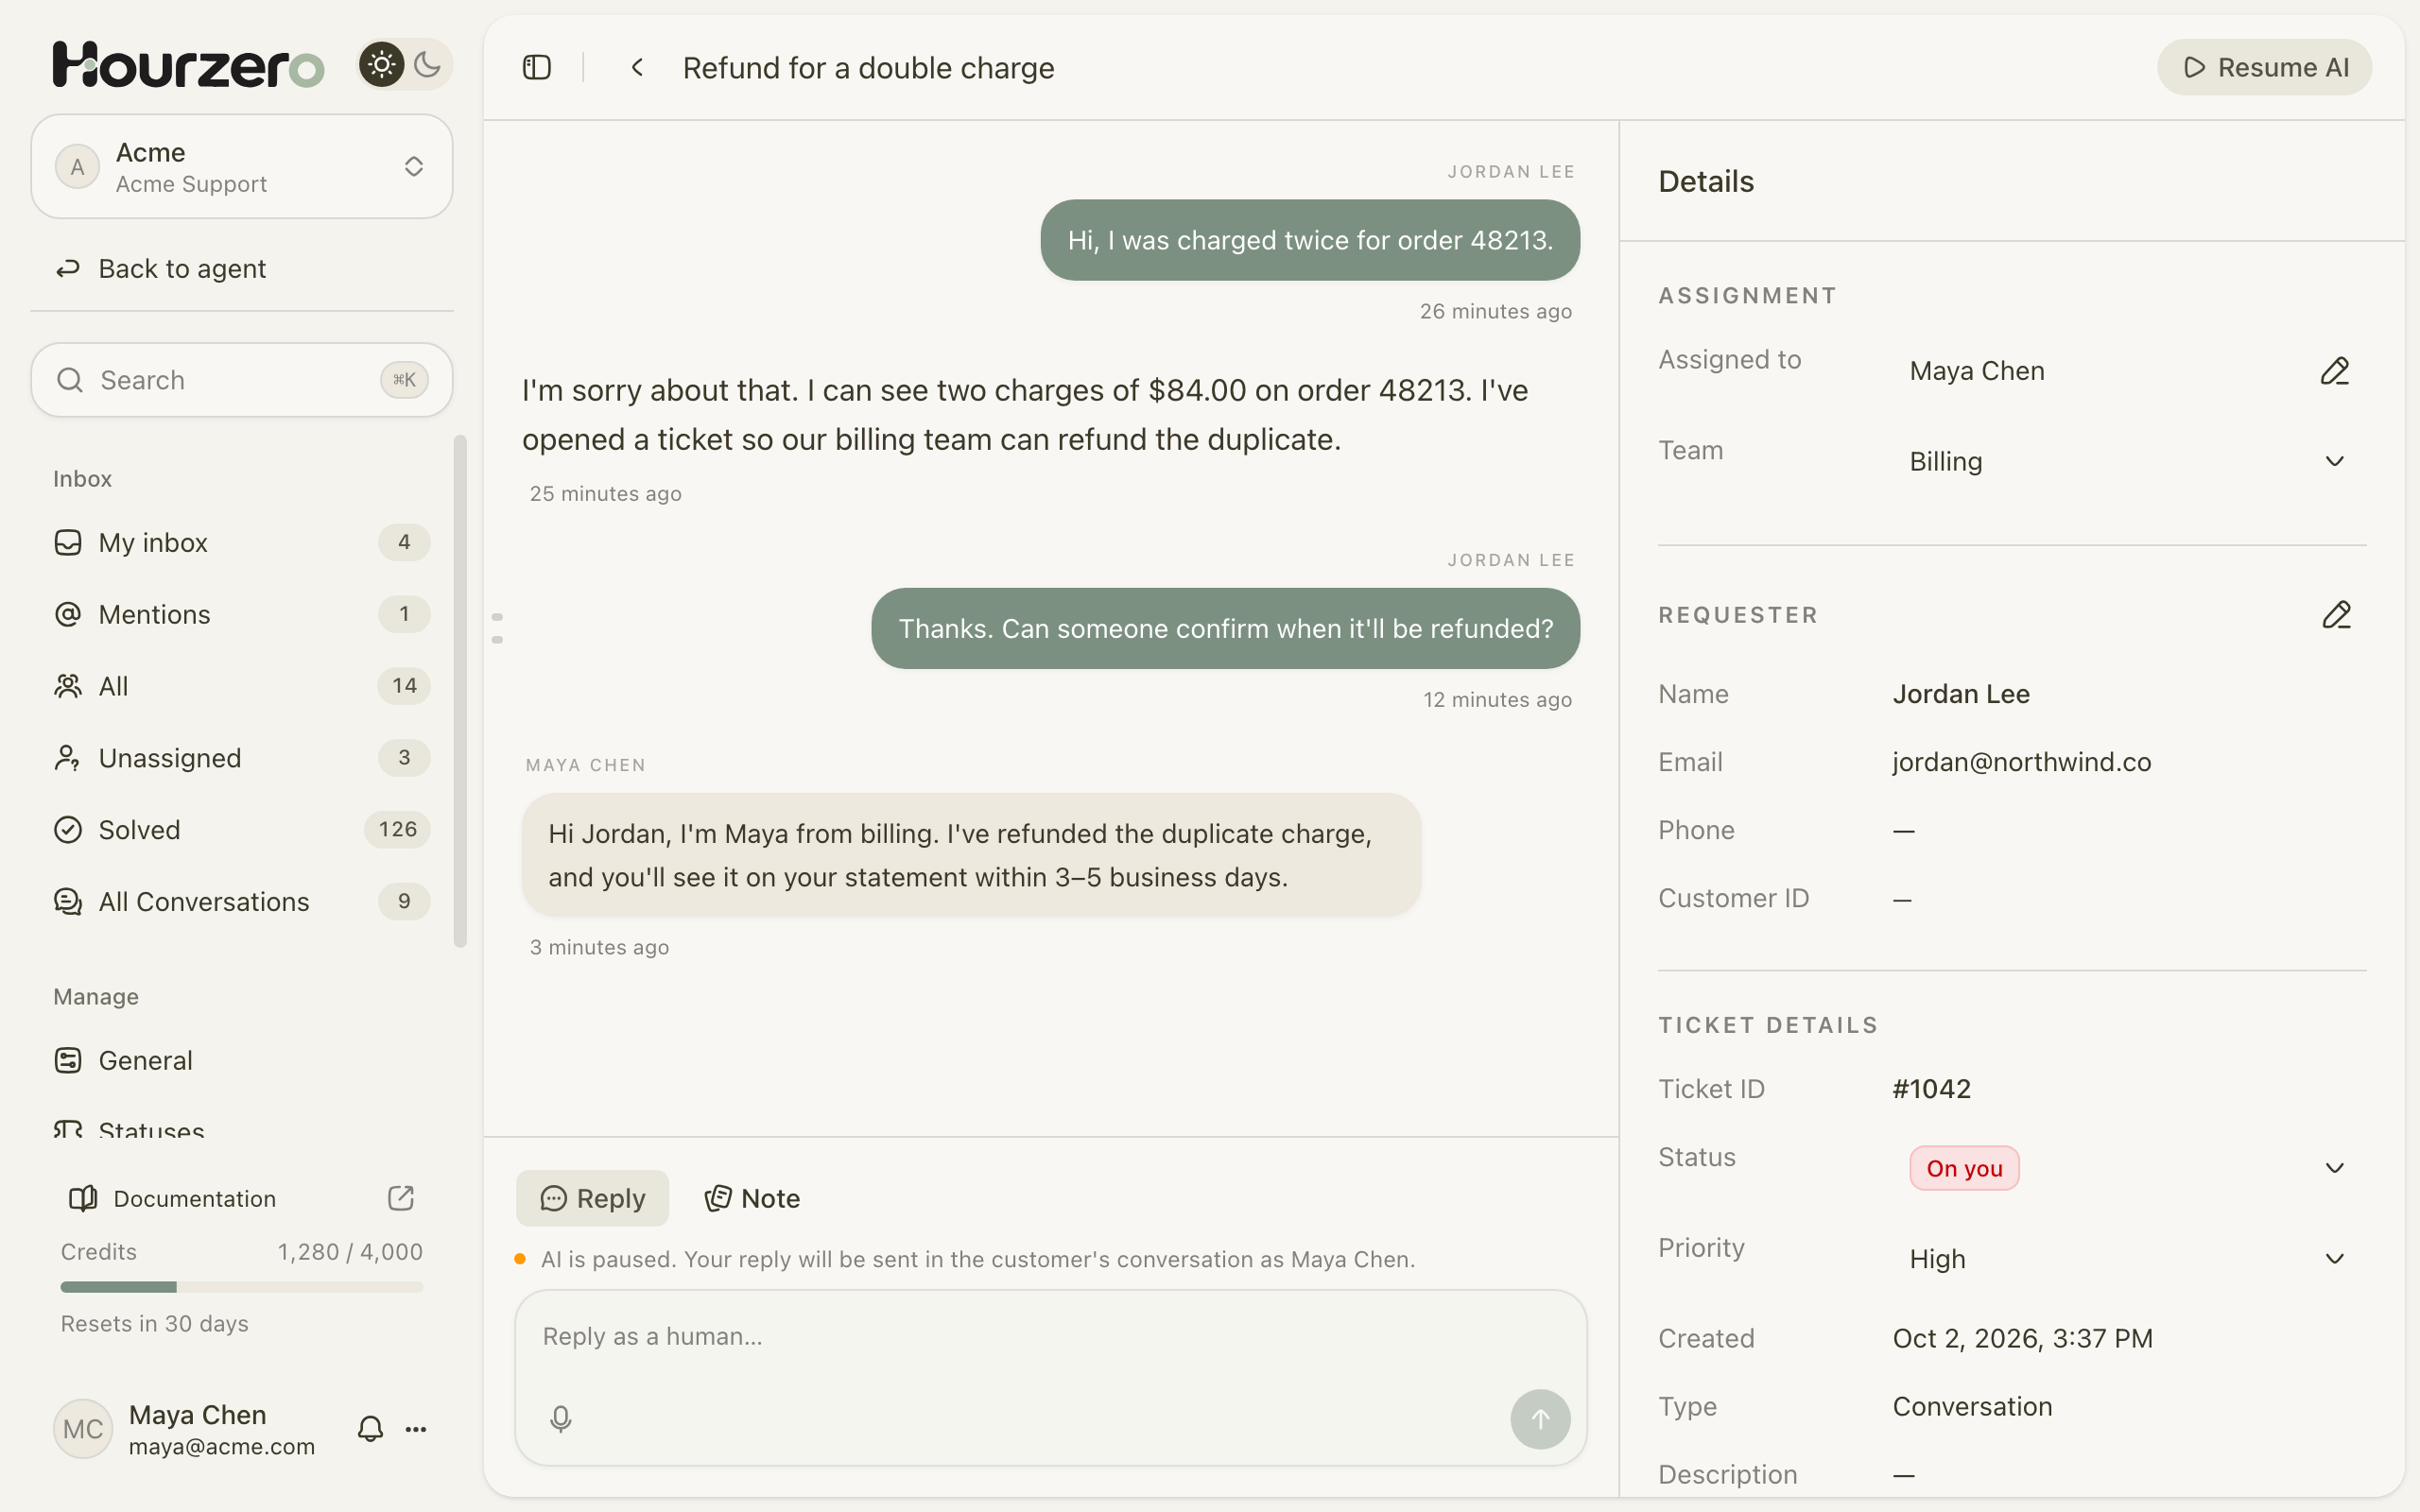
The Details panel has:
- Assignment: Assigned to and Team. If the ticket is waiting for someone's shift, you'll also see Scheduled with their name and the time.
- Requester: the customer's name, email, and phone. Select the pencil to fix them.
- Ticket details: ticket number, Status, Priority, when it was created, and the description. View conversation opens the chat in Activity → Conversations.
- Tags: select Add tags to tick the tags that fit.
- Custom fields: extra answers from the Human escalation form, such as an order number. You can edit them.
- Previous tickets: other tickets from the same email address.
- Internal notes: every note on this ticket.
Reply to the customer
- Open the ticket.
- If you see Pause AI to reply as a human, select Pause AI. You'll see "AI is paused. Your reply will be sent in the customer's conversation as" followed by your name.
- Make sure Reply is selected.
- Type your message in Reply as a human… and send it. You can also select the microphone to dictate.
The customer sees your reply in their chat, under your name. The ticket moves to On customer. Replies are text only for now; you can't attach files.
Leave an internal note
- Select Note.
- Type your note in Add an internal note….
- To bring someone in, select Mention and pick a teammate. Their name is added to the note.
- Select Add note.
Notes appear under Internal notes in the Details panel. Only your workspace team can see them. To remove a note you wrote, select its trash icon. Notes written by teammates don't have one: only the person who wrote a note can delete it.
Reply and Note look alike
Check which one is selected before you send. A reply goes straight to the customer.
Create a ticket by hand
Use this for requests that didn't start in a chat, like a phone call.
- Select New ticket at the top right.
- Enter a Subject, such as
Customer called about a missing parcel. - Add a Description, plus the Requester name and Requester email if you know them.
- Choose a Status and Priority, or keep Default status and No priority.
- Select Create ticket. The new ticket opens.
Important
A ticket you create by hand isn't linked to a chat, so you can't reply to the customer from it. You can still add notes, assign it, and change its status.
Change many tickets at once
- Tick the boxes next to the tickets. The box at the top of the list selects every ticket on the page.
- Use the bar that appears: Update status, Priority, Assign, Add tag, or Remove tag.
The list shows 50 tickets per page. Use the arrows at the bottom to see more.
Delete tickets
Workspace owners and admins can select Delete in the bar, or Delete ticket from a row's ⋯ menu, and then confirm.
Deleting can't be undone
Deleting removes the ticket's history, notes, and tags for good. To finish a ticket, set its status to Closed instead.