

Helpdesk statuses, priority, and tags
Track where each ticket stands, mark what's urgent, and group tickets by topic.
Three labels keep your queue easy to read. Status says where a ticket stands. Priority says how urgent it is. Tags say what it's about.
Keep the three separate. A refund that's urgent and waiting on the customer has status On customer, priority Urgent, and the tag Refund.
Where to find it: change them on any ticket in its Details panel. Manage the lists under Helpdesk → Manage → Statuses and Tags.
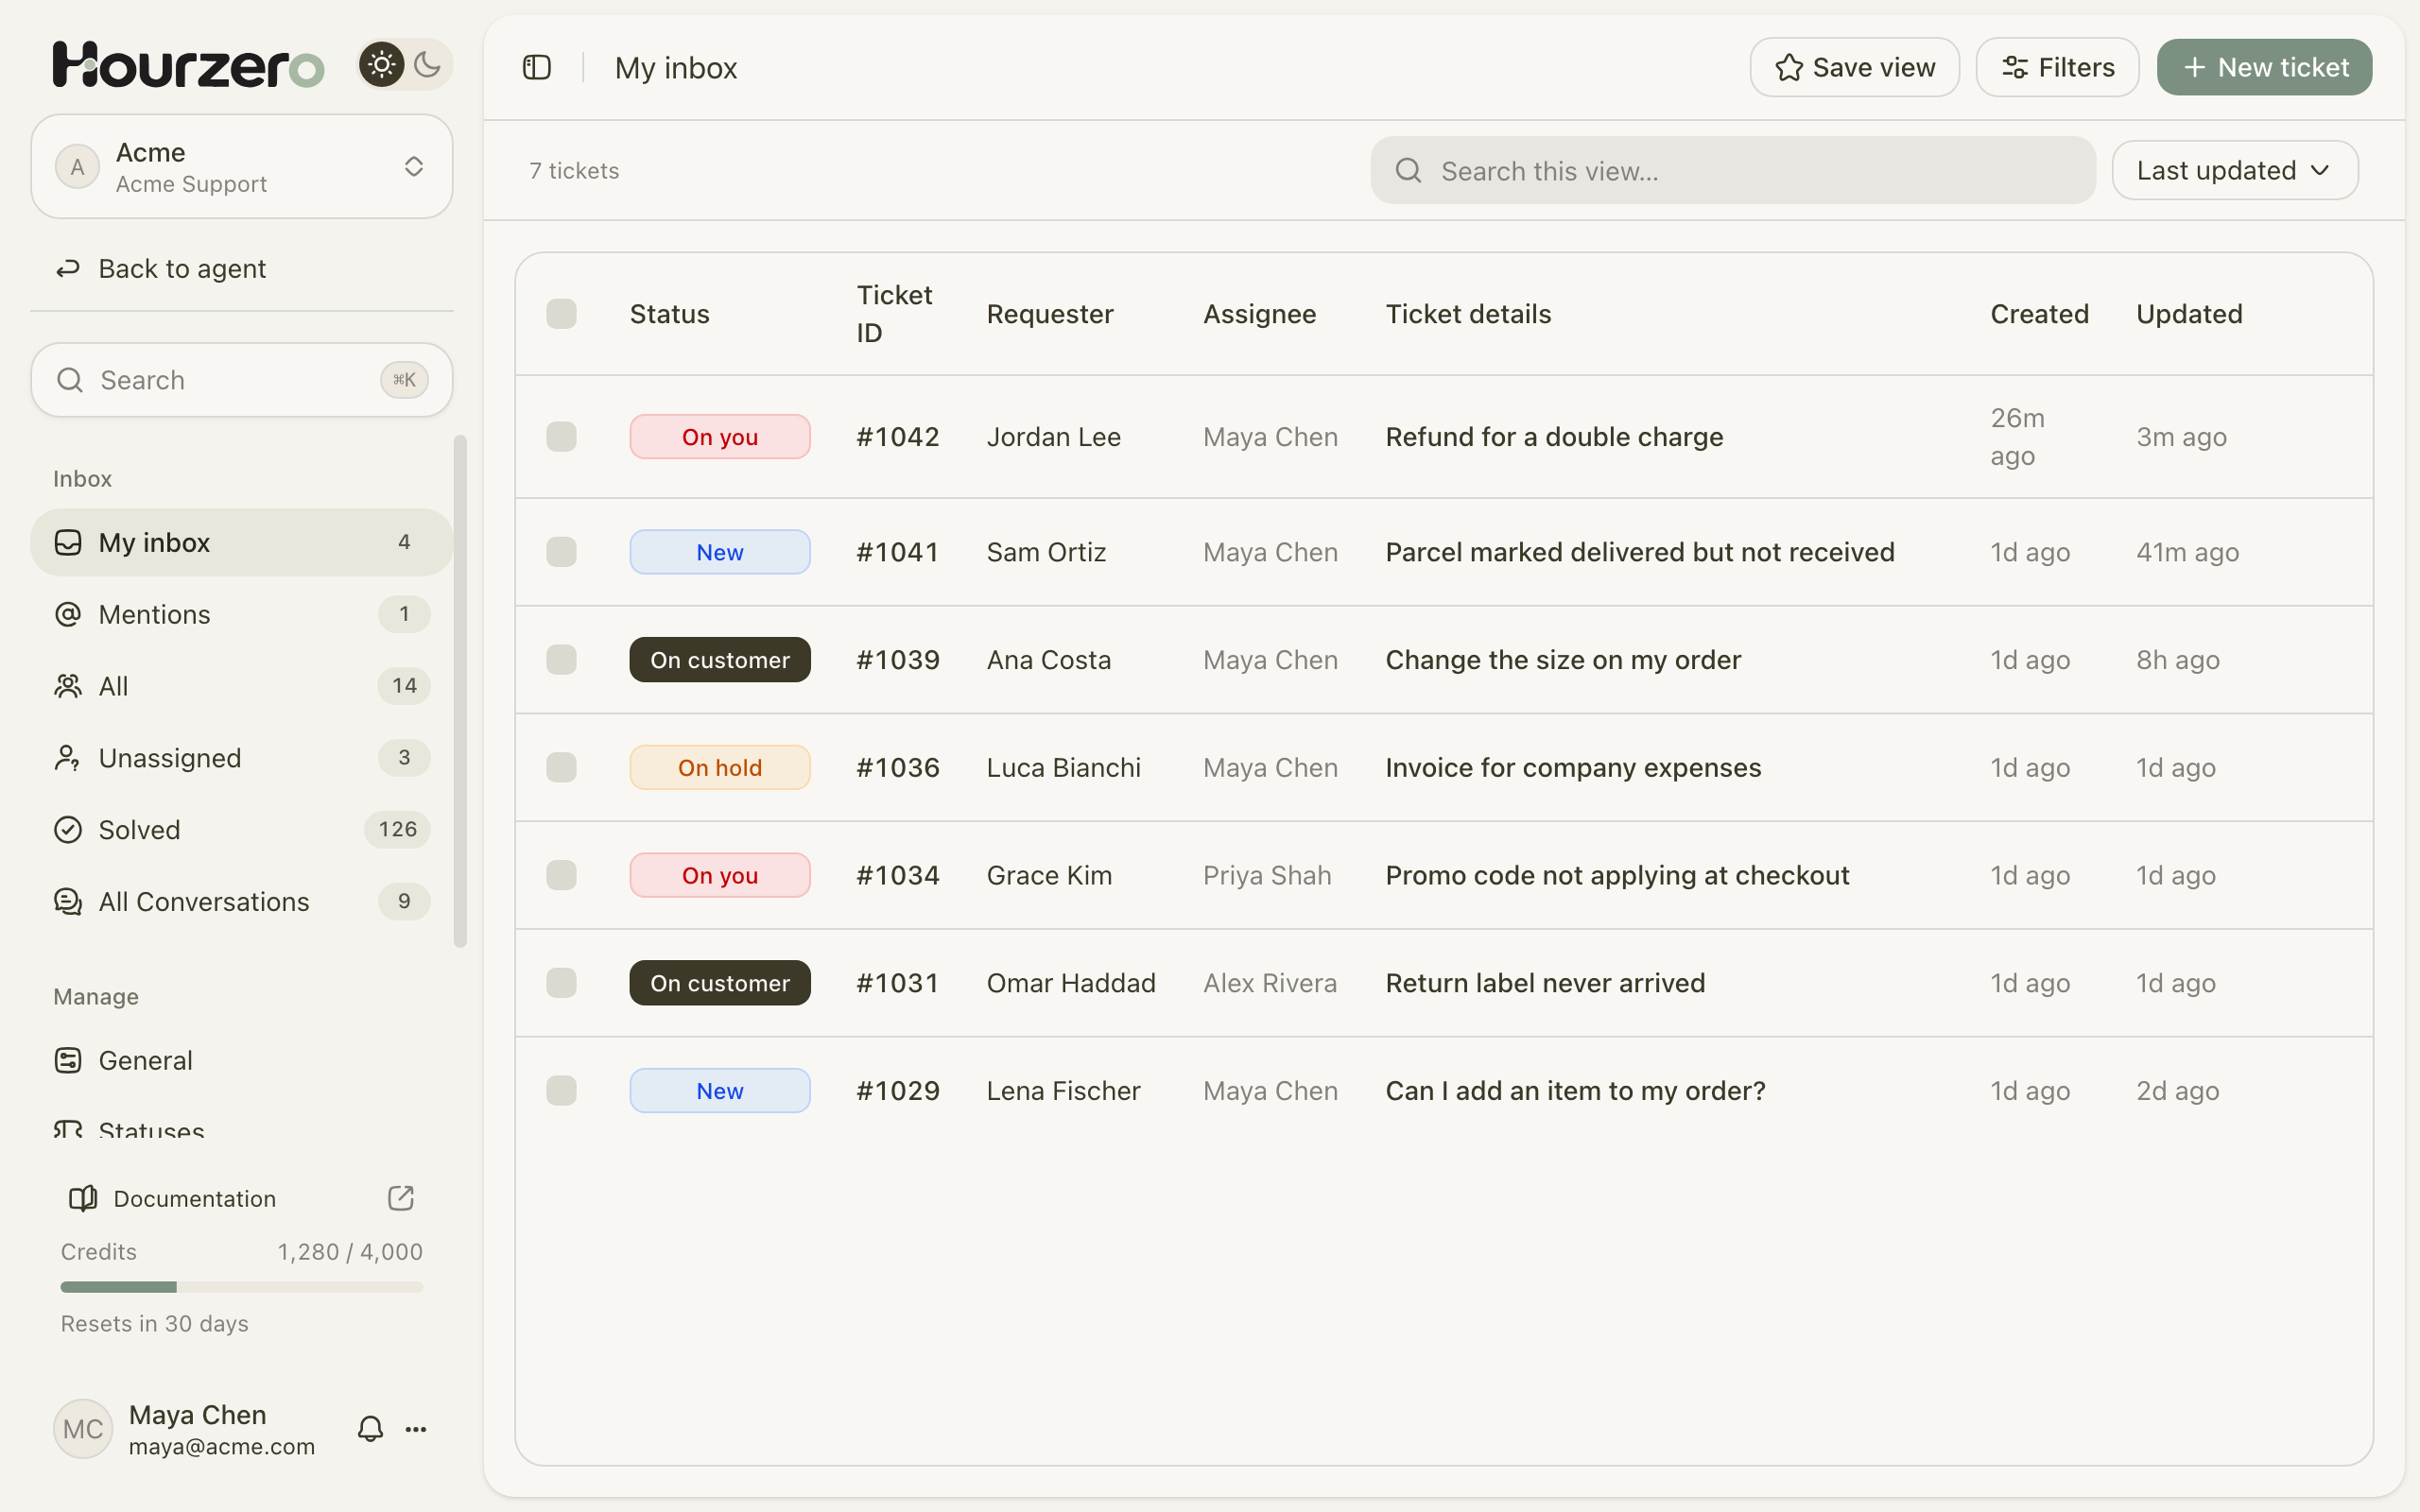
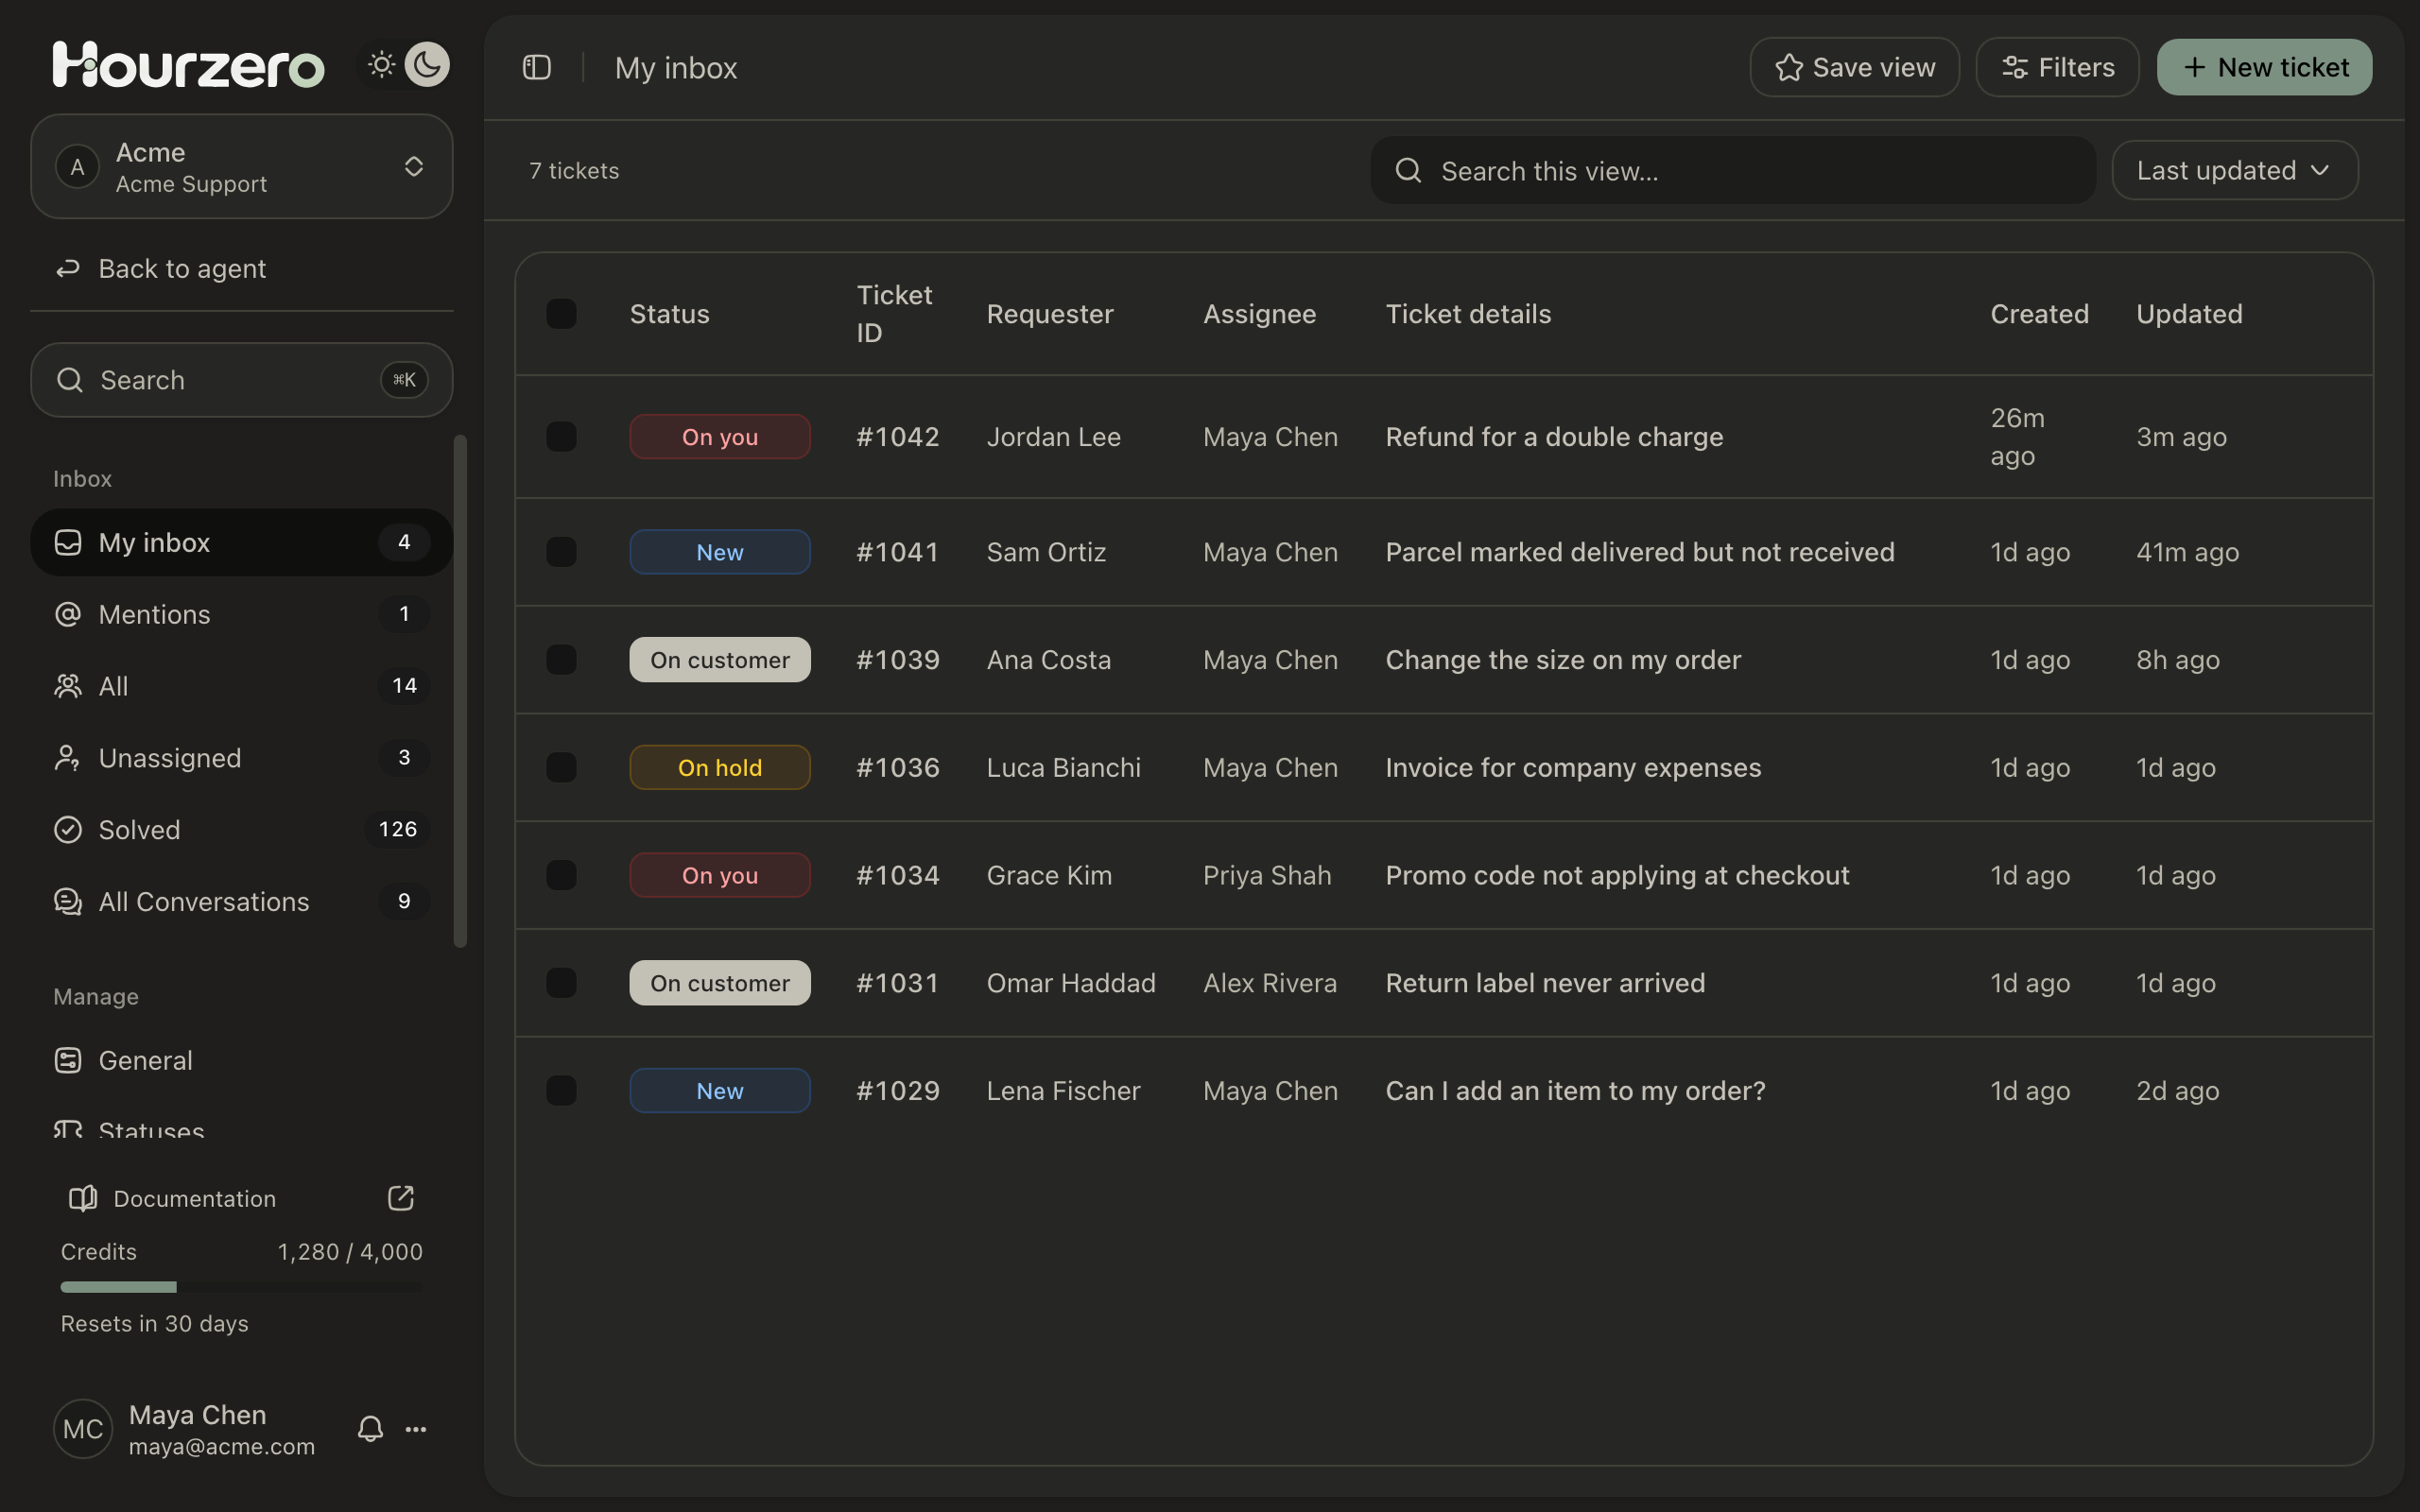
How a ticket moves along
- 1NewThe ticket arrives and waits for someone to look at it.
- 2On youThe customer wrote, so your team owes the next step.
- 3On customerA teammate replied, so you're waiting for the customer.
- 4ClosedThe issue is solved, and the AI takes the chat back.
Hourzero moves tickets between the first three for you:
- A new ticket starts as New, unless you pick another status when you create it by hand.
- When the customer sends a message, the ticket moves to On you.
- When a teammate replies, it moves to On customer.
You set On hold, Closed, and Cancelled yourself. Hourzero never closes a ticket for you.
The six status categories
Every status belongs to one of six categories. The category decides how Hourzero treats the ticket.
| Category | Use it when | Customer-facing label |
|---|---|---|
| New | The request just arrived and nobody has looked yet | Received |
| On you | Your team owes the next step | In progress |
| On customer | You're waiting for the customer to answer | Waiting for your reply |
| On hold | You're waiting on someone else, like the warehouse | On hold |
| Closed | The issue is solved | Resolved |
| Cancelled | The request shouldn't continue, like a duplicate or spam | Closed |
The first four are open. Open tickets appear in My inbox, All, and Unassigned, and they count toward a teammate's ticket limit. Closed and Cancelled tickets move to Solved.
When you set a ticket to Closed or Cancelled:
- The AI resumes in that chat, if this ticket paused it.
- If the ticket was waiting for someone's shift, that's cancelled.
Change a ticket's status
- Open the ticket.
- In the Details panel, under Ticket details, select Status.
- Pick the new status.
To change several at once, tick them in the inbox and select Update status.
Add your own status
The six standard statuses cover most teams. Add your own when you want more detail inside a category. For example, Waiting on warehouse under On hold, or Refund issued under Closed.
- Go to Manage → Statuses and select Add status.
- Choose a Category.
- Enter an Internal label. This is what your team sees, such as
Waiting on warehouse. - Enter a Customer-facing label. This is the friendlier wording for customers, such as
Checking with our warehouse. - Pick a Color.
- Select Save status.
Only workspace owners and admins can add, edit, archive, or delete statuses.
Automatic moves always use the standard statuses
Your own statuses are only set by hand. A ticket in Waiting on warehouse still moves to On you when the customer writes again.
The standard status in each category is marked Default. You can rename it and change its color, but you can't move it to another category, archive it, or delete it.
Changing a category moves every ticket that uses the status
If you move Refund issued from On hold to Closed, all its tickets become solved and leave your open views.
Archive or delete a status
Use the ⋯ menu next to a status:
- Archive hides it from the status menus. Tickets that already have it keep it.
- Delete permanently removes it, but only if no ticket uses it. If any ticket still has it, Hourzero keeps the status and tells you how many tickets use it. Move those tickets first: filter the inbox by Specific status, tick them, and use Update status. Or archive the status instead.
Set a priority
Tickets have five priority levels: No priority, Low, Normal, High, and Urgent. Tickets from the agent start at No priority.
Set it in the ticket's Details panel, in the New ticket form, or for several tickets at once with Priority in the inbox. Then sort by Priority high to low, or filter by priority to see what's urgent.
Priority doesn't change who gets the ticket, and it doesn't alert anyone. Agree as a team on what each level means. For example:
Urgent  – money taken by mistake, or a customer can't use what they paid for
High    – an order problem where the delivery date is at risk
Normal  – everyday questions about orders, sizes, and returns
Low     – feedback and nice-to-haves
Use tags
Tags group tickets by topic, like Refund, Shipping, or VIP. You can filter by them, add them to saved views, and see them as colored labels on each ticket.
Create a tag
- Go to Manage → Tags and select Add tag.
- Enter a Name.
- Pick a Color.
- Select Save tag.
Anyone in the workspace can create and edit tags.
Add tags to tickets
- On one ticket: in the Details panel, select Add tags and tick the ones that fit.
- On many tickets: tick them in the inbox and select Add tag or Remove tag.
An agent can have up to 500 active tags, and a ticket can have up to 20.
Tip
Use tags for topics only. Status already says where a ticket stands and priority says how urgent it is, so tags like urgent-waiting make filters harder to use.
Archive or delete a tag
Only workspace owners and admins can do this. Use the ⋯ menu next to a tag:
- Archive stops people from picking it. To bring it back, select Edit, then Save tag.
- Delete permanently removes it from every ticket. You'll be asked to confirm.
After you rename, archive, or delete statuses and tags, check your saved views. A view that filters by them may show fewer tickets than before.